Smart Home Automation DIY Classes: 6 Steps to a Smarter Home
If you’ve been thinking about making your home smarter but you don’t really know where to begin, yeah—you’re definitely not alone. I remember staring at a wall of smart devices online and thinking, “Okay… but what actually matters?” It’s easy to get overwhelmed by the gadget names and all the tech talk. The good news is DIY smart home classes usually cut through that chaos and give you a clear path.
In my experience, the fastest way to learn is to do the same thing you’d do with any hobby: start small, get one thing working, then build on it. That’s exactly what these classes are set up to help you do—learn the basics, choose tools that won’t fight you, and eventually design your own automations step-by-step without spending like crazy.
By the time you finish, you’re not just “watching videos.” You’ve typically set up a real control system, added at least a couple devices, and created a simple routine you can actually use every day (like lights that turn on at sunset or a smart plug that powers a device on a schedule). And trust me, that first routine working? It feels great.
Key Takeaways
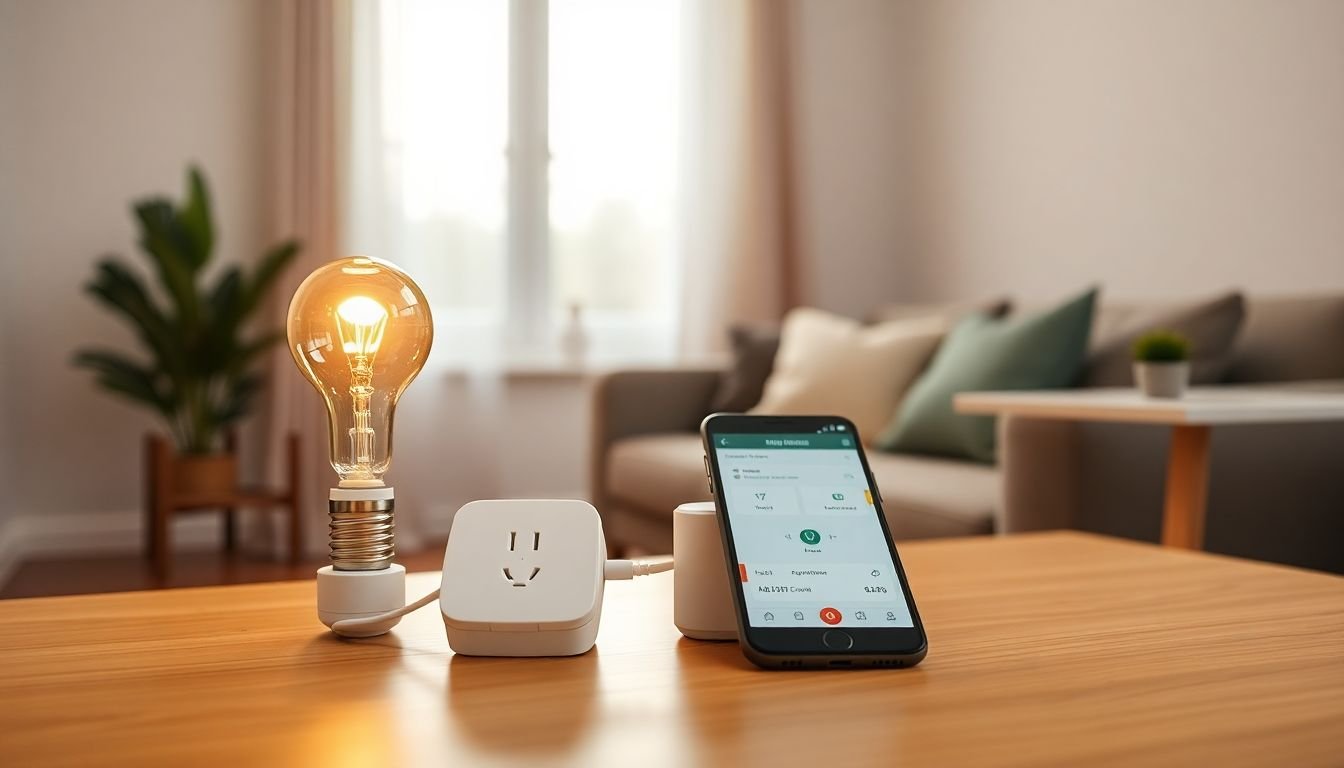
- Start with basics you’ll use immediately: smart bulbs, smart plugs, and one voice assistant (or app-based control) so you build confidence fast.
- Look for online DIY smart home classes that include practical assignments—installing a device, pairing it, and creating at least one automation routine.
- Plan your setup around essentials like a smartphone/tablet, stable Wi‑Fi, and (often) a compatible hub—this is where most beginners save time.
- Use a step-by-step build: pick one room or one device category, set it up, test it, then expand once it’s reliable.
- Keep compatibility front and center. Use a simple checklist to track what you bought, which app you used, and what failed (so you can fix it quickly).
- After completing a DIY class, you’ll be able to troubleshoot common issues, customize automations for comfort/security, and measure energy impact in a practical way.

1. Learn the Basics of Smart Home Automation (Without the Headache)
Smart home automation is basically this: you use connected devices to control things like lighting, climate, security, and appliances—either manually from an app or automatically with routines. You don’t need to be an engineer. You just need to understand what each device is doing and how it “talks” to the rest of your setup.
When I first started, the biggest thing I kept tripping over was not knowing the difference between Wi‑Fi devices (often set up directly in an app) and hub-based devices (often using Zigbee or Z‑Wave). If you get that part early, everything gets easier later.
Here are a few basics that almost every DIY class covers:
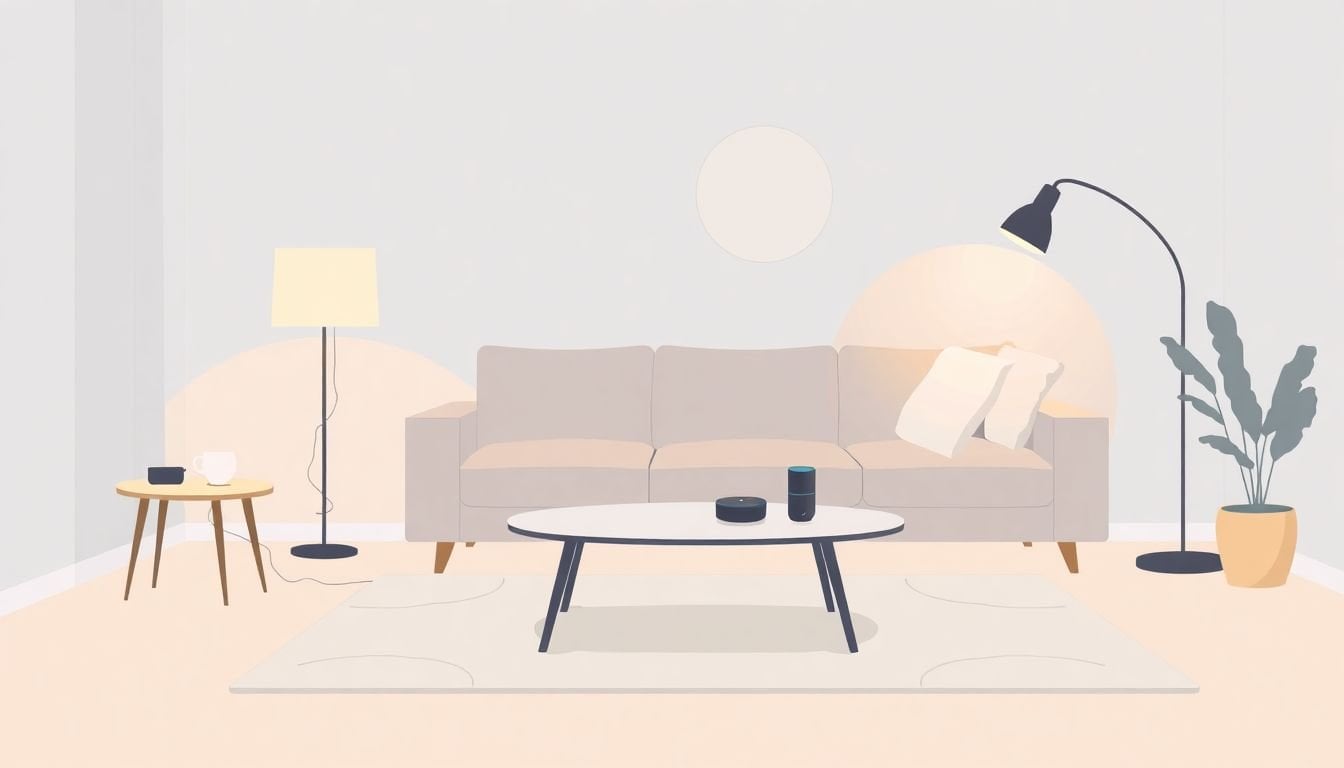
- Common starter devices: smart bulbs, smart plugs, motion sensors, and a voice assistant (like Amazon Echo or Google Nest).
- Core actions: turning devices on/off, setting schedules, and creating simple automations.
- Connectivity basics: Wi‑Fi vs Zigbee vs Z‑Wave (and why range/reliability can differ).
- Apps and ecosystems: each device usually has its own setup flow, and that’s where troubleshooting often starts.
A quick example: swapping a regular bulb for a smart bulb is the “instant feedback” project. You install it, pair it, and immediately see whether your app controls it. If that part works, you know your Wi‑Fi signal, lighting location, and account setup are solid—so you’re not guessing when you move on.
Also, don’t skip the manufacturer ecosystem basics. I’ve learned the hard way that a device can be “compatible with smart home” in a general sense but still be annoying to integrate. That’s why it helps to watch real setup demos from places like SmartThings or Wink before you buy anything.
2. Find Online DIY Smart Home Automation Classes That Actually Teach You
If you want a step-by-step way to learn, online courses can be great—but only if they’re practical. I’ve seen plenty of “smart home” classes that are mostly theory. You want assignments. Real ones. The kind where you install something and then confirm it works.
Platforms like Udemy and Coursera have beginner-friendly options, and there are also DIY-focused resources like Create AI Course that cater to people who learn by building.
Here’s what to look for in a good beginner course:
- Device setup exercises: pairing a smart plug, adding a smart bulb, or connecting a motion sensor.
- Automation projects: building a routine with a trigger (time of day, motion, or “when it detects occupancy”).
- Verification steps: instructions that tell you what “done” looks like (ex: “Confirm the plug turns on within 5–10 seconds after the trigger”).
- Troubleshooting lessons: pairing fails, app permissions, Wi‑Fi vs hub routing issues, and how to reset/re-add devices.
- Downloadable checklists: so you can track what you installed and what you changed.
In my experience, the best courses also tell you what to do when something doesn’t work. For example: if a smart plug won’t pair, you don’t want a vague “try again” lesson. You want specific steps like moving the device closer to your router, confirming you’re using the right Wi‑Fi band, and making sure you’re not blocking the pairing app with VPN settings.
If you’re the hands-on type, prioritize courses that include tasks like “install a smart plug and program a schedule” or “create a routine that turns lights on when motion is detected.” And yeah—joining online communities can help a lot for quick questions and real-world tips. If you want to compare learning platforms, you can start with createaicourse.com/compare-online-course-platforms/.
One practical habit I recommend: set aside 15 minutes a day. Don’t binge everything. Pair devices, test, take notes, and move on when it’s stable.
3. Get to Know Key Tools and Equipment (So You Don’t Waste Money)
Before you buy a bunch of gadgets, it helps to know what you actually need. Most beginner setups are simple, but the “simple” part depends on whether you’re choosing Wi‑Fi devices only or using a hub for Zigbee/Z‑Wave accessories.
For most DIY projects, I’d plan around these essentials:
- A smartphone or tablet for setup and day-to-day control.
- Stable Wi‑Fi (and decent coverage where your devices will live).
- A compatible hub (optional but common) if your devices use Zigbee or Z‑Wave.
- Basic hand tools like a screwdriver, mounting tape, and a level (especially if you’re adding sensors or cameras).
If you’re doing anything that touches hardwired switches or sensors, safety matters. I’m not going to pretend DIY is always plug-and-play. If you’re wiring, turn off power first and consider using a multimeter and following local electrical safety guidelines. If you’re unsure, it’s worth hiring an electrician for that portion.
As far as ecosystems go, many people start with platforms like SmartThings or Home Assistant because they can support lots of compatible equipment. Just remember: compatibility is a two-way street. The device has to support the platform, and the platform has to support that device type.
About starter kits: you’ll often see bundles in the $150–$200 range. In that price range, you might get a hub plus a small set of devices (like 2–4 sensors and a plug or bulb). The tradeoff is usually coverage and flexibility. Some kits are great if you stay in one ecosystem. If you later want to mix brands or add Zigbee devices with different requirements, you may need extra hardware or a different hub.
Here’s what I’d do to avoid regret: before buying a kit, check what it includes, what it needs (hub/subscription), and whether the devices you want later are supported. That way you’re not stuck with a “starter” setup that can’t grow.
4. Follow a Step-by-Step Path to Your Smart Home (Here’s the Order I’d Use)
Building a smart home from scratch can feel overwhelming at first. The trick is sequencing. If you do it in the wrong order, you spend more time troubleshooting than enjoying it.
Step 1: Choose a small “test area.” One room, one device type, or even just one smart plug. Don’t start with 12 things at once. If something goes wrong, you’ll actually know what caused it.
Step 2: Pick your hub/platform early. If you’re using SmartThings or Home Assistant, commit to that platform for the first batch of devices. Changing hubs mid-build is where people end up with duplicate devices and messy automations.
Step 3: Install one device and confirm it works. Pick something easy, like a smart bulb or smart plug. Use the app’s guided setup. Then test the basics: on/off, schedule, and whether control works from outside your home (if the app supports remote access).
Step 4: Test reliability before adding more. This is where I personally slow down. I’ll wait a day or two and check if the device stays connected. If it drops offline, fix that first—before adding more devices that depend on the same setup.
Step 5: Add your first routine (simple triggers only). Start with something low-risk like:
- “Turn on porch lights at sunset.”
- “Turn off the living room lamp at 11:00 PM.”
- “If motion is detected, turn on the hallway light for 2 minutes.”
Keep the routine simple at first. Once it’s stable, you can add conditions like “only when nobody is home” or “only on weekdays.”
Step 6: Keep notes like you’re debugging a project. I literally keep a small checklist (even on my phone) with: device name, model, app used, pairing time, and any errors I hit. When something breaks later, you’ll thank yourself.
If you want to refine lesson plans or structure your learning, you can revisit step-by-step guides. But even if you’re not writing lessons, that mindset helps: define a goal, do the task, then confirm results.
And yes—patience is key. Most setups don’t work perfectly on the first attempt. The “win” is getting stable, not getting fancy immediately.
5. Use Tips for Successful DIY Smart Home Projects (What I Wish I Knew Earlier)
Here’s the part nobody tells you enough: smart home projects succeed or fail based on planning and compatibility. You can absolutely DIY this, but you’ll save yourself a ton of frustration by being picky up front.
1) Check compatibility before you buy. Decide which ecosystem you’re using (Amazon, Google, SmartThings, Home Assistant, etc.). Then verify each device model works with it. “Compatible” in marketing can still mean “not compatible the way you want.”
2) Set realistic goals for your first week. Don’t try to automate the entire house. A solid starter goal is:
- 1 smart plug
- 1 smart bulb
- 1 routine (schedule-based or motion-based)
Once those are stable, add more.
3) Build a simple setup checklist. Keep a running list of:
- Device names and model numbers
- Where they’re installed
- Which app/hub you paired them with
- Any pairing issues (and what fixed them)
This matters because most troubleshooting is repeatable. You just need the right “starting point.”
4) Label your Wi‑Fi (seriously). If your home has multiple SSIDs or band steering, make it easier on yourself. A clear network name reduces connection headaches during setup.
5) Troubleshooting shortcuts I actually use:
- Pairing fails: move the device closer to the router/hub and retry. Avoid doing setup on a weak signal.
- Device goes offline: confirm firmware/app updates, then check if it’s a hub-range issue (common with Zigbee/Z‑Wave).
- Automations don’t trigger: verify the trigger (time zone, schedule days, motion sensitivity) and confirm the device status in the app.
6) Safety first for hardwired projects. If you’re installing anything involving switches, sensors, or wiring, turn off power and double-check before touching anything. If you’re not confident, get help for that part.
7) Have fun with it. Once you’ve got one routine working, add a second that matches your real life. For me it’s usually something like turning porch lights on when it gets dark or making sure a coffee maker plug is scheduled so I’m not rushing in the morning.
If you want more beginner-friendly learning resources, you can also use createaicourse.com/lesson-writing/ to think through how to structure what you’re learning and practicing.
6. Understand the Benefits After Completing a DIY Class (Beyond “Cool Tech”)
Once you finish a DIY smart home class, you’ll notice benefits that are practical—not just “techy.” Sure, you’ll have more control over your home. But the real value is what you can do next without starting from scratch.
Money: DIY typically costs less than paying for installation. A common estimate people cite is around 50–75% less compared to hiring pros, but the exact number depends on how complex your project is (especially if wiring is involved).
Confidence: You’ll learn how to troubleshoot without panicking. Instead of waiting for support, you’ll know where to check: device status, network connection, hub logs (if you use Home Assistant), and automation settings.
Customization: With routines, you can shape daily comfort and security. For example:
- Lights that turn on at sunset and off at bedtime.
- Motion-triggered hallway lighting that only runs at night.
- Smart plugs that cut power to devices you don’t need running 24/7.
Energy impact (and how to measure it): This is where smart home tech can actually help, but you need to measure. If you use smart plugs with energy monitoring, you can track usage before and after you automate. That’s how you turn “maybe it saves energy” into something you can see.
On the “why people adopt smart tech” side, there are lots of survey and research summaries about energy efficiency being a major motivator. One widely cited example is research from McKinsey on smart home benefits that discusses energy savings alongside comfort and convenience. You can also see broader findings in reports like McKinsey’s IoT/value discussions (and related publications). The key takeaway for DIY learners: your class should teach you how to set up routines that reduce waste—then verify results with real measurements.
As for spending: it’s not unusual for households to spend a few thousand dollars over time on devices, accessories, and sometimes subscriptions. If you’ve seen numbers like “$2,500 annually,” treat that as a rough estimate or aggregate survey-style figure—not a guarantee for every home. Your actual cost depends on what you buy (sensors, hubs, cameras), whether you choose subscription services, and how quickly you expand.
What I like most is the skill transfer. After a class, you’re not just using someone else’s setup—you’re building your own. And that turns a potentially expensive or intimidating project into a manageable hobby where you can improve your home one routine at a time.
FAQs
Smart home automation uses connected devices to control things like lighting, climate, security, and appliances either remotely or automatically. The goal is simple: make everyday actions easier and more consistent through schedules and routines.
Yes. Most beginner-friendly classes focus on setup basics, common device types, and troubleshooting steps. The best ones also include hands-on projects so you’re not just learning terms—you’re actually building.
You’ll usually need basic tools like screwdrivers and a level for mounting. For wiring projects, a multimeter and safety gear can be helpful, but only if you’re comfortable working safely. The bigger “equipment” piece is choosing compatible smart devices, and often a hub, depending on whether you’re using Zigbee/Z‑Wave or Wi‑Fi-only gear.
Check compatibility before you buy, start with one or two simple devices, and test each part before expanding. Keep notes of what you installed and what you changed, and remember: most issues are solvable once you know whether it’s a network, pairing, or automation trigger problem.