How to Record Screen Tutorials Professionally in 11 Easy Steps
Want to make screen tutorials that look professional, but you’re not sure where to start? I’ve been there. The first time I recorded a tutorial, I thought the video looked “fine”… until I watched it back and realized two things: the text was blurry, and my mic was peaking every time I got excited. Yeah, not a great combo.
This is the workflow I use now for tutorials that are clear, consistent, and actually easy to follow. I’ll walk you through 11 steps—from setup to editing to publishing—plus the exact kinds of decisions that make a tutorial feel polished instead of thrown together.
Key Takeaways
- Set up for clarity first: clean desktop, 1080p, and a mic you can hear without distortion. In my experience, audio quality is what determines whether people stick around.
- Define one goal and one audience before you record. If you don’t, you’ll either over-explain or skip the steps beginners need.
- Plan your flow with a checklist (not a full script). Outline the steps, the key phrase you’ll say, and what you’ll click—then practice once.
- Use multiple delivery formats for different moments: short clips for quick wins, PDFs for step-by-step reference, and timestamps so people can jump fast.
- Edit with purpose: cut dead air, zoom only when it matters, and highlight the exact UI element your viewer should notice.
- Keep most tutorials in the 5–10 minute range. For longer topics, split into parts and label them clearly so viewers don’t bounce.
- End with a specific CTA tied to the workflow you just demonstrated (download the template, try the feature, follow the checklist).
- After publishing, check watch time and where people drop. Then use comments and questions to improve the next recording.

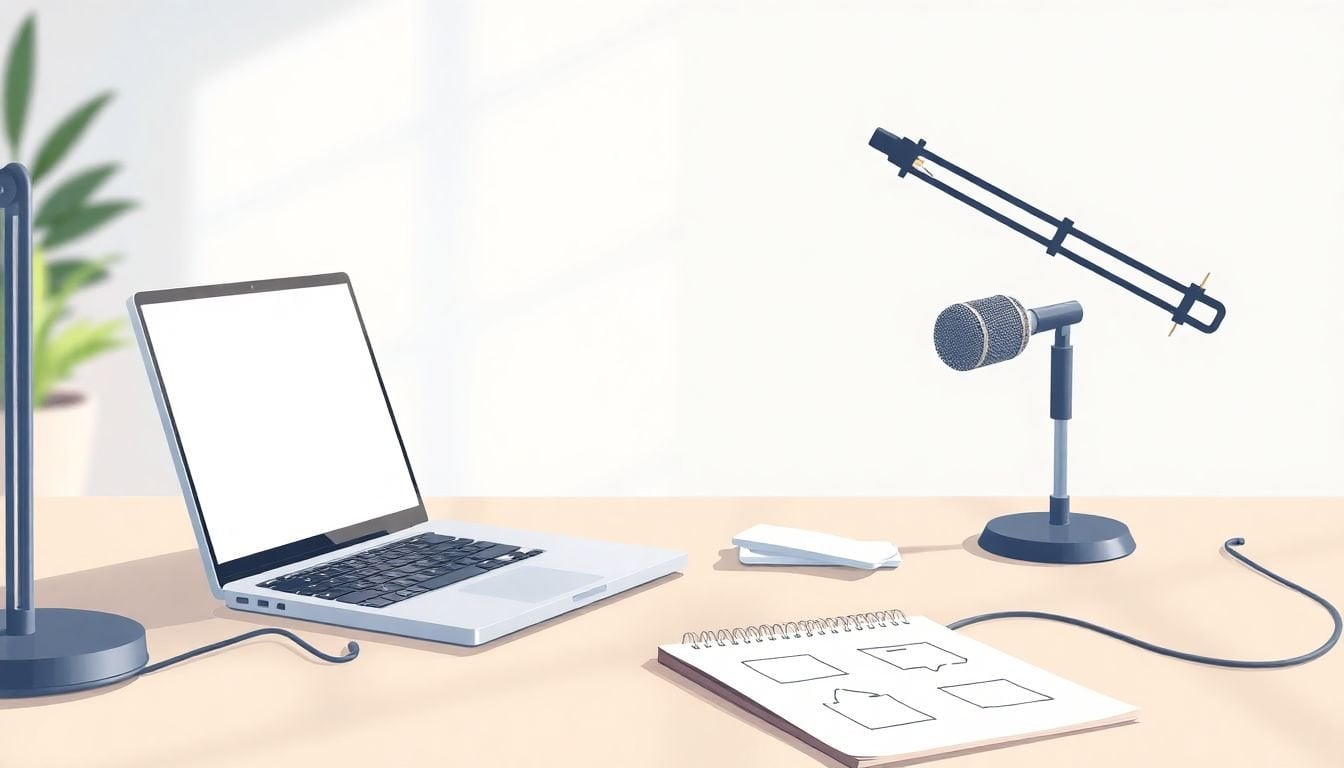
1. Record Your Screen Effectively
Getting a good screen recording starts with setup—because viewers can’t “edit along with you.” If your text is blurry or your audio clips, they’ll bounce fast.
Here’s what I do every time:
- Clean your desktop: move unrelated files off-screen, close extra tabs, and hide anything that flashes (calendar popups, Slack pings, email notifications).
- Use 1080p as the default: for most tutorials, 1920x1080 at 30 FPS is a safe starting point. If you’re recording a lot of motion (like moving around in a 3D tool), bump to 60 FPS.
- Pick a mic and treat it like part of the “camera”: clear audio matters more than fancy video. If you’re using a USB mic, keep it 6–10 inches away and speak slightly off-axis to reduce harsh “P” sounds.
- Use headphones: it helps prevent echo and stops the mic from picking up your computer audio.
- Do a 60-second test: record one small segment, watch it back, and check three things: readability, audio levels, and whether the cursor is easy to follow.
- Record in segments: instead of one 30-minute recording, do 4–8 minute chunks. You’ll thank yourself during editing.
Quick settings tip (common defaults): If you’re using OBS, start with H.264 encoding, CBR, around 6000–10000 kbps for 1080p. If your file sizes explode or you see artifacts, lower bitrate a bit. If your video looks mushy, raise it slightly.
Small but huge detail: make sure your cursor highlighting/visibility is strong. I’ve watched tutorials where the cursor basically disappears, and it’s painful.
2. Define Your Purpose and Audience
Before I press record, I ask one question: what should the viewer be able to do after this video? If you can’t answer that in one sentence, your tutorial will wander.
Here’s how I narrow it down:
- Choose the goal type: teach a new skill, demonstrate a workflow, or troubleshoot a specific issue.
- Match the audience level: beginners need “click here, then click there.” Advanced viewers want shortcuts, edge cases, and why decisions matter.
- Decide the desired action: subscribe, download a checklist, try a feature, or follow a setup step.
One more thing—don’t try to impress with jargon. If you use a term, define it the first time. That’s how you keep retention high.
3. Plan and Script Your Tutorial
I don’t write full scripts word-for-word. But I do plan enough so I don’t ramble. That’s what makes the video feel “professional.”
My planning checklist looks like this:
- Step outline: 6–12 bullets max for most tutorials.
- Key phrases: write down the sentences you want to be crystal clear (like “Make sure the checkbox is enabled”).
- Screen actions: note what you’ll click, where the user will look, and what they should expect to see next.
- Common mistakes: include 1–2 “watch out for this” moments.
- Intro + outro plan: intro should be 10–20 seconds, outro should tell people exactly what to do next.
Mini case study from my own workflow: I once recorded an onboarding tutorial where I “kind of knew” the steps. Halfway through, I jumped ahead, and viewers started asking in the comments where the missing button was. After that, I switched to a checklist with “before/after” expectations (what the screen should look like). Retakes dropped, and the video stopped generating confusion.
4. Set Up Scenes and Audio Before You Record
This is where “amateur” recordings quietly become “pro.” If you set scenes up once, you won’t fight your tools while recording.
If you’re using OBS, create at least:
- Scene 1: Screen only (for most tutorials)
- Scene 2: Screen + webcam overlay (only if the webcam adds value)
- Scene 3: Focus view (optional—bigger UI elements or a zoomed crop)
Audio checks that save you later:
- Do a test recording and watch your audio meters.
- Try to keep peaks around -6 dB to -3 dB (depending on your editor). If you’re constantly hitting 0, it’ll sound harsh after compression.
- If you use system audio (like app sounds), lower it so it doesn’t fight your voice. In my setup, voice is always the loudest thing.
Cursor + zoom: don’t overdo zoom effects. A small zoom (or a highlight) at the moment you say “click here” is usually enough.
5. Record With a Simple Workflow
Recording is easier when you treat it like filming scenes, not one continuous take.
My workflow:
- Start each segment with a one-line goal: “In this part, we’ll set up the template.”
- Move slowly on clicks: don’t rush. Viewers need time to track what changed.
- Say what you’re doing: “I’m clicking Settings, then General.” It sounds obvious, but it’s the difference between a tutorial and a screen recording.
- Pause after important actions for half a second so the result lands visually.
- If you mess up, don’t panic: just mark it mentally and keep going—then fix it in editing.
Decision rule I follow: if I’m going to re-record anyway, I re-record the whole segment (not just a tiny part). That keeps pacing consistent and avoids awkward edits.
6. Organize and Review Your Raw Footage
Before editing, I do a quick review pass. It’s boring, but it’s faster than hunting for the right clip later.
- Name files like 01-setup, 02-first-run, 03-troubleshooting.
- Make a “re-record” list: write down where audio clipped, where the cursor disappeared, or where I forgot a step.
- Check readability by scrubbing through the raw footage at normal playback speed (not max zoom).
What I noticed the hard way: if you discover a readability issue after editing, you may end up redoing more than you expected. Catch it early.
7. Edit for Clarity (Not Perfection)
Editing should make the tutorial easier to follow, not “prettier.” Viewers don’t want effects—they want clarity.
My editing checklist:
- Cut dead air: remove long pauses, “um” moments, and repeated explanations.
- Trim the intro: aim for 10–20 seconds before you start the first action.
- Use highlights intentionally: when you say “click this button,” add a rectangle highlight or a subtle zoom right then.
- Keep transitions simple: a quick cut between steps is usually better than fancy wipes.
- Add on-screen labels only for complex UI. For simple clicks, narration is enough.
- Balance sound: reduce background noise if needed, but don’t crush the voice until it sounds unnatural.
Editing timeline example (realistic): For a 7-minute tutorial, I typically spend ~1 minute cleaning the start, ~2–3 minutes cutting mistakes and aligning narration to clicks, ~1 minute adding highlights/labels, and the rest on audio leveling and exporting.
Mini case study: In one tutorial, my audio was “fine” during recording—until the editor showed peaks. I lowered the voice track by a couple of dB, removed a few clipped moments, and suddenly the tutorial sounded calmer and more confident. People stopped commenting about the audio and started asking about the actual steps.
8. Optimize Video Length for Better Engagement
Most tutorials don’t need to be long. They need to be focused.
- Target 5–10 minutes for single-topic how-tos.
- If it’s bigger than that, split it into parts (Part 1 / Part 2) instead of forcing everything into one video.
- Use timestamps in the description (and optionally on-screen). This helps viewers who are searching for one specific fix.
- Watch your drop-off points: if people leave at 3:20, ask yourself what happened—too much text? unclear click? audio got quiet? Then adjust.
Also, don’t forget pacing. If you say “now click…” and the cursor takes two seconds to move, viewers feel it. Smooth cursor movement matters.
9. Add Supplemental Materials and Formats
One video is great, but supplemental materials are what turn “watched it once” into “I can actually do it.”
Here’s how I mix formats without making it messy:
- PDF checklist for step-by-step workflows (best for onboarding and troubleshooting).
- Short clips (30–90 seconds) for single actions like “where to find the setting” or “how to export.”
- GIFs for tiny UI motions—like toggling a checkbox or switching a tab.
- Live session or Q&A when the topic has lots of “what if” scenarios.
If you’re publishing on multiple platforms, tailor the format. A long tutorial can become a series of short onboarding clips for social, while the full video stays on your main channel.
If you want ideas for content types and how to map them to your topic, check out https://createaicourse.com/online-course-ideas/—it’s useful for planning what to turn into clips vs. downloads.
10. Incorporate Calls-to-Action That Drive Results
Don’t end with something vague like “thanks for watching.” Tell people what to do next, based on what you just demonstrated.
Good tutorial CTAs are specific and low-friction:
- “Download the template used in step 7.”
- “Try the feature we enabled at 4:10—if you get stuck, leave a comment with your setup.”
- “Subscribe for more tutorials in this exact workflow.”
I also like to remind viewers once midway if the next step depends on a file or setting they might forget. And if you’re linking resources, make the link obvious—don’t hide it in a paragraph.
If you want to connect tutorials to a bigger funnel, you can look at Sales Funnel Tips for ideas on how to structure the next step after someone watches.
11. Analyze Your Performance and Gather Feedback
After you publish, don’t let the video sit in silence. This is where you improve fast.
- Check watch time: where do people drop? That’s usually a clarity issue.
- Look at engagement: likes, shares, and comments tell you what resonated.
- Read questions carefully: if people ask the same thing twice, that step needs a better explanation or a highlight.
- Use feedback to plan the next recording: add more examples, shorten the intro, or split the video where it gets confusing.
If you’re collecting feedback in a structured way, Effective Teaching Strategies has useful ideas you can apply directly to tutorial planning.
FAQs
Start with a clean desktop, record at 1080p, and prioritize clear audio. Close distractions, use headphones to avoid echo, and do a quick 60-second test before the real recording.
Write down what the viewer should be able to do after watching, then match your examples and explanations to their skill level. If you know what action you want them to take next, the whole tutorial becomes easier to structure.
Common options include OBS Studio, Camtasia, and Loom. Pick based on your needs—OBS is great for control and customization, Camtasia is strong for editing, and Loom is quick for simple sharing.
Keep segments short, narrate what you’re doing, and use highlights/labels at the exact moment viewers need them. Remove mistakes quickly and focus on clarity over fancy effects.