Creating Sign Language Glossaries for Key Terms: 8 Simple Steps
I get it—building a clean sign language glossary isn’t hard because it’s “complicated,” it’s hard because there are a lot of terms, and a lot of ways they can get muddled. What I noticed the first time I tried to organize one is that the glossary stops being helpful the moment you don’t set boundaries. Too broad, and it turns into a wall of words. Too narrow, and learners keep hitting missing entries.
So I built mine like a practical reference: I picked a scope, wrote definitions in plain language, and documented signs in a consistent way (handshape → movement → location → facial/body cues). It didn’t just make the glossary easier to use—it made the whole learning process feel less intimidating. If you follow the steps below, you’ll end up with something learners and interpreters can actually rely on.
By the end, you’ll know how to pick the right terms, document signs accurately, and keep everything up-to-date without turning your project into a never-ending spreadsheet. And if you involve Deaf community members and qualified experts, you’ll also avoid a big problem I’ve seen: glossaries that look “correct” on paper but don’t match real-world signing.
Key Takeaways
Key Takeaways
- Start with a scoped list of sign language terms and acronyms (like ASL, BSL, LSE, classifier, fingerspelling). Boundaries keep the glossary manageable and prevent “everything ever” from creeping in.
- Write beginner-friendly definitions in plain language. Include context and a quick example of how the sign is used, especially when a term has multiple meanings.
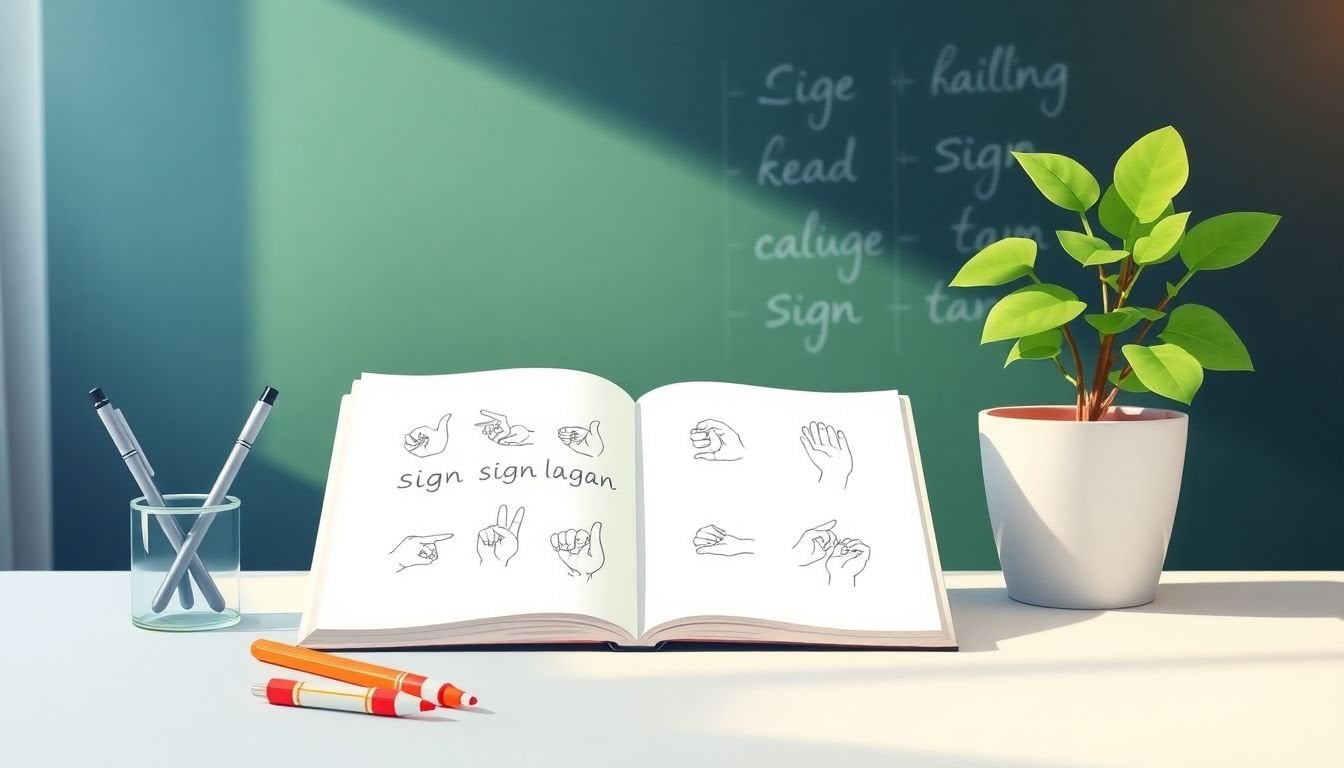
- For each entry, add a sign representation: a video link, an image, or a step-by-step written breakdown (handshape, movement, location, and facial/body cues).
- Organize for fast searching: alphabetical and/or categories, plus a table of contents and consistent formatting (bold term, same section order, clear labels).
- Make it a living document. Set a review cadence (for example, every 30–90 days at first), track what changed, and invite community feedback.
- Verify with Deaf community members and language experts. This is where you catch dialect/region differences and avoid cultural or linguistic mistakes.
- Use a repeatable entry template and QA rubric so every glossary item looks and reads the same. Consistency is what makes the glossary “feel” professional.
- Use the right tools for the right job: video references, sign dictionaries, a collaborative database (Sheets/Notion), and a versioning approach for updates.

Step 1: Identify Key Terms and Acronyms
Start by writing down the terms that matter most to your topic—and the ones that are most likely to confuse people. In my experience, beginners don’t get stuck on “basic” words. They get stuck on technical vocabulary and the stuff that only shows up in class handouts, research papers, or community conversations.
Here’s a simple way to build your first list without overthinking it:
- Pick your audience: learners, interpreters, teachers, or families. Your audience changes what’s “key.”
- Pick your sign language scope: for example, ASL (North America) or BSL (UK). Don’t try to cover everything on day one.
- Pull terms from real materials: course syllabi, lesson plans, captions, glossary pages, and common discussion topics.
If you’re focusing on American Sign Language (ASL), you’ll often see terms like fingerspelling, classifier, and loan sign show up early. For British Sign Language (BSL), the “key” list will look different.
Now, about ISO-639-3 codes. What I did (and what I recommend) is using ISO-639-3 as your scope boundary, not as a random reference. The workflow looks like this:
- Choose the sign languages you’re covering (say ASL and BSL).
- Use ISO-639-3 to confirm the standard language identifiers for those languages. Reference: https://iso639-3.sil.org/code_tables/
- Create a “Glossary Scope” note at the top of your project that states: which ISO-639-3 codes you include, which you exclude, and why.
- When you encounter a term that belongs to another sign language, you decide: either skip it, or add it as a “Related/Not in Scope” entry with a clear label.
Why this matters? Because it prevents the glossary from quietly expanding into languages you didn’t plan to document.
Also, yes—there are around 160 living sign languages. So focusing is not optional if you want quality. A glossary with 80 well-documented entries beats 500 half-finished ones every time.
Don’t forget acronyms. You’ll see them in research and community spaces (for example, LSE for Latin American Sign Language). If your learners will encounter acronyms in videos, articles, or class notes, include them.
Quick decision rule I used: ask, “Would a learner reasonably expect to find this term in our glossary?” If the answer is “yes,” it goes on the list.
Step 2: Define Each Term Clearly
Once you’ve got your term list, the next job is definitions. And I’m going to be blunt here: if your definitions sound like they were written for linguistics textbooks, beginners won’t use them.
Write definitions so someone can understand them without needing extra explanation. Keep jargon low. When jargon is unavoidable, define it in the same entry (or link to another glossary entry).
Here’s the structure that worked well for me when I wrote definitions:
- Plain-language meaning: one or two sentences.
- Where it shows up: “used in describing…” “common in discussions about…”
- How it’s used: a short example sentence in English (and explain what the sign represents).
- Variations/notes: if the term changes meaning by context or differs by region.
Example: you might define classifier as “a handshape used to represent categories of people, objects, or actions.” Then add a concrete example: “For instance, a flat hand moving like it’s gliding can represent a boat moving.”
When a term has multiple meanings, don’t bury that fact. State the differences clearly, like a mini “if/then”:
- Meaning A: used when describing…
- Meaning B: used when referring to…
If you’re unsure, don’t guess. Check sign language dictionaries and credible references like https://www.signwriting.org/ and—this is important—ask Deaf community members for how they’d explain it.
My personal rule: if I can’t explain the term to a friend in under 30 seconds, my definition isn’t ready yet.
Step 3: Assign or Describe Corresponding Signs
Now comes the part people actually need: the sign representation. You can include a video, an image, or a written breakdown. If you’re building a digital glossary, videos are usually the most user-friendly because movement and facial expression are hard to capture in text alone.
For digital glossaries, links to sign language videos can be helpful. You can also reference resources like https://createaicourse.com/how-to-make-a-quiz-for-students/ when you’re organizing learning content.
If you’re doing written descriptions, use a consistent order every time. Here’s the breakdown format that reduces confusion:
- Handshape: what the hands look like
- Location: where it happens on the body
- Movement: direction, path, speed
- Orientation: palm/hand direction
- Non-manual signals: facial expression and any body cues
Let me give you a complete example entry so you can see what “good” looks like.
Example Glossary Entry (ASL): “THANK YOU”
Term: thank you
Language: ASL (scope: ASL)
Definition (plain language): Used to express gratitude. Often signed when responding to help, a favor, or polite conversation.
Sign description (step-by-step):
- Handshape: fingers extended (open hand/finger position consistent with the sign)
- Location: near the mouth/lips
- Movement: extend fingers outward away from the mouth (a short, clear motion)
- Facial/body cues: friendly expression; posture stays relaxed and oriented toward the person you’re addressing
Regional/dialect notes: Some signers may vary the exact path or intensity of the outward movement depending on region and conversational context. If you’re documenting a specific community, note that community’s preference.
Common mistakes:
- Signing it too large (turning it into a “big” gesture instead of a clear gratitude sign)
- Skipping the mouth reference (it can look like a different gesture)
- Missing facial warmth (it can read as flat or incorrect)
Source links:
- https://www.signwriting.org/ (for reference and verification)
Media reference: Add a video link or embed from a trusted source where the motion and facial cues are visible.
And one more thing: if you can’t capture videos, don’t pretend text alone is “the same.” Use standardized notation or phonetic descriptions to make the motion clearer, and label the entry as “text-based description” so users know what to expect.
Step 4: Organize the Glossary for Easy Navigation
Once your entries exist, organization is what makes the glossary usable. Nobody wants to hunt around for “that one term” while they’re trying to learn or interpret.
Here are the organization options that typically work best:
- Alphabetical: easiest for scanning and quick lookups (like a dictionary).
- Categories: group by theme, like “Sign Types,” “Signs in Context,” or “Regional Variations.”
- Relevance sorting: useful if you’re building a learning resource for a specific course or audience.
I’d also add a table of contents with jump links (especially if your glossary grows past ~100 entries). For digital formats, a search bar is a big win—most users will search before they scroll.
Consistency helps too. If every entry uses the same order (Term → Definition → Sign → Notes → Sources), users learn the pattern and find information faster.
Small detail, big impact: label your sections clearly. When someone opens an entry, they should instantly know where to look for the sign description, where to find regional notes, and where sources are linked.
Step 5: Keep the Glossary Updated and Open for Collaboration
Sign languages evolve, and your glossary should too. If you don’t plan updates, you’ll end up with old entries that people keep relying on anyway—which is worse than admitting you’re still improving.
Here’s what I recommend for a realistic update rhythm:
- Early stage (first 1–3 months): review every 30 days. You’ll catch patterns and recurring confusion quickly.
- After stabilization: review every 60–90 days.
For updates, create a simple change log. Even a “Last reviewed” date helps. And when you modify an entry, note what changed:
- Definition updated for clarity
- Sign description refined (handshape/movement clarified)
- New source added
- Regional/dialect note added
Use a shared platform so feedback doesn’t live in emails. Google Docs, Google Sheets, Notion, or any collaboration tool can work—just make sure you can track edits and versions.
One feature I like a lot: a “report an issue” or “suggest an entry” option. If users can tell you “this feels wrong” or “this sign varies here,” you’ll improve faster.
Bottom line: treat the glossary like a living resource, not a finished document.
Step 6: Collaborate with Experts and the Deaf Community
If you want accuracy, collaboration isn’t optional—it’s the whole point. Deaf community members and qualified sign language experts help you verify signs, refine explanations, and catch cultural or linguistic issues you’d never notice as an outsider.
What collaboration looks like in practice:
- Verification: ask reviewers to confirm handshape, movement, and facial cues match real signing.
- Explanation checks: confirm your definitions read naturally and don’t “sound off.”
- Regional notes: ask how the sign varies by region or community.
Where to connect:
- Local sign language organizations
- Community workshops and events
- Online forums and social media groups related to your target sign language
If your glossary covers multiple sign languages, partner with native signers for each language. It’s the only way to avoid mixing styles or accidentally importing conventions from one community into another.
And yes—good relationships matter. When people feel respected and included, your feedback loop improves and updates become easier over time.
Step 7: Use Consistent Formatting for Better Clarity
This is one of those steps that sounds boring… until you see the difference. Consistent formatting is what makes a glossary easy to scan, not just “complete.”
Use a repeatable template for every entry. Here’s a formatting checklist I used:
- Bold the term at the top of each entry
- Keep section order consistent: Definition → Sign → Notes → Sources
- Use the same labels: “Handshape,” “Movement,” “Location,” “Facial cues,” “Regional notes,” “Common mistakes”
- Start written sign descriptions with handshape, then movement, then facial/body cues
- Make links obvious: label video links clearly (and open in a new tab if possible)
- Leave whitespace so users aren’t overwhelmed by dense text
For step-by-step sign descriptions, bullet points are your friend. If you use paragraphs, you’ll lose people mid-entry.
Also, avoid clutter. If your glossary page gets crowded, users won’t read the details—they’ll bounce.
Step 8: Leverage Resources and Tools to Create and Enhance Your Glossary
You don’t need fancy software to start, but you do need the right categories of tools so your glossary stays organized as it grows.
Here’s the setup I’d use (and why):
- Video references: Use YouTube (or another video platform) to store or link to sign demonstrations. Reference: https://www.youtube.com/
- Verified sign references: Use sign dictionaries and reference sites like https://www.signwriting.org/
- Notation/representation: If you need text-based clarity, explore sign notation systems (SignWriting is one example) so your written descriptions aren’t vague.
- Collaboration database: Keep your glossary entries in a structured tool like Google Sheets or Notion so you can collaborate and update fields consistently.
- Media production workflow: If you’re creating educational content, tools like createaicourse.com can help you turn glossary content into lessons and quizzes (which is useful because practice reveals gaps in your glossary).
One practical tip: add metadata fields to every entry in your database. At minimum, include:
- Language (ASL/BSL/etc.)
- Term
- Definition
- Sign description fields (handshape/movement/location/facial cues)
- Source link(s)
- Reviewer name/role (if available)
- Last reviewed date
That way, when you update an entry later, you know exactly what to verify again. Versioning saves you from “I think we changed it” confusion.
And if you’re turning this glossary into a course or learning module, you can reuse the same entry template to generate consistent lesson content—definitions, sign media links, and practice prompts all in one place.
FAQs
Key terms are the specific words and phrases people will need to understand your topic (like classifier, fingerspelling, loan sign). Acronyms are shortened forms you’ll see in class materials, research, or community discussions. Including both keeps learners from constantly guessing what a term means or where it belongs in the language.
Use plain, direct language. Aim for a definition a beginner can understand right away, then add context if the term has more than one meaning. If you can, include a short example of how the sign is used in an everyday sentence.
Alphabetical order is great for quick lookups, but categories can make learning easier when terms cluster around themes. A table of contents, clear labels, and consistent entry formatting help users find what they need fast.
Review entries on a schedule and track changes. Invite feedback from Deaf community members and qualified sign language experts, and add a “report an issue” option so users can flag confusing or missing entries. Treat it like a living resource, not a one-time project.