
Creating KPI Dashboards for Ops Oversight: 6 Key Steps
I’ve been in the situation where operations are “busy” but nobody can tell you why—because everyone’s looking at different spreadsheets, different cutoffs, and different definitions. The result? Meetings turn into debates, incidents take longer to triage, and fixes get delayed.
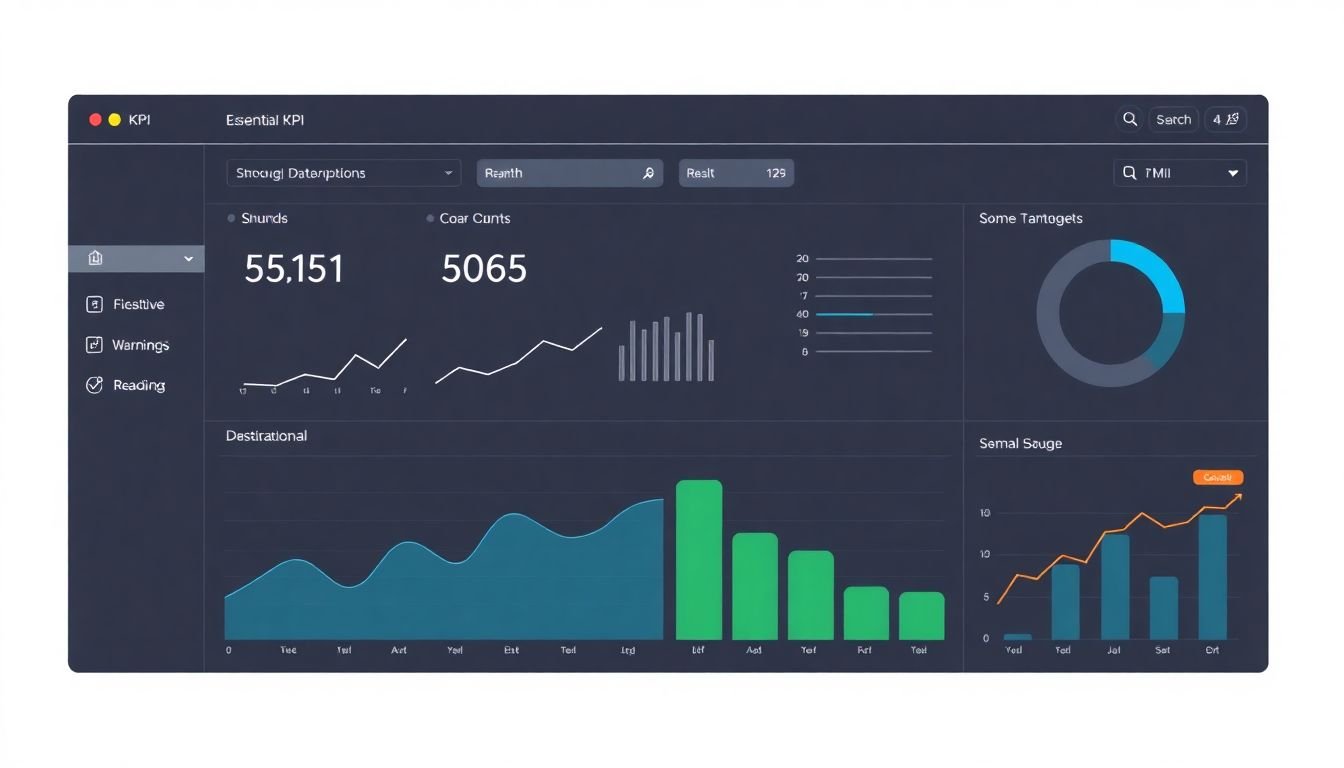
That’s exactly why I like KPI dashboards for ops oversight. But here’s the catch: a dashboard only helps if the KPIs are the right ones and the layout tells people what to do next. Otherwise, it’s just pretty charts with no decisions behind them.
In this post, I’m going to walk through a practical 6-step process I’ve used to build operational dashboards that actually get used—plus a couple fully worked examples (with formulas, thresholds, and what happens when a KPI goes red).
Key Takeaways
– Pick KPIs that map directly to operational goals (downtime, throughput, quality, response time). Don’t track everything—track what changes decisions.
– Design for “glanceability”: a manager should understand status in 10 seconds. Use charts/gauges, not endless tables, and keep the number of KPIs per view tight.
– Define each KPI clearly: formula, data source, refresh cadence, and what “good” vs “bad” means (targets + thresholds).
– Organize with context: show targets, trends (7/30 days), and drill-down paths so people can investigate without leaving the dashboard.
– Use consistent color logic (green/yellow/red) and avoid clutter. Auto-refresh during operational hours so you’re not making decisions off stale data.
– Build a feedback loop: test with real users, adjust definitions, and remove metrics that don’t drive action. Adoption usually improves after the first “red KPI → clear investigation → outcome” cycle.

Step 1: Identify the Operational KPIs That Actually Drive Decisions
Figuring out which KPIs matter is half the battle. The other half is making sure those KPIs are defined the same way across every team that touches them.
Here’s how I narrow it down fast:
- Start with your operational “areas”: production efficiency, quality, safety, fulfillment speed, customer outcomes. Don’t start with metrics—start with outcomes.
- Pick 3–6 KPIs per audience (shift lead, ops manager, customer support lead, finance). More than that and nobody remembers what to look at.
- Force a decision link: for each KPI, write down one action someone takes when it turns yellow or red.
Let me make this concrete.
Example: Manufacturing line oversight (worked KPI + thresholds)
On one dashboard I built for a mid-size plant, we initially tracked “output” and “defects.” It was noisy. What helped was switching to KPIs tied to operational levers and defining thresholds clearly.
KPI 1: Overall Equipment Effectiveness (OEE)
Formula (per shift):
OEE = Availability × Performance × Quality
Where:
- Availability = (Planned Production Time − Downtime) / Planned Production Time
- Performance = (Ideal Cycle Time × Total Count) / Operating Time
- Quality = Good Count / Total Count
Data sources we used:
- Machine event logs (downtime reason codes)
- Production counters (total vs good)
- Standard/ideal cycle time from the work instruction table
Refresh cadence: every 5 minutes during operating hours, hourly off-hours.
Threshold logic (we used this and it stuck):
- Green: OEE ≥ 85%
- Yellow: 75% ≤ OEE < 85%
- Red: OEE < 75%
What a manager does when it’s red:
- Click into the “Loss breakdown” view (Availability vs Performance vs Quality)
- If Availability is the driver: filter by downtime reason code and shift; assign maintenance ticket for the top 1–2 reasons
- If Quality is the driver: open the “defect categories” panel and check whether the spike is tied to a specific material lot or operator
That’s the key: don’t just track OEE. Track what causes it to move.
If you’re in a service business, the same approach works—just with different KPIs. Response time and resolution rate are common, but I’m picky about definitions:
- Response time: time from ticket created to first agent response (not “first update”)
- Resolution rate: resolved within SLA window, not “closed at any time”
- Customer feedback: NPS or CSAT, but make sure you know the survey timing (immediately after resolution vs 7 days later)
One more thing I’ve learned the hard way: avoid KPI lists that are “technically measurable” but don’t reflect how work actually happens. If your downtime reason codes are messy, don’t pretend OEE will magically be clean. Fix the data definitions first.
Step 2: Design the Dashboard So People Get Answers in Seconds
Once you know what to track, the dashboard has to be built for speed. Not “speed” like flashy animations—speed like: a manager should understand status before the coffee cools.
In my experience, the fastest dashboards follow a simple rule: status first, detail second.
- Status row: OEE (or your main KPI), downtime hours, defect rate, SLA response time (whatever’s most important to the audience)
- Trend strip: 7-day and 30-day sparkline for each KPI (so you can tell “one weird day” vs “a real drift”)
- Driver breakdown: Availability vs Performance vs Quality (or for service: queue volume vs aging vs resolution time)
- Investigation shortcuts: “Top downtime reasons,” “Defect categories,” “Top impacted shifts,” etc.
What I noticed works better than a wall of numbers is a small set of visuals:
- Gauges for the primary KPI (with the green/yellow/red threshold baked in)
- Line charts for trends (daily points)
- Bar charts for “top drivers” (ranked categories)
Example: Service ops dashboard layout (quick decision flow)
For one support team, we used this layout:
- Top: Response SLA % (green ≥ 90%, yellow 80–89%, red < 80%)
- Second: Median response time (trend line)
- Third: Queue aging by priority (0–2 hrs, 2–8 hrs, 8–24 hrs, 24+ hrs)
- Right side: Top 5 reasons for SLA misses (tag counts)
When SLA % hit red, the agent supervisor didn’t have to guess. They clicked “Top 5 reasons,” saw the most common tag (often “missing customer info” or “handoff delay”), and ran the playbook (request template + escalation rule).
Also, yes—make it mobile-friendly. I’ve sat in shift meetings where the dashboard was the “source of truth” on a phone. If the text is too small or filters are hidden, adoption drops fast.
Step 3: Organize Data With Definitions, Targets, and a Real Investigation Path
This is where most dashboards fall short. They show numbers but don’t show what the numbers mean.
When I organize data, I treat each KPI like a mini contract:
- Definition: what it measures (in plain language)
- Formula: how it’s calculated
- Data sources: where the inputs come from
- Refresh cadence: how often it updates
- Targets + thresholds: what “good” looks like
- Action: what someone does when it changes color
Example: Defect rate KPI with thresholds
KPI: Defect rate per million units (DPMU) or simple defect percentage—pick one and stick with it.
Formula (defect %):
Defect Rate (%) = Defective Units / Total Units × 100
Threshold logic (example we used):
- Green: ≤ 1.0%
- Yellow: 1.0%–1.8%
- Red: > 1.8%
What triggers the investigation:
- If defect rate goes red for 2 consecutive shifts, automatically highlight the top defect category and the impacted machine ID.
- Then the manager checks: (1) last maintenance date, (2) material lot changes, (3) operator/shift correlation.
That “2 consecutive shifts” detail matters. It prevents managers from chasing single-day noise.
Now, about the dashboard structure itself. I usually group panels like this:
- Core KPIs (top row): the ones leadership reviews daily
- Drivers (middle): breakdowns that explain why the core KPIs moved
- Diagnostics (bottom): drill-down tables for root cause evidence
And yes—automate data updates. Manual updates are fine for experiments, not for oversight. If you’re refreshing hourly during the day, tell users that. If you’re refreshing every 5 minutes, make sure the underlying queries can handle it.
One practical tip: keep units consistent. If one defect metric is “per unit” and another is “per lot,” label it aggressively. Small confusion causes big mistakes.
Step 4: Build With Guardrails (So Dashboards Stay Trustworthy)
Creating a dashboard isn’t just “add charts and ship it.” If the numbers aren’t trustworthy, people stop using it. Then you’re back to spreadsheets—just with extra steps.
Here are the guardrails I recommend (and I follow these myself):
- Simple color logic: green/yellow/red only. If you need 7 colors, your thresholds are unclear.
- Auto-refresh during operational hours: if your operations run 6am–10pm, refresh at a cadence that supports decisions (5–15 minutes is common). Off-hours can be hourly.
- Keep the view focused: show fewer KPIs per screen. If you need more, create a second “drill-down” dashboard.
- Use filters that match how people think: shift, line, team, region, product family, priority. Don’t give users a random list of dimensions they never use.
- Make drill-down paths obvious: a red KPI should have a “what changed?” link and a “why?” link.
- Test with real users: I like to test with at least two roles (e.g., shift lead + maintenance manager). They’ll catch different issues.
I’ll be honest about limitations, too: dashboards can’t fix messy operational definitions. If downtime reason codes are inconsistent, your “Availability” will look wrong. In those cases, I usually start with a smaller KPI set and clean up the data dictionary before expanding.
For tooling, platforms like [Tableau](https://www.tableau.com/) and [Looker](https://looker.com/) can help you build reusable components and templates. If you’re working with interactive exploration, tools like [ThoughtSpot](https://www.thoughtspot.com/) can also help users ask questions directly—just make sure the KPI definitions are still standardized.
Step 5: Real Examples (With Thresholds and “Next Steps”)
Examples are helpful, but I prefer examples that show the decision workflow—not just the metric names.
Mini case: Manufacturing dashboard adoption (what changed after we built it)
On a project I supported, the plant had weekly reports and a lot of “we think it’s happening because…” conversations. We rolled out a shift-level dashboard with:
- OEE (with Availability/Performance/Quality breakdown)
- Top downtime reasons (ranked by minutes lost)
- Defect rate by machine and defect category
- Auto-refresh every 10 minutes during shifts
Baseline (before): average downtime per shift was ~2.4 hours and incident response (time from alert to action) was about 90 minutes.
After launch (first 4 weeks): downtime dropped to ~1.7 hours per shift, and incident response time fell to ~55 minutes. We measured adoption by tracking dashboard opens per shift and which panels managers clicked before raising work orders.
Was it magic? No. But once “red KPI → click → specific investigation path” was in place, people stopped guessing.
Example: Customer service dashboard (SLA + aging)
- Response SLA %: green ≥ 90%, yellow 80–89%, red < 80%
- Median response time: trend line with week-over-week comparison
- Queue aging: stacked bars by priority bucket
- Driver panel: top tags for SLA misses
What happens when it spikes: if SLA % drops below red for 2 hours, the dashboard highlights the priority bucket that’s aging and the top tag causing delays. The supervisor uses that to reassign work and apply the right escalation template.
Example: Marketing ops dashboard (ROI with guardrails)
Marketing dashboards often fail when ROI is calculated inconsistently. If you track campaign ROI, make sure you’re using the same cost basis each time (ad spend only vs full attribution costs). A useful layout:
- Campaign ROI (by channel)
- Lead conversion rate trend
- Spend vs booked revenue (scatter or side-by-side bars)
- “At risk” flag when conversion drops below a set threshold
If you want inspiration, you can check out examples of dashboard-style layouts across industries. Just remember: copy the structure, but define your KPIs for your own operations.
Step 6: Keep Improving (And Make Sure People Actually Use It)
No dashboard is perfect on day one. What matters is whether it improves over time and whether your team trusts it.
Here’s a loop that works:
- Gather feedback weekly: “What confused you?” “What did you click?” “Which panels did you ignore?”
- Review KPI relevance monthly: if a metric hasn’t triggered any action in 30 days, reconsider it.
- Adjust thresholds based on reality: early thresholds are often too strict or too lenient. Tune them after you see how often alerts fire.
- Train people on interpretation: teach what the colors mean and how to read driver panels. Otherwise, dashboards become “interesting” instead of “useful.”
- Share quick wins: adoption jumps when people see the dashboard lead to better outcomes.
One practical engagement trick: run a short “red KPI walkthrough.” Pick a recent red incident, show what the dashboard highlighted, then show what action was taken and what the outcome was. That turns the dashboard into a playbook, not just a report.
To support the training side, you might also find ideas in effective teaching strategies that help teams learn data tools faster.
FAQs
I start by mapping KPIs to operational outcomes (faster fulfillment, fewer defects, safer work, better customer experience). Then I ask one blunt question for each KPI: “When this turns red, what decision do we make within 24 hours?” If there’s no clear action, it usually doesn’t earn a spot.
Keep the top of the dashboard “status-only” and push detail into drill-down. Use consistent color meaning (green/yellow/red), show targets and trends, and limit the number of KPIs per screen. Also, test on mobile—if it’s hard to read on a phone, it won’t be used in real meetings.
Group related KPIs together (core metrics, drivers, diagnostics). For each KPI, include the definition and thresholds, and keep units consistent. Then add filters that match real operational segments like shift, line, priority, or product family.
Review KPI performance and relevance on a schedule (monthly is a good start). Update definitions when business rules change, and involve users early—collect feedback on confusing panels and adjust thresholds so alerts aren’t constantly spamming people. The dashboard should stay aligned to how work actually gets done.