Beginner Photography Course (2026): Best Online Classes
⚡ TL;DR – Key Takeaways
- ✓A strong beginner photography course starts with the exposure triangle (aperture, shutter speed, ISO) before pushing you into manual control
- ✓Online learning sticks when it’s modular, short, and assignment-driven (think weekly 2-hour practice with feedback)
- ✓Composition and lighting fundamentals (leading lines, framing, natural light) are taught as repeatable drills, not vague tips
- ✓Post-processing is where beginners stop “getting lucky” and start improving consistently
- ✓AI tools can speed up feedback loops—especially for sharpening and basic edit workflows
- ✓The best online photography classes offer bring-your-own-camera flexibility (DSLR or mirrorless) and clear next steps
- ✓Expect a typical beginner photography course to take 6–8 weeks to build reliable habits
The Photography Starter Kit for Beginners — or you’ll stall immediately
You don’t need “pro gear.” You need a setup that doesn’t fight you, plus a repeatable workflow you can learn in a week. Most beginner photography course failures start here: too much gear fiddling and not enough shooting.
For 2026, the course you pick matters—but your first kit matters even more because it determines whether you’ll practice consistently. So let’s make that easy.
What I recommend you buy (and what to skip)
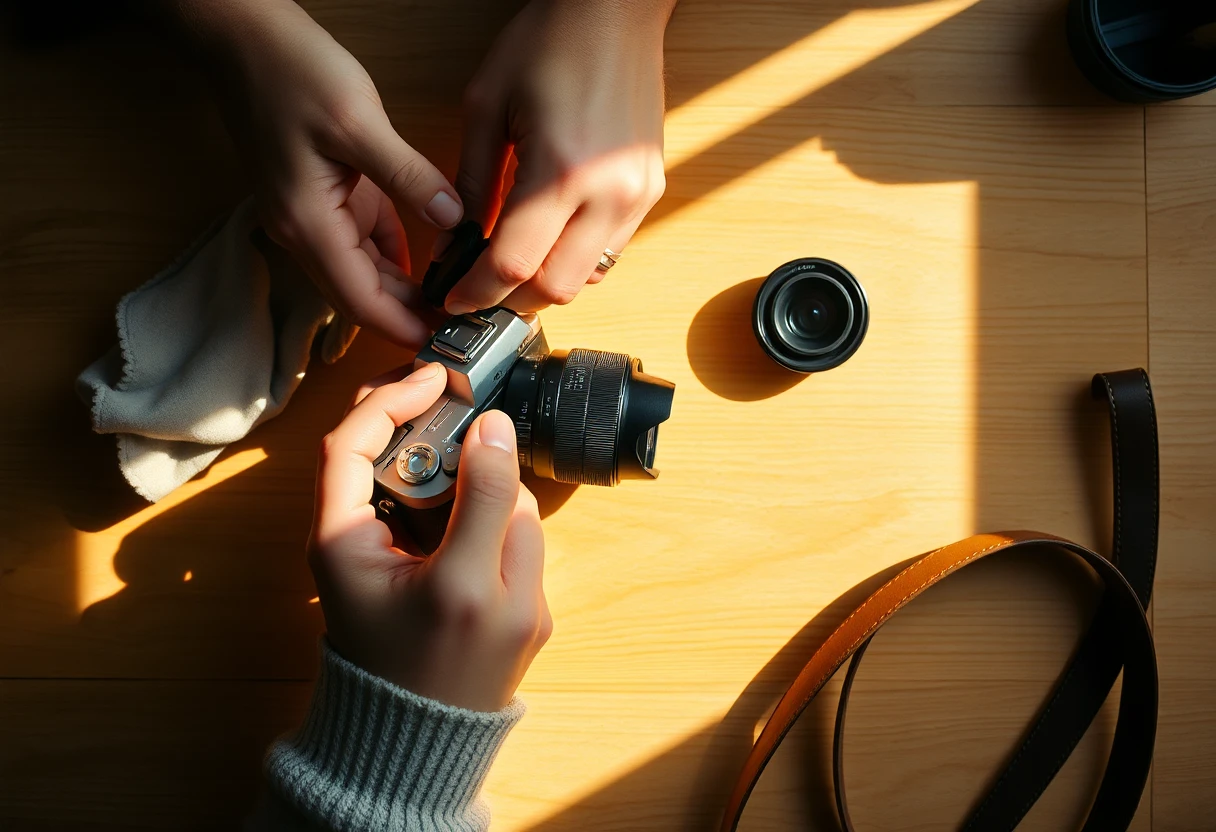
Prioritize essentials. Get a stable tripod (or a stable way to brace the camera), one versatile lens/zoom range, extra batteries, and a basic cleaning kit. Beginners waste more time than they realize on blurry shots and battery anxiety.
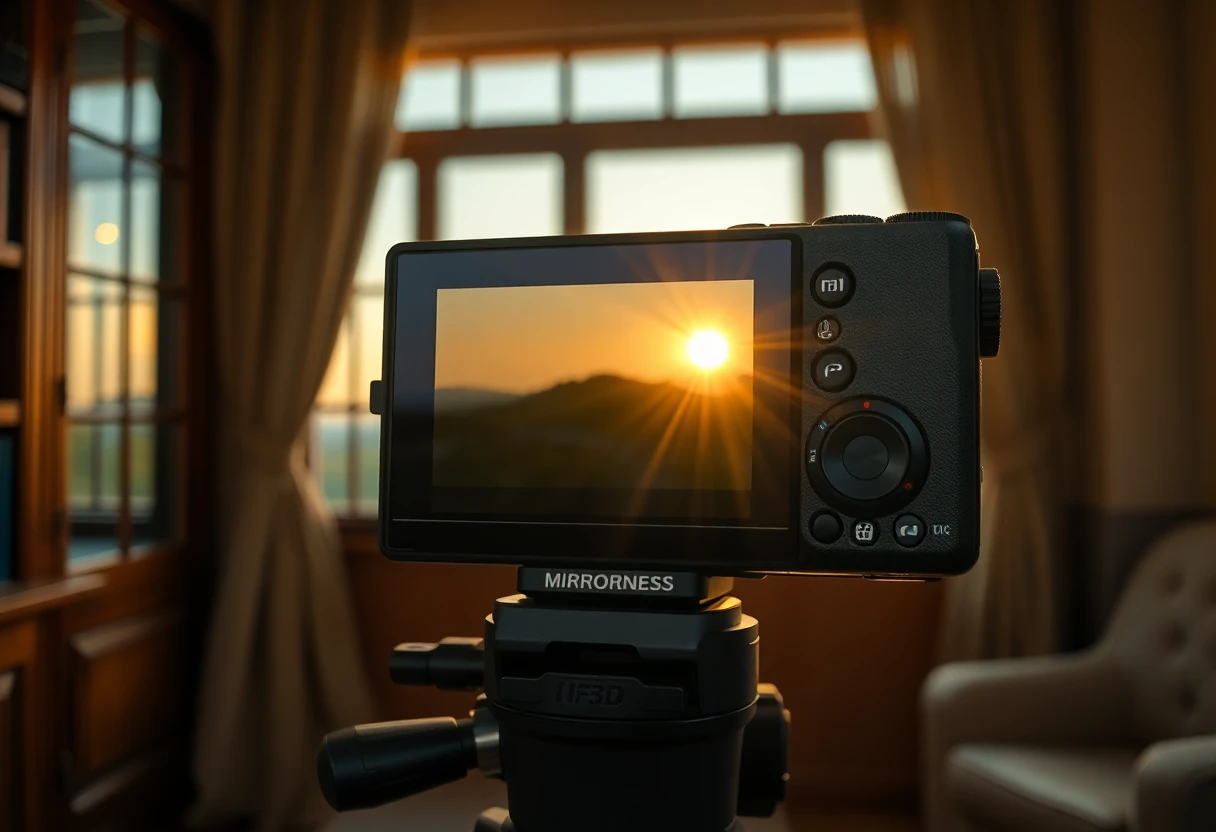
Choose between DSLR and mirrorless based on budget and comfort. I’ve seen great learning outcomes on both; course quality + practice cadence beats brand allegiance.
- Tripod (or support) — If you do even half your learning in low light, you’ll thank yourself. Even a simple tripod improves your focus discipline.
- One versatile lens range — For most people, a kit zoom (or an “all-purpose” prime) covers your early needs without forcing lens swaps.
- Extra batteries + card capacity — Your “I’ll shoot tomorrow” problem is often storage or power, not motivation.
- Skip the gadget pile — LED lights, fancy filters, and ten accessories don’t teach vision. They teach distraction.
A simple “Starter Kit” workflow for your first 7 days
Day 1–2: set up, don’t test forever. You’re doing one focus mode sanity check and setting a baseline shooting mode that feels safe. I’d rather you shoot 50 frames with “good enough” settings than watch 4 hours of tutorials and freeze.
Day 3–7: practice assignments. Tie each day to one variable from the exposure triangle, then do one weekly natural-light shoot. Keep notes on what you changed and what improved.
- Day 1: camera defaults — Learn how to switch between Auto and one semi-auto mode (like aperture priority). Save two custom settings if your camera supports it.
- Day 2: focus discipline — Practice single-point AF vs autofocus tracking on at least two subjects (a person and a static object).
- Day 3: aperture day — Shoot the same scene at two apertures (example: f/2.8 and f/8 if your lens allows). Compare background blur.
- Day 4: shutter day — Freeze motion and then intentionally blur motion in the same location.
- Day 5: ISO day — Shoot in daylight and then repeat in shade/indoors. Notice noise and exposure consistency.
- Day 6: composition day — Pick one rule (leading lines or framing) and force yourself to use it in every shot.
- Day 7: natural-light mini set — Shoot 20–30 frames: shade-to-sun transitions, plus one “golden hour-ish” attempt.
When I onboarded my first students the old-fashioned way, the ones who progressed fastest weren’t the ones with expensive lenses. They were the ones who had a stable tripod and shot the same scene repeatedly for five days. Weirdly effective.
Basics of photography — if you master this, everything else is easier
Most people don’t need more tips. They need you to understand what the camera is doing. If you get the exposure triangle basics right, you stop guessing and start planning.
In a good beginner photography course, exposure comes first because it’s the foundation under composition, lighting, and editing. Once you know what each control changes, you can aim for creative intent instead of accidental results.
The exposure triangle, explained the way you’ll use it
Aperture controls light and depth of field. A wider aperture (smaller f-number) lets in more light and creates more background blur. A narrower aperture (larger f-number) increases sharpness depth.
Shutter speed controls motion and sensor time. Fast shutter speeds freeze movement. Slow shutter speeds let motion blur happen, which is sometimes the point.
ISO controls sensitivity and noise. Higher ISO makes the sensor more sensitive when light is limited, but it increases noise. Your job is to keep ISO as low as possible for the look you want.
Here’s the practical mapping. If your image is too dark, you can open aperture, slow the shutter, or raise ISO. If it’s too bright, you can do the opposite.
| Exposure Triangle Lever | What You Control | Beginner-Friendly Outcome | Common Beginner Mistake |
|---|---|---|---|
| Aperture | Light + depth of field | Blur background vs keep more in focus | Only thinking “brightness,” not blur |
| Shutter speed | Motion blur + time | Freeze action or create blur | Forgetting motion blur changes the story |
| ISO | Sensitivity + noise | See in low light with acceptable quality | Running ISO too high and blaming editing |
Depth of field drills using aperture (beginner-friendly)
Depth of field is “see it, then remember it.” Your brain learns faster when you photograph the same scene multiple times. Start wide open vs stopped down and compare the background separation.
Do at least three repeats per setup. Don’t do “one shot at f/2.8 and one at f/8 maybe later.” Make it a mini-test. Use a portrait or a foreground subject so the background has something to blur.
- Repeatability rule — Same framing, same distance, same subject. Change only aperture.
- Visual reference — Pick one background feature (tree trunk, sign, window grid). Compare it across apertures.
- One session, one lesson — Do not mix composition changes while you’re learning depth of field.
After you shoot, edit the same way each time. Keep contrast and white balance similar so you don’t “fix” what you didn’t understand. Then you’ll actually learn aperture’s signature look.
Manual vs automatic: when to switch camera modes (without panic)
Switching modes shouldn’t be a personality trait. It should be a learning tool. If your beginner photography course teaches mode transitions thoughtfully, you’ll stop flailing and start predicting results.
I like a ramp because it reduces overwhelm. You learn control without losing exposure confidence.
A practical ramp: Auto → Aperture Priority → Manual
Start with Aperture Priority. It teaches depth of field without you losing exposure accuracy. You set aperture for blur, and the camera picks shutter speed for correct exposure.
Then move to Manual when you can predict brightness. When manual feels scary, it’s usually because you haven’t built a mental model of “what changes exposure.” Once you can predict, manual becomes powerful—not complicated.
Use exposure compensation mindset. Even in manual, you’ll benefit from thinking like a light meter: adjust shutter or ISO until the image lands where you want.
How long should this take? A solid online beginners path often gets you comfortable with manual-ish control in about 3 weeks when you practice in small batches. After that, you stop “testing” and start shooting with intent.
My first mistake (and how you should avoid it)
I over-focused on “perfect settings.” Early on, I’d redo the same scene trying to nail a single combination. It felt productive. It wasn’t.
The fix was boring and effective. One scene. Controlled changes. Edit the same style consistently. When you do that, you learn faster than chasing “the best” number.
My biggest beginner-mode lesson: perfectionism doesn’t teach exposure. Repetition does.
- Pick one variable per scene — Aperture first, then shutter, then ISO. Don’t mix changes.
- Use the same subject and light direction — Your results mean something when the environment stays stable.
- Review quickly — Same day. Your memory decays fast; your pattern recognition needs fresh data.
Composition that beginners can actually master — stop guessing
Composition isn’t talent. It’s constraints you apply on purpose. If your beginner photography course teaches rules like leading lines and framing as drills, you’ll improve faster than “looking for good spots.”
Here’s the contrarian truth: many beginners don’t need more freedom. They need a repeatable prompt that forces better decisions under real-world time pressure.
Core composition rules as repeatable prompts
Use composition rules as constraints. Rule of thirds, leading lines, framing—these aren’t “concepts” until you re-shoot with them as targets. Make them a checklist for your next 30–60 minutes of practice.
Then escalate slowly. Start with one rule per session. Next week, keep that rule but add one more variable like foreground framing or subject placement at intersections.
- Leading lines — Choose a line source (street, railing, shadows) and guide the viewer to your subject.
- Framing — Use windows, doorways, branches to create a “natural border” around the subject.
- Rule of thirds — Place key elements at intersections and compare vs centered framing.
- Foreground depth — Add something near the lens to make images feel dimensional (even on a phone-like lens).
Turn “good taste” into a checklist
You don’t need to feel inspired to improve. You need a scoring rubric so your edits and compositions get clearer over time. I use a simple 5-point check when reviewing beginners’ sets.
After shooting, score images. Subject clarity, background control, lines, light quality, and edit consistency. Then pick one score category to target in your next session.
- Subject clarity — Is the subject obvious at a quick glance?
- Background control — Did you manage distractions with aperture, distance, or framing?
- Lines and structure — Do lines lead somewhere useful?
- Light quality — Is the light flattering and consistent?
- Edit consistency — Are exposure/white balance stable across your set?
When I review portfolios, I can usually predict growth rate from one thing: whether the photographer can name why a photo works. Checklists get you there fast.

Lighting basics: natural light, exposure consistency, editing
Lighting is where beginners either level up or quit. The good news is natural light is learnable without buying lights. The bad news is you can’t learn it by watching—only by shooting.
So we’ll build exposure consistency first, then add editing to lock in your look. That’s the loop that turns “lucky photos” into repeatable results.
Natural light patterns you should learn first
Golden hour vs overcast is a skill. Overcast gives softer shadows and smoother contrast. Direct sun gives direction and shape, but highlights can blow quickly if you ignore exposure.
Practice shade-to-sun transitions. Walk with your camera and repeat the same framing in shade, then step into sun. Your brain learns highlight behavior faster than any chart.
- Overcast — Prioritize texture and subject separation with aperture.
- Sun angles — Look for rim light and shadows that add shape.
- Shade — Helps keep contrast low; great for learning consistent exposure.
Keep exposure consistent across a mini photo set
Consistency beats one “hero shot.” For learning, shoot a 10-frame set with the same aperture goal and adjust shutter/ISO to maintain brightness. You’re training your ability to keep your exposure logic steady under changing real-world light.
Change one thing at a time. If you change aperture, composition, and location every frame, you’ll never isolate what helped or hurt. Your goal is to make “edit decisions” easier, not to complicate them.
- One set = one goal — Example: “same depth of field, same brightness mood.”
- Review exposure first — Before you touch color, check that images are correctly exposed.
- Then edit for style — Contrast, white balance, and a consistent crop feel across the set.
Editing is part of the learning loop. When you keep exposure consistent, your editing becomes repeatable. That’s when you stop “getting lucky.”
Top Free Online Photography Courses Available Now — but here’s how to finish them
Free courses are great—if you enforce structure. Most people watch and don’t practice, then blame the course. A good beginner photography course should feel like assignments, not passive videos.
For 2026, you want organized learning that matches how you’ll shoot. That means modular lessons, clear practice prompts, and review checklists.
10 best free online photography courses (how I’d rank them)
I rank by structure, not by production value. My priorities: beginner pacing, organized videos, practice assignments, and some form of feedback (or a structured review process you can follow). “Gear reviews” don’t belong in your beginner track.
Sources I trust for free learning: YouTube creators and course libraries referenced by platforms like Photography Life, Adorama, PetaPixel, plus community learners on Reddit. Some of the best free materials combine basics with editing workflows and AI tool demos.
- Parker Photographic (YouTube) — Practical coverage with AI tool references (Topaz Photo AI free trials) and a clear “4 keys” style.
- Alan Ranger (online-adaptable format) — Weekly feedback concept that you can mirror with your own deliverables.
- Chris Bray (condensed overview + practice) — Short overview content that maps well into a two-tier learning plan.
- ExpertPhotography (video course libraries) — High-quality instruction with strong production value.
- Photography Life — Comprehensive free guides and structured learning paths.
- Adorama Learning Center — Clear beginner lessons with lots of “what to do next.”
- PetaPixel resources — Helpful context and often-linked tutorials for basics and editing.
- Visual Education — Quiz-style formats that keep you engaged instead of passive watching.
- Topaz Photo AI creator content (workflow demos) — Useful for sharpening/cleanup demos (use as a supplement).
- The School of Photography (platform library references) — Trusted since 2002; strong video + challenges patterns.
Reality check on timing: A typical beginner photography course often takes about 6–8 weeks to build reliable habits, with weekly ~2-hour practice sessions. That’s not a mystery—it matches how humans actually build skills.
The “free course trap” (and how to finish anyway)
Free courses fail when you don’t ship work. Your brain learns through iteration: shoot, review, adjust. If you only watch, you’ll feel busy and improve slowly—or not at all.
Fix it with a weekly deliverable. Once a week, produce 5 edited photos and 10 shooting frames for review. Even if the feedback is just your own checklist, you’ll accelerate.
I used to recommend free video playlists to everyone. Then I watched half my learners drift into “watching mode.” The ones who succeeded were the ones who forced weekly outputs.
- Use quizzes or self-check loops — After each module, answer a few prompts without looking.
- Build a “review rubric” — Use the same 5-point score each week so you can track improvement.
- Make edits consistent — Same basic workflow first, then creative tweaks.
Basics of Photography: The Complete Guide (Level: Beginner) — what the best path actually covers
Beginner success is “order + repetition.” The best beginner path covers camera basics, exposure triangle, composition, lighting, and post-processing in that sequence. When you do it out of order, you end up learning editing before exposure, and you stall.
This is where a course should earn its keep: progression matters because manual feels natural only after you’ve practiced it in small loops.
What the best beginner path covers (in order)
Camera basics first. Learn how focusing behavior works, plus the DSLR vs mirrorless basics that affect your workflow (viewfinder usage, autofocus modes, and typical button layouts). You’re aiming for comfort, not memorization.
Then exposure. The exposure triangle comes next because it unlocks depth of field, motion rendering, and low-light noise management. This is where manual becomes less scary.
Then composition and lighting. Composition guides you in framing. Lighting teaches you predictability in natural conditions—golden hour, overcast, shade. Finally, post-processing turns “almost good” into repeatably good.
- Camera basics → exposure triangle → composition → lighting → post-processing/editing
- Progression matters — practice earlier so manual becomes natural later
- Editing is part of the loop — do simple edits early, then refine consistency
A sample 6–8 week plan with weekly practice
Assume weekly ~2 hours of practice. The course format that sticks is modular plus assignment-driven, with home uploads for review (even if you review yourself). If you have only 30 minutes a day, you can still make 2 hours a week happen.
Week themes that work: exposure fundamentals, depth of field, shutter vs motion, composition drills, lighting sessions, and edit workflow consistency. Each week should produce a tangible set of photos.
- Week 1: camera confidence — Focus modes + exposure triangle basics with Auto and aperture priority. Deliverable: 10 frames with one clear subject.
- Week 2: aperture + depth of field — Repeat the same scene at 3 apertures. Deliverable: 5 final picks with notes on blur differences.
- Week 3: shutter + motion — Freeze vs blur the same action. Deliverable: 10 shooting frames + 3 edits.
- Week 4: ISO + noise awareness — Shade and indoors repetitions. Deliverable: “before/after” exposure consistency results.
- Week 5: composition drills — One composition rule target per session. Deliverable: a 10-photo mini set with rubric scoring.
- Week 6: lighting patterns — Overcast vs sun angle vs shade-to-sun. Deliverable: 5 edited photos in a consistent style.
- Week 7: edit workflow consistency — Same baseline edit for all photos, then small style tweaks. Deliverable: 5 edits + a checklist of steps you followed.
- Week 8: scenario challenge — Pick one theme (street, portraits, landscapes, low light). Deliverable: a mini portfolio set (10 frames) with a short “why” breakdown.

Chris Bray’s Introductory Photography Course (and why it works for beginners)
Condensed instruction works because it protects momentum. Experts like Chris Bray compress core concepts into a short overview, then offer deeper practice variants. That structure is built for people who won’t stick around if learning feels slow.
In 2026, that approach maps perfectly to micro-courses and modular beginner photography courses.
What I learned from condensed instruction styles
A lot of award-winning photographers teach like editors. They keep the overview tight and focus on the essentials: composition, exposure, lighting. Then, when you’re ready, they expand into practice sessions.
This is practical for beginners. Chris Bray’s model is often framed around a short “30-minute overview” and a longer “2.5-hour practice” style. You can copy that pattern: quick concepts, then controlled sessions.
When I tried to learn by sheer volume, I stagnated. When I learned by a short overview plus a real assignment, I improved every week. Same content, different structure.
How to adapt expert workflows to your beginner course
Start with their camera setting starting points. Treat them as initial guesses, not commandments. Your camera, your lenses, and your light will differ, so use these as references to build your own predictability.
Record your outcomes. When you repeat something and it works, write down what you changed. Then do small controlled tweaks, not random experiments.
- Copy the “starting point,” then adjust — Keep one creative variable constant.
- Keep your own edit baseline — Exposure/contrast/white balance first, creative second.
- Use repeatable subjects — Portrait proxy, a window scene, a street corner—whatever you can re-shoot.
Photography Masterclass: A Complete Guide — where “best online classes” go deeper
The difference between watching and improving is assignments plus feedback. The better “best online photography classes” add scenario-based tasks (portraits, street, landscapes, low light) and structured feedback loops. They also teach editing so your final image looks consistent, not accidental.
If you want to progress faster than the average beginner, this is where to look next.
Where online “best online photography classes” go deeper
They teach for real constraints. Portraits teach focus and background control. Street teaches timing and composition under movement. Low light teaches exposure triangle discipline and noise management.
They also teach editing fundamentals. Without this, beginners either over-edit or under-edit and can’t explain why their results differ frame to frame.
- Scenario-based assignments — You shoot with a specific purpose, not random walks.
- Structured feedback — Mentoring or rubric-based review keeps you honest.
- Edit consistency — Teaches repeatable contrast, white balance, and final “look.”
I’ve seen people “learn photography” by watching. They learn the language, but their camera behavior doesn’t improve. Assignments bridge that gap. Always.
AI-powered feedback: using Topaz Photo AI-style workflows responsibly
AI is a feedback accelerator, not a teacher replacement. In practice, I use AI for sharpening/cleanup demos and to help show what’s possible. Then I go back and learn the manual edit steps that lead to better originals.
Keep a baseline manual workflow. Exposure/contrast/white balance first. Only then do AI polish if you need it.
How I’d structure it: Shoot → baseline edit → AI sharpening demo → compare. You learn faster because you see the difference between “recoverable” and “not really fixable.”
Wrapping Up: choose the right course format in 2026
Course format decides whether you finish. If you need accountability, choose modular guided courses (usually 6–8 weeks) over purely free video playlists. If you’re disciplined, free online photography courses can work—you just enforce weekly outputs.
And yes, you can build this path with tools, not just videos. I built AiCoursify because I got tired of watching people consume content without producing photos on a schedule.
Pick your path: free online vs guided paid courses
Guided wins when consistency is hard. Mentoring, challenges, and feedback loops matter if you’re the type who falls off after week 2. The standard beginner course cadence (6–8 weeks, weekly practice) is built for habit formation.
Free can be enough when you enforce it. If you can ship weekly deliverables, free online photography courses work. You’ll still want organized lessons and practice prompts, not random videos.
| Decision Factor | Free Online Track | Guided Paid Track |
|---|---|---|
| Accountability | You self-check (rubric + weekly outputs) | You get feedback and clearer next steps |
| Structure | Variable; you must curate your own path | Typically modular, sequential, assignment-driven |
| Feedback loop | Delayed unless you DIY review or use AI assist | Often weekly; faster correction |
| Cost | $0 upfront | Paying buys time and reduces dead ends |
| Best for | Disciplined learners who ship work weekly | Beginners who need momentum + coaching |
Your next action (do this today)
Pick one beginner photography course path. Free or guided paid, commit to one weekly shooting + editing set. Most people don’t fail because they can’t learn—they fail because they never lock in a routine.
Decide your target order. Master exposure triangle first, then composition, then post-processing consistency. That ordering prevents the common beginner trap of editing noise instead of learning exposure.
- Choose your course path — Free curated modules or guided 6–8 week style.
- Schedule weekly practice — Aim for ~2 hours and one upload/review moment.
- Pick one skill target per week — Aperture blur, shutter motion, ISO noise control, composition drill, lighting pattern, edit workflow.
- Keep a simple notes log — What you changed and what improved.
If you want the fastest improvement: repeat the same scene and the same edit baseline while you change only one variable at a time. That’s the real secret, and it’s not sexy.
Frequently Asked Questions
What is the best free online photography course for beginners?
Look for structure, not vibes. The best free course for beginners includes exposure triangle lessons, assignments, and either feedback or a clear review checklist. If you can’t tell what you’ll do each week, it’s probably not beginner-friendly.
Use my ranking approach. Organization, practice prompts, clarity over gear hype. That’s what keeps completion rates alive.
How long is a beginner photography course?
Most beginner courses run 6–8 weeks. The common format is weekly ~2-hour practice sessions with home assignments and review. Crash overviews can jumpstart you fast, but they don’t replace repetition.
Habit formation takes time. The median time to form creative practice habits is often around 59–66 days, which matches the 6–8 week cadence.
What are the basics of DSLR fundamentals?
DSLR fundamentals are mostly workflow. Learn focusing modes, exposure triangle basics, and how aperture/shutter/ISO affect the final image. Don’t memorize numbers; practice how changes feel in real scenes.
Start with aperture priority. It teaches depth of field while keeping exposure accurate so you can build confidence before manual.
- Focusing behavior — Know how your camera locks focus and how it behaves with moving subjects.
- Exposure triangle basics — Understand brightness, motion rendering, and noise tradeoffs.
Should I learn on manual or keep using automatic?
Progressively use manual, don’t jump instantly. Start with one controlled variable (aperture or shutter), then expand. Your goal is predictability, not perfection.
Expect brightness changes. Your results get better when you can anticipate exposure shifts as light changes, not when you fear them.
Do I need post-processing to improve as a beginner?
Yes—basic editing closes the gap. Basic post-processing helps you turn “almost good” into repeatably good, especially for exposure consistency and white balance. Without it, you’ll feel like results depend on luck.
But don’t outsource learning. Start with simple edits (exposure/contrast/white balance), then add AI polish when it helps. Learn first, then assist.
- Simple edits early — Focus on consistency, not heavy style filters.
- Use AI as a supplement — Sharpening/cleanup demos after your baseline edit pass.
If you want a clean path for 2026: pick your course format, commit to a weekly shooting + editing set, and keep practicing one variable at a time. That’s how you actually get better.