Best Microphones for Online Teaching in 2025: How to Choose and Setup
If your online lessons sound a little dull, muffled, or “robot-y,” the microphone is usually the culprit. I’ve been there—before I sorted out my setup, students would constantly ask me to repeat myself, even when I was speaking clearly. And yeah, it’s frustrating.
So here’s what I focused on when I tested different mics for teaching: how they handle your voice at normal speaking volume, how much room noise they pick up (fans, HVAC, keyboard clicks), and whether they clip when you get more animated. I also paid attention to practical stuff—how fast you can get going on Zoom/Google Meet/Teams, and whether you’ll need extra gear or software just to sound decent.
In this post, I’m sharing the best microphones for online teaching in 2025, what to look for, and exactly how I’d set them up so your voice stays clear without you constantly fiddling mid-lesson.
Key Takeaways
- If your room isn’t perfectly quiet, don’t rely on “good sound” alone—use a cardioid mic (or a headset) to reject background noise. In my experience, this is the fastest way to improve intelligibility.
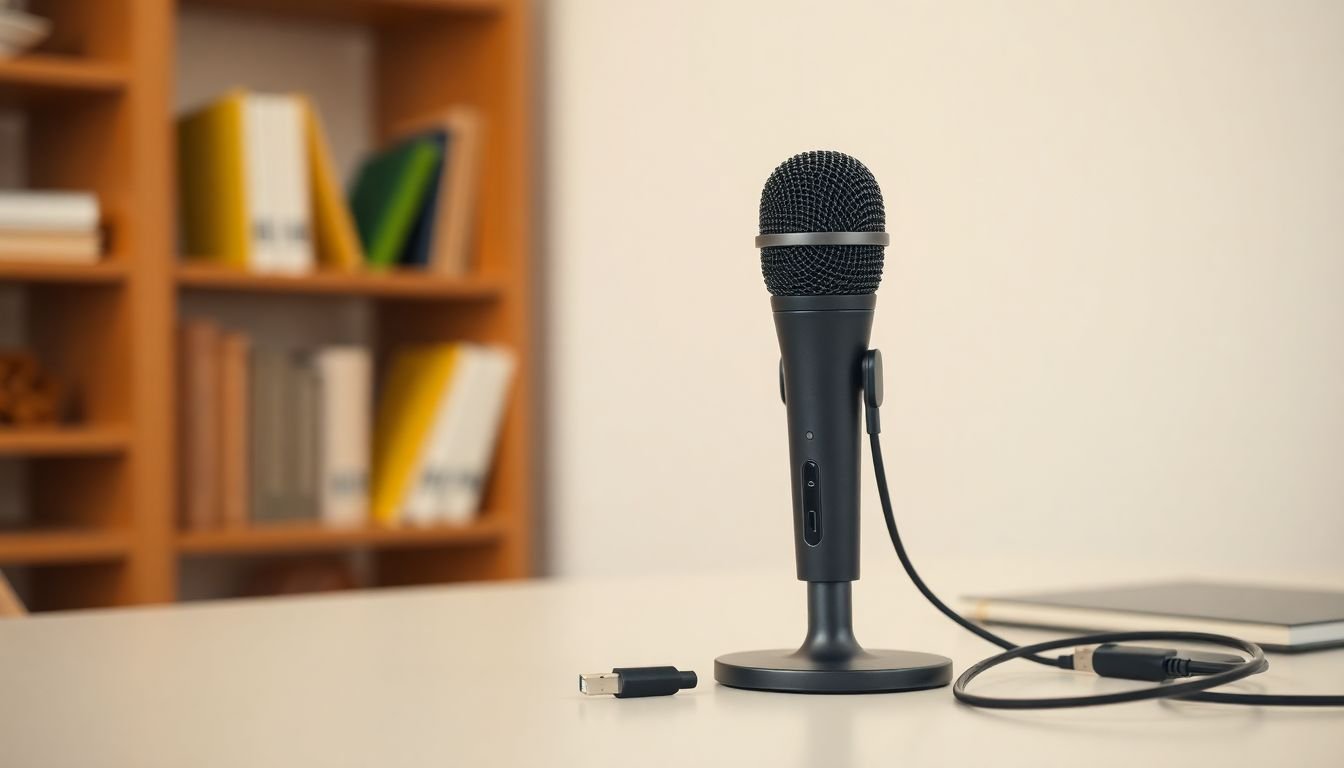
- USB desk mics are the easiest win for most teachers. Models like Blue Yeti Nano and Rode NT-USB Mini are simple to plug in, while budget picks like Fifine K670 can work well if you position them correctly.
- Placement matters more than people think: aim for 6–12 inches from your mouth, and keep your mic slightly off-axis (not straight in line with your lips) to reduce harsh “P” sounds.
- Set your levels so peaks don’t clip. A good rule: keep your loudest speaking peaks around -6 dB to -3 dB in your recording/monitoring tool, and use mute when you’re not talking.
- Do a 60-second check before class: quick recording, listen for hum/static, confirm the right input device, and make sure the gain didn’t change after a driver update.
- Privacy isn’t optional. If you record sessions, tell students what’s being captured, avoid recording personal conversations, and use encrypted meeting platforms where possible.
Best Microphones for Online Teaching in 2025
In 2025, the “best” microphone depends less on hype and more on your setup. Are you teaching in a quiet room, or do you have HVAC noise, a window fan, or kids/dogs in the background? Do you stay seated, or do you pace while teaching? And are you using Zoom one day and Teams the next?
When I compare mics for online teaching, I’m looking for three things:
- Voice clarity: can you understand every word without leaning in constantly?
- Noise behavior: does it pick up background noise and reflections, or does it stay focused on your voice?
- Reliability: does it stay the input device you selected, and does it avoid weird gain jumps?
Generally, you’ll get the best results with a mic that’s designed to reject room noise (cardioid patterns help a lot), plus decent placement and levels. You don’t need a studio, but you do need a setup that doesn’t amplify every little problem in your room.
Top Microphone Recommendations
Here are my go-to picks for online teaching in 2025, grouped by the kind of setup most teachers actually use.
USB Desk Mics (Easy setup, great for a stationary teaching spot)
Blue Yeti Nano — If you want simple plug-and-play with flexibility. In my tests, the switchable patterns (including cardioid) are the reason this mic is popular with teachers. Use cardioid when your room has noise, and switch to other patterns only if you’re in a quieter space or you want a wider pickup.
- Best for: seated teaching, desk setup, teachers who want pattern control
- Typical distance: 6–10 inches
- Pros: easy USB connection, pattern options, solid clarity
- Cons: in omnidirectional mode it can pick up more room sound—so don’t leave it there by accident
- Avoid if: your room is echoey and you don’t want to adjust patterns
Rode NT-USB Mini — Compact and clean. I like this one when you want straightforward voice capture without overthinking. It’s a USB mic with a good balance of clarity and usability. In a normal home room, it tends to sound natural without sounding overly “processed.”
- Best for: teachers who want a small desk mic with consistent results
- Typical distance: 6–12 inches
- Pros: easy setup, reliable voice tone, compact footprint
- Cons: you still need decent placement—too far back and reflections creep in
- Avoid if: you need multiple pickup patterns for different teaching scenarios
Fifine K670 — The budget option I’d actually consider. For the price, it can sound surprisingly usable, but it’s not magic. You’ll get better results by treating the mic like a tool: keep it close, use the right pattern, and don’t crank gain until it “sounds loud.”
- Best for: budget-conscious teachers, small rooms, people who’ll do a quick setup test
- Typical distance: 6–10 inches
- Pros: good value, works well on a desk setup
- Cons: can be more sensitive to room noise if you’re not careful
- Avoid if: you refuse to adjust your mic placement or levels
Quick desk mic setup example (what I’d do): Place the mic on a boom arm, set it about 8 inches from your mouth, aim it slightly off-axis, and do a 30-second test recording. If your peaks are clipping, lower gain in your mic/computer settings before you touch EQ.
Headset Mics (Best when you move around or teach on the go)
Jabra Evolve 20 — Great for mobility. If you pace, turn to write on a board, or teach from different rooms, headset mics are hard to beat. In my experience, they also reduce “room problem” variability because the mic moves with you.
- Best for: instructors who move, hybrid teaching, classrooms, and quick transitions
- Typical distance: very close (follow the headset’s recommended position)
- Pros: consistent pickup while moving, hands-free
- Cons: comfort varies by person; can pick up mouth clicks if positioned poorly
- Avoid if: you hate wearing headsets for long sessions
Logitech H390 — A basic, affordable headset option. It’s not going to sound like a studio mic, but it can be totally workable for online classes, especially if you need something reliable that just works.
- Best for: casual teaching, budget setups, learners who need clear speech over “perfect tone”
- Pros: simple and portable
- Cons: less control over background noise than a cardioid desk mic
- Avoid if: your room is noisy and you won’t use a noise gate
Quick headset setup example: Position the mic so it sits near the corner of your mouth (not directly in front of your lips). Do a test while reading a paragraph at normal speed, then again while you speak louder. If you hear popping or harshness, reposition slightly and reduce gain.
XLR Options (For when you want better control, but you’ll need an audio interface)
Audio-Technica AT2020 — This is where things get more “serious.” The AT2020 is a common choice, but it’s not USB. You’ll typically need an XLR audio interface (and sometimes a basic mic stand + pop filter). In other words: it can sound great, but it’s a different setup than plug-and-play USB.
- Best for: teachers who are okay with an interface and want more control
- Typical distance: 6–10 inches with a pop filter
- Pros: strong vocal capture, good step up from many USB mics
- Cons: requires extra gear (interface, cables, gain staging)
- Avoid if: you want “plug it in and forget it”
Quick XLR starter setup example: Mic on a stand with a pop filter, 8 inches from your mouth, interface input set so your loudest peaks stay out of the red. If you don’t have an interface yet, don’t buy an XLR mic “thinking it’ll work over USB.” It won’t.
One more thing: check reviews, sure—but also check how the reviewer uses the mic. A mic can sound amazing in a treated room and mediocre in a reflective bedroom. That’s why setup matters as much as the model.
Key Features to Look for in a Teaching Microphone
Let’s keep this practical. When I’m choosing a microphone for online teaching, I look past marketing claims and focus on features that actually affect your classroom audio.
- Pickup pattern (cardioid vs omnidirectional): If your room has noise or reflections, cardioid is usually the safer bet. It focuses more on what’s in front of the mic and less on the sides and behind.
- Noise reduction / gating: Some mics include software tools, and your platform may also offer noise suppression. A noise gate can help when you’re not speaking, but if it’s too aggressive it can “chop” the ends of your sentences.
- Gain control + monitoring: Adjustable gain is huge. Without it, you end up stuck fighting your computer’s input level. That’s when you get clipping or a weak signal.
- Mute button: This sounds small, but it matters. I use mute when I’m pulling up slides or reading notes. It prevents keyboard clicks and chair squeaks from becoming part of the lecture.
- Build and mounting: If you’ll move around, prioritize stable mounting (boom arm, desk stand that doesn’t wobble) and a mic that won’t feel flimsy after a few months.
- Compatibility: Make sure it works with your operating system and your teaching platform. USB mics are usually easiest, but XLR options require an interface and correct driver settings.
What I noticed across setups: a mic with the “right” pattern plus correct distance beats a pricier mic placed 2 feet away. Most of the time, intelligibility improves first, then tone.
How to Choose the Best Microphone Based on Your Teaching Environment
Here’s the part most guides skip: your room decides what “good” sounds like.
If you teach in a small, relatively quiet room: a USB desk mic is usually enough. In that situation, the Blue Yeti Nano can work well because you can use cardioid when you need it and switch only if your room is controlled.
If your room is noisy (fans, HVAC, street noise): don’t just buy a mic and hope. Choose cardioid and keep the mic close. Headsets like the Jabra Evolve 20 are also great here because you’re reducing the distance between your mouth and the mic, which makes background noise feel quieter by comparison.
If you teach on the go or move around a lot: pick a headset. It’s not about “best audio quality” on paper—it’s about consistency while you move. A desk mic can sound great when you sit still, then suddenly awful when you turn your head.
If you work with different devices: double-check connection types. USB mics are typically the easiest, but if you go XLR (like the AT2020), you’ll want a reliable interface and consistent driver settings so your input doesn’t randomly switch.
My take? The best mic isn’t the one with the fanciest specs. It’s the one that stays consistent in your environment.
Best Microphone Placement Tips for Clearer Voice Capture
Placement is where most “my mic sounds bad” problems get solved. If you only change one thing, change this.
- Distance: start at 6–12 inches from your mouth. Too close can cause boomy bass and harsh consonants; too far makes your voice blend into the room.
- Angle: don’t point the mic straight at your lips. I usually aim it slightly off to the side to reduce plosives (“P” and “B” sounds).
- Use a boom arm or stable stand: wobbling mics cause subtle level changes that you’ll hear as “volume breathing” between sentences.
- Move away from noise sources: if the noise is behind you (like a window unit or a desk fan), rotate the mic so your voice is in front of it.
- For headset mics: make sure it sits close without rubbing your mouth. If it shifts, your audio will shift too.
- Do a quick test every time you change something: 30 seconds. Read the same sentence each time so you can compare.
Small tweaks add up fast. I’ve seen intelligibility jump just by moving a mic from 14 inches to 8 inches and adjusting input gain.
How to Test and Adjust Your Microphone Settings for the Best Audio
Hardware gets you halfway. Settings finish the job.
Step 1: Record a short sample. Pick a 20–30 second script (or read the same paragraph you always use). Then listen back with headphones. Don’t just check the waveform—listen for clarity.
Step 2: Set gain so you don’t clip. If you’re seeing red peaks or hearing distortion, lower gain immediately. A practical target is to keep your loudest peaks roughly in the -6 dB to -3 dB range in whatever meter you’re using.
Step 3: Use mute intentionally. When you’re not speaking, mute your mic to prevent background noise from filling gaps. This is especially useful with desk mics.
Step 4: Check for hum/static. Here’s my troubleshooting checklist:
- USB noise / ground loop: try a different USB port (preferably on the back of a desktop PC).
- Power supply hum: move the mic power/adapter away from power bricks if you’re using any.
- Fan noise: turn off the fan for the test. If the noise disappears, you know what you’re fighting.
Step 5: EQ only if you need it. If your voice sounds too boomy, reduce low frequencies. If it sounds dull, add a touch of presence. As a starting point, try small adjustments like:
- -3 to -6 dB around the low-mid “boxiness” area (often roughly 150–300 Hz)
- +2 to +4 dB around presence (often roughly 2–5 kHz)
Don’t overdo it. If you crank EQ to “make it louder,” you’ll often make it harsher and more fatiguing for students.
And yes—do a test run regularly. A driver update or a platform setting change can quietly switch your input device or alter levels.
Creating Consistent Audio: Routine Checks and Maintenance
Once you get a good setup, protect it. Consistency is what students remember.
- Clean the windscreen/pop filter: dust and buildup can muffle your voice over time. A quick wipe/clean can help.
- Recheck positioning after you move: if you rearrange your desk, do the 30-second test again. Mic distance changes everything.
- Update drivers/software: especially for USB mics and headsets. Just remember—updates can also reset settings, so check your input device after updating.
- Inspect cables and connections: loose USB connections or slightly damaged cables can cause intermittent dropouts.
- Store it safely: avoid tossing the mic in a bag without protection. A bent connector or damaged grille is an avoidable quality problem.
- Troubleshoot fast when audio slips: don’t keep teaching through bad sound. Spend 2–3 minutes checking input selection, gain, and noise sources first.
Little maintenance habits prevent the “why does it sound different today?” moments.
Legal and Privacy Considerations When Using Microphones for Online Teaching
Using a microphone isn’t just a technical decision—it’s a privacy and legal one too. I’m not a lawyer, but I’ve learned the hard way that “we didn’t mean to record” doesn’t hold up if students weren’t told.
- Don’t record or broadcast student conversations without permission: if your platform is set to record, make sure your consent process matches your local requirements.
- Check local rules about consent: some regions require explicit consent for audio recording, even in virtual settings.
- Be transparent: tell students when your microphone is live and when recording is enabled (especially if you store recordings).
- Avoid capturing personal conversations: if someone else is in the room off-camera, reposition your setup or use a headset so your mic isn’t picking up more than it should.
- Use secure platforms: choose tools that encrypt streams and protect access to session data where possible.
It’s better to be upfront than to deal with complaints later. Clear communication also builds trust.
FAQs
There isn’t one “best” type for every teacher. In a quiet, treated room, a condenser USB mic can sound detailed and natural. In a noisy or echoey room, a cardioid dynamic mic (or a headset) is often easier to get consistently clear speech because it rejects more background sound. If you’re moving around, headsets win on consistency.
Look for a pickup pattern that fits your room (cardioid is usually safest), adjustable gain, and a way to manage noise (noise suppression, gating, or just better rejection). USB is the easiest path for most teachers, but if you’re using XLR you’ll want an interface you trust. Also check for practical features like mute and stable mounting.
Start with the basics: use a pop filter/windscreen, place the mic about 6–12 inches from your mouth, and keep it slightly off-axis. Then set your levels so you’re not clipping. If background noise is still a problem, try a different mic pattern (if available), move the mic closer, reduce room reflections (even soft items like curtains help), and only then tweak EQ lightly for presence.