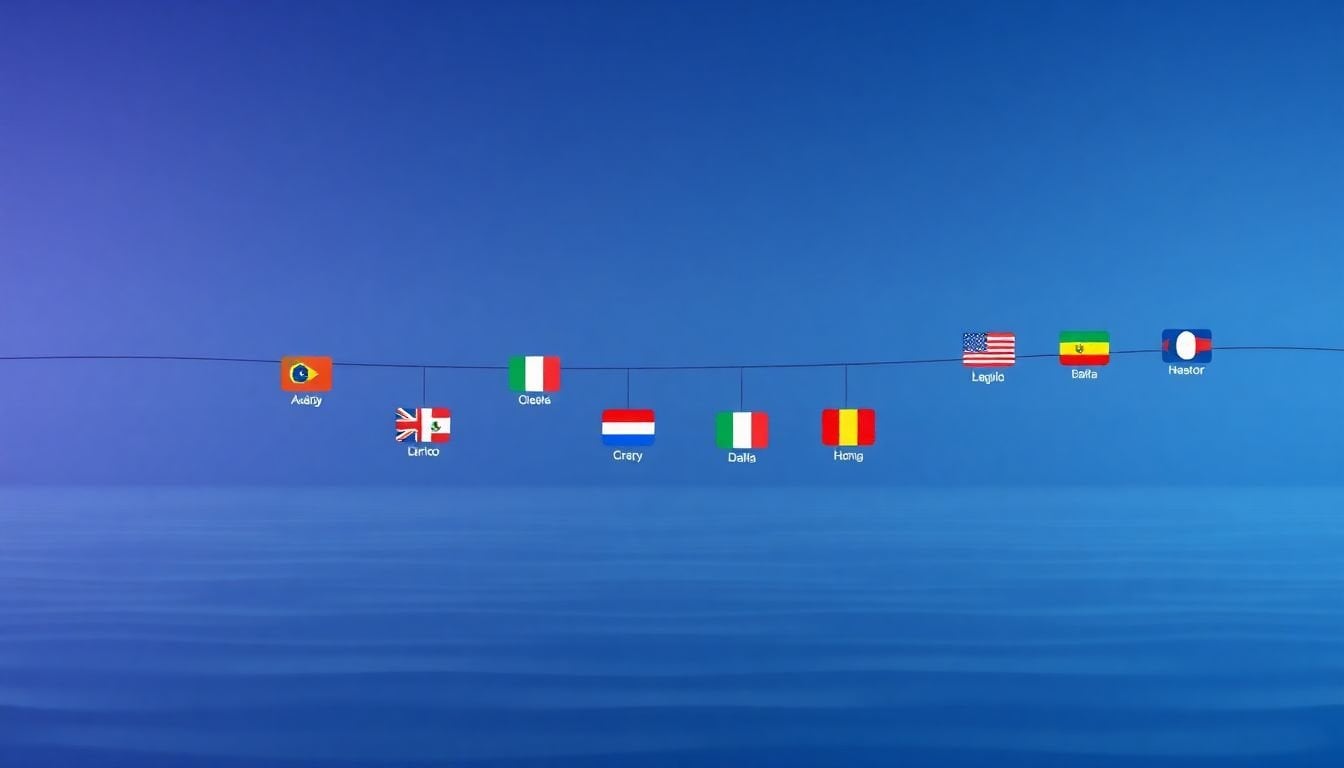
Managing Multilingual Subtitles at Scale: 8 Key Steps
Managing multilingual subtitles at scale can feel like juggling a bunch of moving parts—because you are. It’s not just translating words. You’ve got to keep meaning intact, timing tight, and the lines readable for real humans on real devices.
In my experience, the teams that succeed don’t rely on “set it and forget it.” They build a repeatable workflow: how subtitles are generated, how they’re reviewed, how formatting stays consistent, and how updates flow when you inevitably revise a few lessons or swap an audio track.
Below are 8 steps I use (and have seen work) to keep multilingual subtitle production under control—especially when you’re dealing with multiple languages, multiple speakers, and a growing subtitle library.
Key Takeaways
- Accuracy isn’t automatic. I always treat AI output as a draft. Verify key segments with native speakers (or professional editors), and lock in terminology with a glossary + translation memory so recurring phrases don’t drift.
- Timing needs calibration per language. Some languages are naturally longer and read slower/faster. Segment translations into smaller subtitle cues and preview with audio to catch lag, rushed cuts, or lines that stay on screen too long.
- Formatting should be boring (in a good way). Keep line length consistent (I aim around 35 characters per line as a starting point), use high contrast, and standardize line breaks so viewers don’t have to “decode” your subtitles.
- Speaker labels should help, not clutter. Use simple tags like “John:” or “Narrator:”. I’ve found that consistent placement and short labels prevent overlaps on mobile screens.
- Use tech to move fast, but keep humans in the loop. ASR + machine translation can cut initial turnaround dramatically, but you still need QA for mistranslations, cultural tone, and formatting edge cases.
- Localization is more than translation. Idioms, jokes, honorifics, and brand references often need rephrasing. Test with a small target-audience sample early so you don’t discover issues after publishing.
- Quality checks should be measurable. Don’t just “review.” Use a checklist that includes spelling, timing tolerance (even a rough ms target), formatting rules, and cultural appropriateness.
- Scale with templates + a centralized subtitle system. Cloud-based management, version control, and shared glossaries prevent chaos when you’re producing dozens (or hundreds) of videos.
1. Addressing Accuracy in Multilingual Subtitles
Getting subtitles right across multiple languages isn’t just “translate the sentence.” It’s capturing the intent, tone, and context—especially when the source has slang, jokes, or references that don’t map cleanly.
Here’s what I’ve noticed when I tested AI-assisted workflows: the output is often good enough to start, but it’s not reliable enough to ship without review. The biggest failures tend to be:
- Names and proper nouns (spelling differences, missing accents)
- Technical terms (brand terms, product names, acronyms)
- Idioms and culture-specific phrases (translated literally, so they sound “off”)
- Speaker intent (sarcasm or emphasis gets flattened)
So my process starts with two inputs: high-quality audio and a human review plan.
Step 1: Start with clean audio. If your microphone clips or the room echoes, ASR will mis-hear words and your translation will faithfully translate the wrong thing. I’ve seen this cause errors that take longer to fix than the original subtitle generation.
Step 2: Verify the “high risk” segments. Don’t review every line with the same level of scrutiny. I usually focus on:
- definitions (“A/B testing means…”)
- procedures (“click Settings > Privacy…”)
- legal/medical claims (if applicable)
- recurring brand or product terminology
Step 3: Use a glossary + translation memory (TM) the right way. A glossary isn’t just a list—it’s a workflow tool. I like to build it with fields like:
- source_term (exact English phrase)
- approved_translation (for each target language)
- context_note (where it appears: course module, UI label, etc.)
- do_not_translate (brand names, certain acronyms)
Then I update it on a schedule (for example, every time we release a new course or after we correct 10–20 recurring issues). The point is to prevent the same mistake from showing up in every new video.
Step 4: Don’t skip cultural review. Even when the translation is technically correct, it might feel unnatural. I always ask native reviewers to flag lines that sound “translated” rather than “native.”
The goal isn’t perfection at any cost. It’s consistent, trustworthy subtitles—so viewers don’t lose confidence mid-lesson.
2. Synchronizing Timing for Different Languages
Timing is where viewers usually notice problems first. If a subtitle appears too late, they feel like they’re reading the audio instead of following along. If it disappears too early, they’re left finishing the sentence in their head. Nobody likes that.
When you translate into multiple languages, timing gets trickier because:
- some languages are naturally longer (more characters)
- some languages are faster or slower to read
- punctuation and word order can change where pauses should go
My workflow starts in the source language. Generate captions in the original (English, for example), then calibrate cue boundaries until they match speech naturally.
Then you translate, but you don’t just “paste translation onto the timeline.” Instead:
- split or merge cues so each subtitle is the right size for the target language
- match natural pause points (not necessarily the original sentence boundaries)
- preview with audio and adjust until the line appears right when the viewer needs it
If you need a reference point for caption editing, [YouTube’s caption editor](https://support.google.com/youtube/answer/6373554) is useful for quick timing checks.
For desktop editing, tools like [Aegisub](http://www.aegisub.org/) or Subtitle Edit are great for frame-accurate adjustments. One practical tip: watch for cues that linger. If a subtitle stays on screen for too long, viewers stop “tracking” and start “reading ahead,” and the experience feels sloppy.
Quick timing rule of thumb I use: if a translated line exceeds what fits comfortably on screen, split it. Don’t try to force one cue to carry everything—it almost always causes lag or rushed disappearance.
3. Standardizing Subtitle Formatting for Clarity
Formatting is the difference between subtitles that feel professional and subtitles that look like they were thrown together in a hurry.
I keep it simple:
- Line length: start around 35 characters max per line (then adjust based on the platform and language).
- Font & contrast: use a clean sans-serif (Arial/Helvetica style) and high contrast (white on black is a safe default).
- Line breaks: break at sensible phrase boundaries so the viewer isn’t forced to read half a sentence fragment.
In multilingual projects, line breaks matter even more because word length changes. A cue that looks fine in English can overflow in German or French. So I treat formatting as a QA step—not an afterthought.
Tools like [Amara](https://amara.org/) or [Jubler](http://www.jubler.org/) can help you standardize formatting across large subtitle files, especially when multiple people are working on the same library.
One thing people forget: preview on multiple devices. What looks crisp on a desktop monitor can become cramped on a phone with smaller text scaling or different player settings. I always check at least one mobile view and one “TV/large screen” view before release.

4. Making Speaker Identification Clear for Multi-Voice Content
When there are multiple speakers, viewers need help. If you don’t tell them who’s talking, they’ll assume—and that’s when comprehension drops.
I usually start with straightforward labels at the beginning of each cue:
- “John:”
- “Narrator:”
- “Teacher:”
- “Customer:”
If your platform supports it, color-coding can help too, but I’m careful. Colors can look great on one device and unreadable on another (especially in dark mode or bright rooms). Consistency beats fancy.
Also, be mindful of clutter. A long label like “Dr. Alexandra (Host)” can push the actual dialogue off screen. Keep labels short and consistent—then test on small screens to make sure the tag doesn’t overlap or get cut off.
If you’re working with AI-assisted captioning, set segmentation rules so speaker changes land cleanly on cue boundaries. In practice, that means you don’t want one subtitle containing “John” and “Mary” at the same time. It’s confusing and it looks unprofessional.
One practical tip: do a quick “conversation scan.” Play the first 30–60 seconds with subtitles on and see if you can follow the dialogue without rewinding. That’s the bar.
5. Leveraging Technology to Streamline Subtitle Production
Let’s be honest: doing subtitles manually at scale is painful. That’s why ASR + translation tooling is so valuable—when you use it correctly.
Automatic speech recognition (ASR) can generate a first draft quickly. For many projects, it’s the difference between “we’ll get this done eventually” and “we shipped on time.”
For a baseline option, [YouTube](https://support.google.com/youtube/answer/6373554) can automate captioning and translation, which is useful for quick internal checks and accessibility improvements.
For larger workflows, you want software that helps with bulk processing and editing—especially if you’re producing multiple languages for many episodes. Subtitle Edit and [Jubler](http://www.jubler.org/) are common choices for desktop editing, and they support practical export formats like SRT and VTT (and in some cases TTML, depending on your pipeline).
Here’s what I recommend if you’re scaling:
- integrate subtitle generation + editing with your content system (so updates don’t get lost)
- use a consistent folder/file naming convention per video + language
- maintain version history so you can roll back when a translation update creates new issues
One limitation to keep in mind: automation will still miss context. It might swap similar-sounding words, mishandle accents, or translate idioms literally. So yes—use tech to speed up the draft, then review to protect quality.
6. Customizing Content for Different Cultural Audiences
Localization is where subtitles stop being “an accessory” and start being genuinely useful.
Start by identifying phrases that don’t translate well:
- idioms and metaphors
- humor that relies on wordplay
- references to local culture (TV shows, events, idiomatic expressions)
- honorifics and formality levels (this is huge in many languages)
When a phrase doesn’t land naturally, I prefer rephrasing to finding a literal equivalent. For example, if English says “kick the bucket,” nobody wants a literal translation that sounds strange or confusing. You want the target-language equivalent that carries the same intent.
Also, test early. If you can, get feedback from a small sample of people in the target audience before you publish the full course. One round of early feedback can save you from redoing entire modules later.
Translation memory helps here too. If you’re repeating terminology across episodes (course names, product features, recurring steps), TM reduces drift and keeps the tone consistent.
Bottom line: cultural adaptation isn’t just language. It’s making sure the message feels like it belongs to the audience.
7. Setting Up Quality Checks for Consistent Subtitles
Automation can get you moving fast, but QA is what makes subtitles dependable.
I like a checklist because it keeps reviews consistent across languages and editors. Here’s a practical version you can adapt:
- Spelling & punctuation
- Pass if no obvious typos in names, technical terms, and repeated phrases.
- Pass if punctuation matches the target-language style (especially question marks and quotation marks).
- Timing
- Pass if cues appear when the sentence begins (no early flashes, no late entries).
- Pass if cues don’t cut off mid-phrase.
- Tolerance: pick a target and enforce it (for example, keep cue boundaries within a small window like ±100–200ms for most lines, and tighten for fast dialogue).
- Formatting
- Pass if lines stay within your character limit (start around 35 chars/line).
- Pass if line breaks don’t split phrases awkwardly.
- Pass if speaker tags (if used) don’t overlap or get cut off.
- Cultural & content accuracy
- Pass if idioms/humor are localized (not translated literally).
- Pass if meaning matches the spoken intent, not just the words.
- Speaker labels
- Pass if each line has the correct speaker tag (when multiple voices are present).
- Pass if labels are consistent across the entire video.
Who reviews matters. In my experience, it works best when the roles are clear:
- Language reviewer (native or near-native): catches mistranslations, tone issues, and awkward phrasing.
- Subtitle editor (QA-focused): catches formatting, timing, and cue boundary problems.
For sampling strategy, don’t always do full reviews on every line. If you’re under time pressure, do something like:
- 10% spot-check for low-risk videos
- 25–50% for high-risk modules (technical definitions, fast dialogue)
- Full review for final publish candidates
Finally, don’t skip device playback tests. Subtitle rendering can vary by platform/player settings, so what looks right on one screen can be slightly off on another.
And if you can, include a feedback loop. Even a simple “report subtitle issues” form can surface recurring problems you didn’t catch during QA.
8. Keeping Scaling in Mind for Large Projects
Scaling isn’t just about producing more subtitles. It’s about keeping the system from turning into a mess.
When your library grows, you need:
- repeatable templates (same formatting rules, same cue settings)
- bulk processing (so you’re not clicking the same buttons 200 times)
- version control (so you can track changes and recover when something goes wrong)
That’s why cloud-based subtitle management systems are popular—they make bulk updates and review permissions easier. You can upload source files, generate drafts, route them to reviewers, and then export the final captions in the formats your platforms need (commonly SRT/VTT, and sometimes TTML depending on your delivery pipeline).
One operational tip that saves time: keep a central glossary and translation memory shared across the whole team. If each video team maintains their own terminology, you’ll end up with inconsistent translations for the same concept.
And if multiple teams are involved, establish shared guidelines and communication channels. I’ve seen errors happen simply because someone updated a glossary term but didn’t notify the translators or editors working on the next batch.
Scaling also means planning for future growth. Think about server capacity, storage for audio/video assets, and software licensing—before you hit the point where everything is “just barely” working.
Get these pieces right, and you can publish more content without sacrificing clarity or speed.
FAQs
Use a real review process: native speakers or professional editors should check the subtitles, especially for technical terms, names, and anything culturally nuanced. Pair that with a glossary and translation memory so recurring phrases stay consistent across languages and episodes.
Calibrate the source timing first, then adjust translated subtitles by cue size and pause points. Instead of mapping translations 1:1 onto the original cues, split or merge cues so each subtitle reads naturally in the target language. Frame-by-frame editing tools help you tighten synchronization.
Pick a consistent style guide: font, size, color contrast, maximum line length, and rules for line breaks. Stick to compatible caption formats like SRT or VTT so playback is predictable across platforms.
Add speaker labels at the start of each cue (for example, “John:” and “Narrator:”) and keep them short. Consistent placement and formatting help viewers follow dialogue quickly, especially on mobile screens.