How to Implement VR Safety Simulations in 8 Simple Steps
I get it—setting up VR safety simulations can feel like a big task, especially when you’re juggling budgets, production schedules, and a dozen different opinions about “what people actually need.” The first time I helped roll out VR training, I kept wondering: will this actually change behavior, or will it just become an expensive novelty?
Here’s what helped us (and what I’ll share in this post): treat VR like a real training program, not a tech demo. When you start with the right safety gaps, pick hardware that won’t fight your environment, and run a pilot with real workers, the whole process gets way more manageable—and the results are usually much more convincing.
By the end, you’ll have a practical, step-by-step workflow to implement VR safety simulations—covering what to gather, how to work with developers, what to build, how to test, and how to roll it out safely (and comfortably) without derailing operations.
Key Takeaways
Key Takeaways
- Start with real incident data and task observations—then translate that into training objectives you can actually measure.
- Involve VR developers early (storyboarding + scripting). The best simulations match your exact procedures, not generic “safety theater.”
- Choose VR equipment based on your constraints: tracking needs, headset comfort, hygiene/charging workflow, and how fast you need to deploy across shifts.
- Build scenario-based training with clear decision points, repeatable scoring, and the right mix of visuals/audio cues—keep it tight so people don’t fatigue.
- Run a structured pilot (not just “let people try it”). Use a checklist for confusion, usability issues, and safety/comfort concerns.
- Roll out with scheduled sessions, manager follow-ups, and participation tracking—then use feedback to improve the scenarios over time.
- Monitor effectiveness using pre/post assessments, observation rubrics, and incident linkage—not just “engagement” metrics.
- Protect user comfort with proper fit, session time limits, break prompts, and a clean training space. If someone feels sick, you’ll lose learning.

1. Identify Safety Training Needs (Start With Real Gaps)
Don’t start by “choosing a topic.” Start by figuring out where people actually slip up. In my experience, the fastest way to do that is to combine three inputs:
- Incident reports + near-miss logs: Look for patterns by task, location, time of day, and shift.
- Supervisor observations: What do they see during normal work? What do they correct over and over?
- Worker input: Ask what feels unclear, what procedures people improvise, and what equipment or steps slow them down.
Example: if you see repeated injuries during machine start-up, your VR training objective shouldn’t be “machine safety.” It should be something specific like “perform pre-start checks and lockout/tagout steps without skipping verification.”
Then turn that into a short list of high-risk tasks and failure modes (the “how people get it wrong”). For instance:
- Failure mode: skips a visual inspection step because it’s “obvious.”
- Failure mode: doesn’t verify energy isolation before attempting a restart.
- Failure mode: misidentifies a control panel state under stress.
Finally, sanity-check against regulations/standards you must meet (internal policy counts too). If you’re unsure where to begin, do a quick safety audit or risk assessment with a safety lead or consultant—just make sure you produce a usable output (task list + hazards + required behaviors), not a 50-page document nobody reads.
2. Collaborate With VR Developers (Make It Your Procedure, Not Theirs)
Once you know the safety points you’re targeting, this is where most teams either win or waste months. I’ve seen timelines blow up because the developer started building before the organization agreed on the “script” of the training.
Here’s what to do instead:
- Share your exact scenarios and constraints: What equipment model? What layout? What PPE requirements? What “allowed” vs “not allowed” actions?
- Define the training goal in plain language: “Learners must demonstrate correct steps under time pressure” beats “teach safety.”
- Ask for a sample build early: Even a 2–3 minute prototype showing the interaction flow is enough to confirm you’re aligned.
- Get involved in storyboarding and scripting: You want the simulation to mirror your real-world conditions, including the confusing parts.
Be specific about the type of training you need: emergency response, equipment operation, chemical safety, confined spaces, fall protection—whatever applies. If you’re training multiple departments, I’d still start with one “pilot-ready” scenario before expanding.
If you’re not sure how VR development typically works, it helps to understand the tooling your developers might use. Many teams build with Unity or Unreal Engine—mostly because they have solid VR frameworks and asset pipelines. (You don’t need to become a developer, but you do need to ask the right questions.)
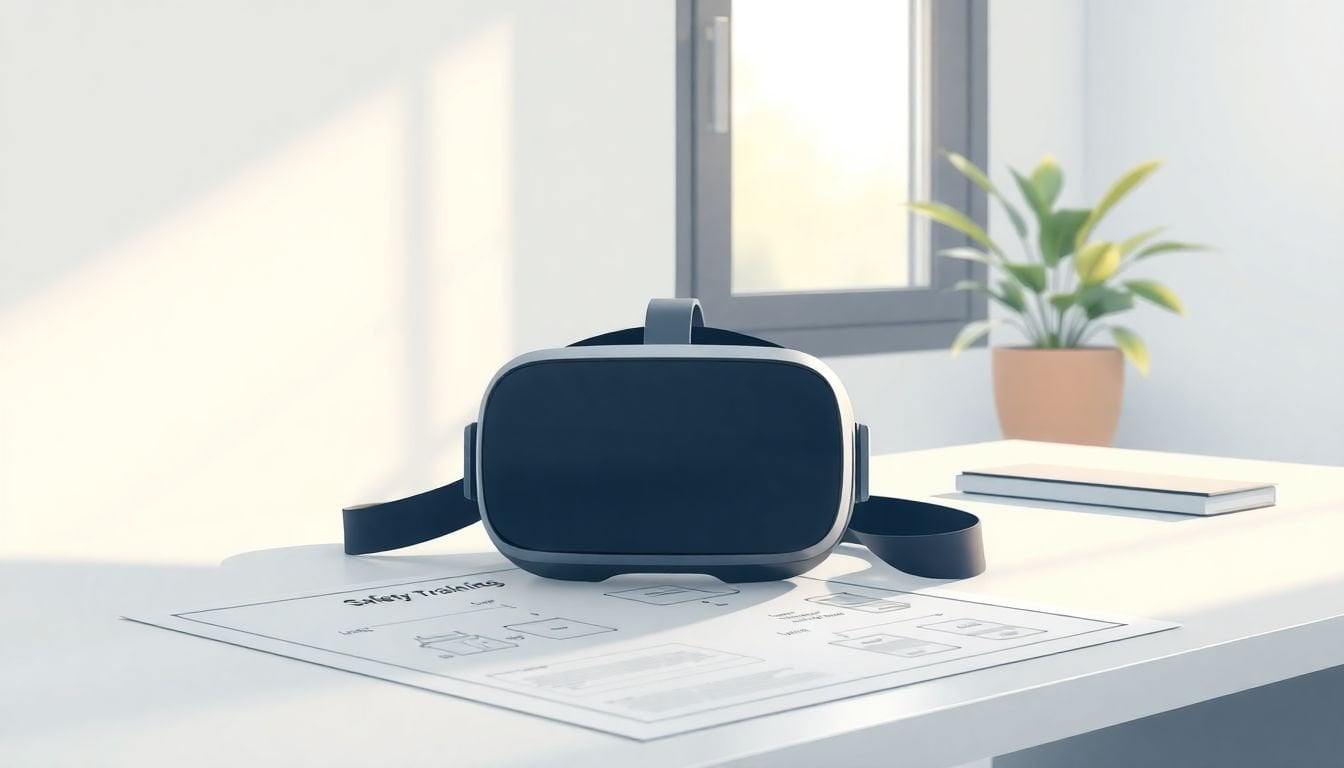
3. Choose Appropriate VR Equipment (Match the Hardware to the Job)
Picking headsets isn’t just about what looks good. It’s about tracking quality, comfort, and how smoothly you can run sessions across shifts. I like to decide based on a simple checklist:
Quick decision criteria (what matters most)
- Tracking + interaction needs: If your training requires accurate hand/controller interaction (valves, switches, latches), prioritize reliable tracking and controller ergonomics.
- Deployment speed: If you’ll run back-to-back sessions, you need a setup that’s easy to reset, fit, and launch.
- Comfort + session length: Long sessions are a comfort problem, not a “motivation” problem.
- Hygiene and asset management: You’ll need a cleaning workflow (especially for shared headsets) and a plan for spare parts.
- Space constraints: If you can’t guarantee a large play area, you’ll want a configuration that works in tighter spaces.
Common hardware setups (and when they fit)
- Standalone wireless (example: Oculus Quest 2): Great for fast deployment, training rooms, and teams that don’t want to manage high-end PCs.
- Tethered/wired (example: HTC Vive Pro): Useful when you need specific performance or tracking setups, and you have the infrastructure to support it.
One thing I’d rather be blunt about: don’t ignore IPD and fit settings. If you’ve got users with a wide range of face shapes, you’ll see comfort issues even with “good” headsets. Plan for adjustable straps, correct lens settings, and a repeatable fitting process.
Also, test your environment assumptions. If the training space is cluttered or lighting is inconsistent, tracking can suffer. And if you’re relying on hand tracking or fine-grained interactions, run a small test with the actual gloves/PPE your workers wear.
What I’d do before buying a fleet: run a pilot with 2–4 units, record setup time, check how often sessions get interrupted for technical reasons, and document average fit time per user. That data will save you later.
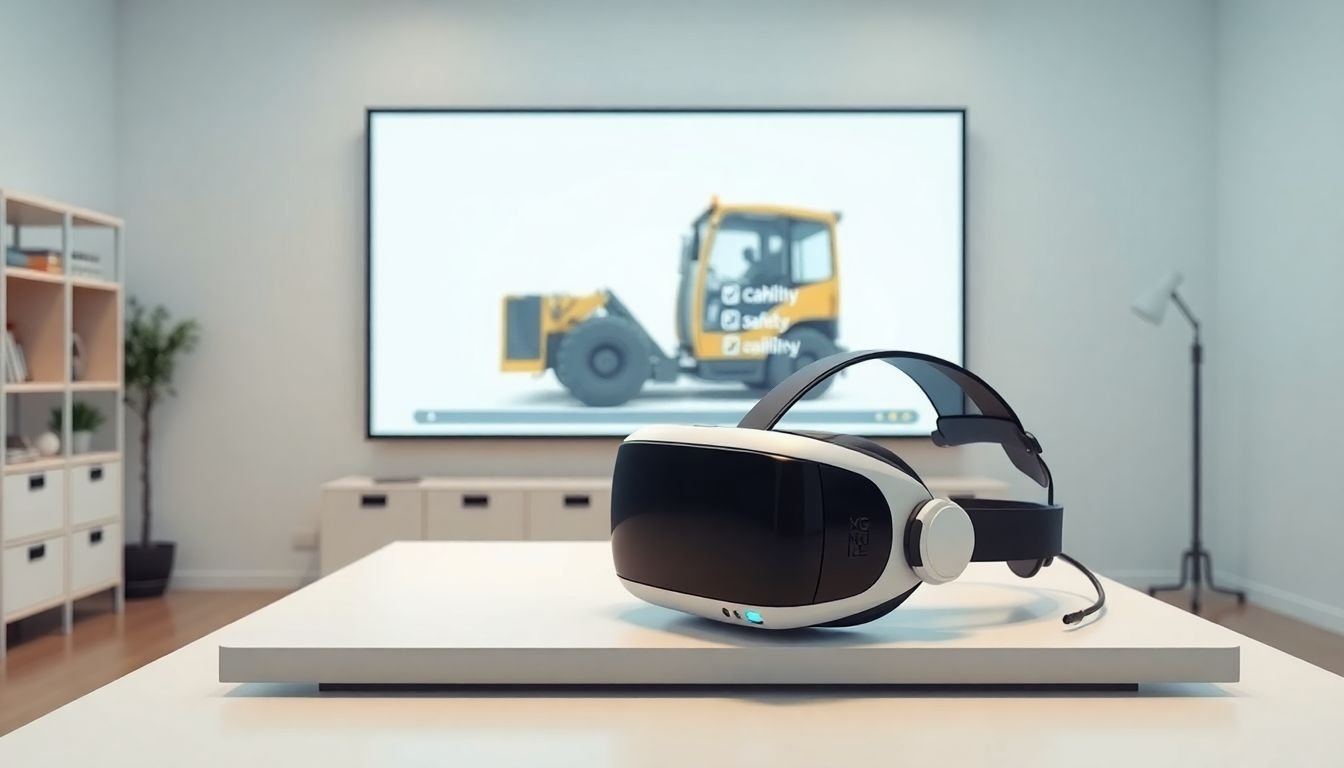
4. Create Engaging Training Simulations (Build Scenarios People Can Pass)
This is where VR training either feels real—or feels like a video game. I always aim for simulations that are scenario-based and scored, because otherwise you can’t tell whether training actually worked.
Here’s the structure that tends to work well:
- Start with context: Show the task environment, PPE expectations, and what the learner is supposed to accomplish.
- Introduce hazards naturally: A warning light, an unexpected sound, a blocked exit, a malfunctioning guard—whatever matches your real situation.
- Use decision points: Give the learner choices (what do they do next?) and only allow correct progression when the right safety behavior is used.
- Add sensory cues: Visual indicators + clear audio prompts help people remember steps later.
- Keep it short: If your VR session is 45 minutes and everyone is fighting nausea by minute 20, you don’t have a training problem—you have a design problem.
Example scenario template (simple and practical)
- Scenario goal: “Complete pre-start checks and verify energy isolation.”
- Decision points: (1) choose correct inspection step, (2) identify correct lockout procedure, (3) confirm “safe to restart” conditions.
- Scoring: partial credit for correct steps done in order, fail state for critical skips (like bypassing verification).
- Feedback: after each major decision, show a short explanation tied to your policy/procedure.
For development tooling, your developers might build in Unity or Unreal Engine. If you want extra context on educational content workflows, you can reference resources like https://createaicourse.com/how-to-create-educational-video/ or https://createaicourse.com/how-to-create-a-udemy-course-in-one-weekend/ to think through how video-like pacing translates into VR.
5. Conduct Pilot Testing (Run It Like a Trial, Not a Demo)
Before you scale, pilot test with a small group of employees—yes. But don’t treat it like “try it and tell us how you feel.” You need structured feedback tied to performance and comfort.
In my experience, the pilot should capture three things:
- Technical flow: Does the app launch reliably? Do interactions work with real PPE/gloves? Does tracking drift?
- Training clarity: Where do people get lost? Which instructions are too vague? Which steps feel unrealistic?
- Safety + comfort: Any dizziness, eye strain, headaches, or panic moments?
Use a pilot checklist
- Time to fit headset and start scenario
- Time to complete scenario (and whether it’s consistent)
- Top 3 moments of confusion (ask learners to point to the exact step)
- Interaction failures (missed grabs, controller mapping issues, UI not readable)
- Comfort rating after scenario (quick 1–5 scale) + any nausea notes
You’ll also want a simple evaluation method. For example, do a pre/post quiz of 8–12 questions tied to your objectives (not generic safety trivia). Then compare results:
Example calculation: If average pre-quiz score is 62% and average post-quiz score is 82%, that’s a +20 percentage point improvement. If you also add an observation rubric for “correct step completion,” you’ll see whether knowledge transfers to behavior.
One more honest note: pilot improvements are usually iterative. We’ve had to change scenario pacing, rewrite prompts, and adjust controller mappings before anything felt “trainable.” That’s normal—just plan time for it.
6. Roll Out Full VR Training Program (Schedule It Like Operations)
Rolling out VR safety training is really a logistics project with a training overlay. If you schedule it like a one-off event, it’ll be chaotic. If you schedule it like a process, it becomes routine.
- Schedule sessions around shifts: Aim for a session plan that doesn’t interrupt critical work. For many teams, a 20–30 minute VR block (including fit, brief, and debrief) works better than “let’s do it after lunch.”
- Start with a short tutorial: Show how to stand/sit, use controllers, and what learners should do if they feel uncomfortable.
- Set session objectives: Tell learners exactly what they should be able to do by the end—then tie debrief questions to those objectives.
- Track participation and progress: Keep a record of who completed which scenario and when. This is crucial when you need compliance reporting.
- Get managers involved: After VR, ask them to reinforce the same behaviors on the floor. VR alone rarely fixes habits.
- Use feedback loops: If a scenario feels repetitive or confusing, update it before it becomes “the thing people dread.”
Also, don’t assume every site runs the same. If you have multiple locations, build your rollout plan so you can reuse the core scenario but adjust environment details.
7. Monitor and Update Training Content (Keep It Accurate)
VR safety training shouldn’t be “set it and forget it.” Procedures change. Equipment changes. Hazards evolve. Your training should evolve too.
Here’s how I’d monitor effectiveness in a way that’s actually useful:
- Performance checks: Quizzes, scenario scores, and practical assessments (observation rubrics work well).
- Incident linkage: Review incident/near-miss reports and ask, “Is anything new showing up that our scenarios don’t cover?”
- Regulation updates: If your compliance requirements shift, update the training objectives and scenario feedback.
- User feedback: Collect what felt unrealistic, what people didn’t understand, and where they want more practice.
In practice, I recommend a content refresh rhythm like this: small tweaks after each pilot wave, then a bigger review every quarter (or whenever procedures change). That keeps the program relevant without turning updates into constant rework.
And yes—there’s room for smarter feedback and iteration as tools improve, but the core thing is still the same: keep your scenarios aligned with the real hazards your workers face.
8. Address Safety and User Comfort in VR (Because Comfort = Learning)
VR training is only effective if people can actually finish the session comfortably. If someone gets motion sick or panics because they feel “trapped,” you’ll lose attention fast—and that’s a safety issue too.
Here are the comfort and safety practices I’d treat as non-negotiable:
- Headset fit matters: Adjust straps and IPD/lens settings. A loose headset can cause headaches and blurry visuals.
- Use session limits: Start with shorter sessions and build up only if users tolerate it well. Include breaks automatically.
- Give a “stop” option: Encourage learners to speak up if they feel dizzy. Make it normal, not embarrassing.
- Clear the physical space: Remove clutter and mark safe boundaries so people don’t bump into equipment while wearing a headset.
- Controller instructions first: A 2-minute controller walkthrough prevents awkward, uncomfortable strain during the real scenario.
- Consider lighter setups: If you’re doing many sessions per day, lightweight equipment can reduce fatigue. (We’ve seen “small comfort wins” add up over a week.)
- Plan for anxiety: Even in VR, people want reassurance. Know-how to exit the simulation, virtual emergency exits, and clear debriefs help reduce stress.
Bottom line: realism is important, but comfort and safety come first. When you balance both, you get better engagement—and learners retain the steps you actually care about.
FAQs
Start with the hazards and tasks that show up repeatedly in incident reports, near-misses, and supervisor observations. Then confirm with workers what feels confusing or risky in the real workflow. Once you have that, translate it into specific behaviors you want learners to demonstrate in the simulation.
Match the hardware to how people will interact during training (controller/hand tracking needs), then prioritize comfort and ease of use for your session schedule. Don’t forget hygiene and asset management—shared headsets need a cleaning and charging workflow. Budget matters, but setup reliability matters more.
Fit the headset properly, keep sessions appropriately short, and include breaks. Watch for discomfort and give learners an easy way to pause or stop. Design the VR environment to reduce collisions (clear space, boundaries) and avoid motion designs that trigger nausea for your audience.
Use a mix of pre/post assessments (so you can measure knowledge), scenario scoring (so you can measure correct behaviors in the simulation), and observation rubrics or practical follow-ups on the job (so you can see transfer). Then connect outcomes to incident/near-miss trends over time.