
How To Teach Hands-On Skills Online in 8 Simple Steps
Teaching hands-on skills online doesn’t have to feel like a compromise. I used to think you needed a lab, a workshop, or at least a room full of tools to make practice “real.” But after running a few remote cohorts, I learned you can absolutely teach by doing—if you design the lesson like practice, not like watching.
In practice, that means you build in tactile work (even if it’s at home), show techniques clearly in real time, and give learners a way to prove they can actually do the thing. Do that, and your online lessons stop feeling abstract and start sticking.
Here’s what I’ve found works best: home kits that match the lesson, live demos with real troubleshooting, and interactive activities (projects, peer reviews, and quick challenges) so students keep moving. Let’s get into the steps.
Key Takeaways
Key Takeaways
- Hands-on online learning works best when you send something students can use (home kits), teach with live demonstrations (so mistakes get corrected early), and wrap it up with short assessments that confirm real skill—not just participation. When kits include clear instructions and a simple “what good looks like” checklist, learners practice more confidently.
- Keep learners engaged with practical structure: microlearning chunks, repeatable project templates, and feedback loops. Gamification can help, but I’ve seen it work best when it’s tied to specific milestones (not random points). Up-to-date content, a supportive community, and basic analytics make the whole course easier to improve over time.

1. Teach Hands-On Skills Online by Providing Home Kits
Sending home kits is one of the most reliable ways to help students practice for real. I’ve taught everything from beginner electronics to basic “do-it-yourself” craft skills, and the pattern is the same: when students can physically try the steps, they ask better questions and they remember more.
The key is matching the kit to the lesson—not just “sending tools.” I always start by writing a short list of observable outcomes for the kit. For example, if the lesson is “build a working LED circuit,” the kit should let them demonstrate: power on, correct polarity behavior, and a stable light output.
What I include (electronics example)
- Controller: microcontroller starter board (or a simple USB-powered dev board)
- Core components: breadboard, LEDs (at least 2 colors), 220Ω resistors (or a resistor pack), jumper wires
- Optional but helpful: a small USB power cable, heat-shrink tubing, and a basic multi-tool (wire stripper if the course level supports it)
- Safety + QA: a one-page “common mistakes” sheet (like wrong polarity, loose jumpers, missing ground)
Then I add step-by-step guides that look like a lab manual, not a blog post. Each step gets a “check” line. Example: “Before powering on, verify the LED’s long leg goes to the resistor, and the resistor goes to the output pin.” It sounds small, but it prevents a ton of preventable frustration.
To make it interactive, I ask students to submit a quick proof-of-work: one photo of the completed setup and a 20–30 second video showing it running. That’s enough for me to spot issues like swapped wires or a breadboard rail mismatch.
One more thing: don’t overspend. In my experience, the best kits are compact and reusable across lessons. If you’re teaching multiple electronics modules, choose a kit that can support 2–4 projects instead of a single one-off build.
2. Use Live Video Coaching and Demonstration Tools
Live video coaching really does help—because you can catch errors while they’re still small. But here’s what I noticed after a few sessions: it’s not the “live” part that matters most. It’s the run-of-show and the way you show the technique.
I always plan demos like this:
- 0–2 minutes: what we’re building + what “success” looks like (show the final result first)
- 2–10 minutes: slow walkthrough of the critical step(s), with a close-up camera angle
- 10–20 minutes: learners try while I coach, pausing every 2–3 minutes for “stop and check” moments
- last 5 minutes: troubleshooting round + quick recap of the most common mistakes
For the tools, I look for: real-time video, screen sharing (for software or diagrams), and annotation (so I can circle a component or highlight a menu path). If you’re teaching anything that depends on tiny details—like wiring points, solder joints, or tool alignment—annotation becomes your best friend.
Camera setup that actually works
- Use one camera for the “wide shot” and another (even a phone on a stand) for close-ups.
- Turn on a lamp or overhead light facing the work area (not your face). Shadows kill comprehension.
- Do a 30-second test recording before class. Can students read labels? Can they see hand placement?
And yes, record the session. But don’t just upload the whole thing. I cut it into short “chapters” (setup, step-by-step, troubleshooting) so students can jump to what they’re stuck on.
3. Incorporate Collaborative and Interactive Online Platforms
Hands-on learning can still feel social. The trick is building collaboration into the practice, not just adding a discussion board at the end.
I like using a shared workflow where students produce something small, then critique it. That could be a shared doc, a forum thread, or a course platform assignment tool—whatever you use, it should make peer review simple.
A collaboration format that’s easy to run
- Pair or group students: 3–4 learners per group is usually the sweet spot.
- Give a template: “What I built / What I expected / What happened / What I changed.”
- Use peer scoring: a short rubric with 3–5 criteria (more on rubrics later).
- Require one question: each student must ask at least one peer question (or they don’t get credit for the review).
If you’re teaching digital skills (marketing, design, coding), this plays nicely with shared documents and real-time chat. For example, during a marketing module, students can draft a campaign outline in a shared doc and comment on each other’s targeting assumptions.
And if you’re using a platform that combines chat, file sharing, and video calls, it reduces friction. I’ve seen cohorts stall when learners have to hop across five tools just to submit one thing.
Microsoft Teams and Google Classroom are useful here because they keep group work in one place, and learners know where to check for the next step.
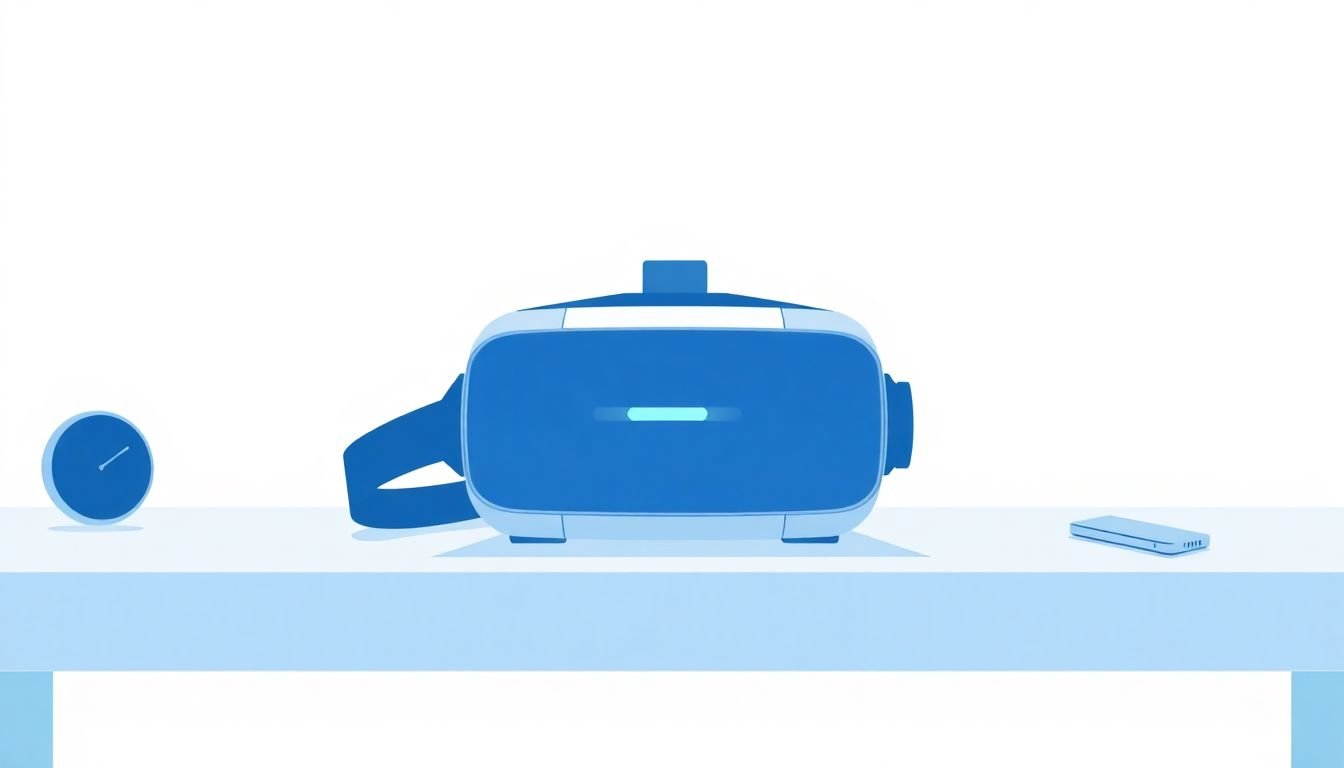
9. Leverage Virtual and Augmented Reality for Immersive Practice
VR and AR can make online practice feel less like “training” and more like “doing.” I’ve used XR-style practice for scenarios where mistakes are expensive or risky—things like tool handling, assembly steps, or simulated inspections.
With VR headsets or AR apps, students can repeat scenarios safely until they get it right. That repetition matters. Most learners don’t need one perfect demo—they need 5–10 tries with feedback.
For a practical example, a mechanic-in-training can assemble an engine in a virtual garage without damaging anything. They can also get guided prompts when they place a part incorrectly, which is exactly what you want for skill-building.
How I’d start (without overcommitting)
- Begin with free or low-cost demos that match one lesson objective.
- Run a short pilot: 1 module, 1 skill, 1 submission type (for example, “submit a screenshot of completed assembly + a 1-minute walkthrough video”).
- Collect feedback on friction points: headset comfort, tracking issues, and whether students actually complete the task.
If you want more scalable options, look into Easy LMS or create a custom VR environment. Just don’t choose XR because it sounds impressive—choose it because it solves a real practice problem.
The goal is confidence. Students should be able to attempt the real-world version with fewer surprises and less anxiety.
10. Integrate Gamification to Boost Engagement and Retention
Gamification can work, but only when it’s tied to skill progress. I’m not a fan of random points for clicking around. What I do like: badges and challenges that map to actual milestones students can demonstrate.
Here are a few ways to make it meaningful:
- Level unlocks: learners unlock the next module only after they pass a mini practical or quiz.
- Badges for competence: award a badge when the submission meets a rubric (not when they “finish”).
- Timed challenges (carefully): for certain skills, speed matters—just make sure it doesn’t reward sloppy work.
For example, in a coding course, you can award a badge for completing a set of tasks that demonstrate specific competencies (like debugging a function, writing tests, or meeting performance constraints).
If you want tools to embed quizzes and certificate-style outcomes, CertLibrary and create custom quizzes can help. I pick these because they reduce the “admin overhead” of managing assessments and rewards.
Also, balance competition with support. When I’ve seen leaderboards get too intense, students focus on beating others instead of improving their technique. A “personal best” approach often feels healthier.
11. Provide Ongoing Feedback and Assessment Opportunities
Feedback is where hands-on learning becomes real. Without it, students can practice the wrong thing for a long time. I try to build assessment into every module, not just at the end.
Here’s a simple structure that works well:
- After each module: a short quiz or a practical “submit evidence” task
- Once per week: a deeper check (rubric-based review or live coaching session)
- Always: at least one clear “next step” for improvement
What “good submission” looks like
- Photo/video evidence of the completed step
- Optional: a short written note (“what I changed after my first attempt”)
- Optional: a “common error” tag if they got stuck (this helps you diagnose patterns)
For quick checks, use tools that grade automatically and provide immediate feedback. For deeper issues, schedule review sessions or personalized feedback. And don’t skip self-assessment—reflection helps students notice what they’re actually doing, not just what they think they did.
If you want to streamline quizzes and progress tracking, create quizzes easily and track progress are useful references for structuring assessments and measuring engagement.
12. Offer Microlearning and Modular Content for Flexible Learning Paths
Microlearning isn’t just a buzzword. It’s how you keep practice manageable when people are busy. If a lesson requires 45 minutes of setup and explanation before learners can touch anything, you’ll lose them.
Instead, I design modules so students can complete a chunk in 10–15 minutes and immediately apply it. Each module typically includes:
- a short video demo (with a “stop and try this” moment)
- a quick-start guide (one page)
- a tiny deliverable (photo/video, short answer, or a checklist sign-off)
This also makes learning paths flexible. If someone struggles with one step, they can repeat that module without rewatching the whole course. If someone already knows the basics, they can skip ahead.
For example, a marketing course can offer separate modules for social media, email campaigns, and SEO. Students pick what they need and still follow a coherent progression.
If you’re organizing modules, content mapping tools help you keep dependencies clear (so “Module 3” doesn’t assume knowledge you never taught).
13. Keep Learning Content Up to Date and Relevant
Hands-on skills change. Tools update. Best practices evolve. If your course uses outdated steps, learners notice fast—and they lose trust.
I treat course updates like a maintenance schedule, not an emergency. A good baseline is reviewing key modules every 60–90 days, especially anything that touches software, safety procedures, or industry tools.
Invite guest experts when possible, but also use real feedback from learners. Ask: “What part felt outdated?” and “Which step didn’t match what you expected in the real world?”
If you want structured ways to reorganize lessons, lesson planning and course structure can make updates less painful.
14. Build a Supportive Learning Community
One of the biggest reasons hands-on online courses fail is isolation. People get stuck, feel embarrassed, and quit. A community fixes that.
I recommend setting up a few predictable ways learners can interact:
- a discussion space for questions (with a “tag” system like setup, troubleshooting, submission)
- peer sharing threads (“show your build” posts)
- short live Q&A sessions so learners don’t wait days to get unstuck
Encourage students to share challenges and wins—seriously, both. When learners see others making the same mistake and recovering, they stop panicking.
If you’re using Google Classroom, it can help centralize community activity so students don’t miss updates.
15. Use Data Analytics to Personalize and Improve Courses
Data won’t replace good teaching, but it will point you to problems you can’t see from the instructor side.
Track a few practical metrics:
- Completion rates: which modules cause drop-off?
- Time on module: are students spending too long on one step?
- Quiz scores: which questions are consistently missed?
- Submission quality: are videos/photos meeting the rubric?
In one cohort, our analytics showed a big drop right after the “first build” module. When we reviewed submissions, the issue wasn’t the concept—it was the kit instructions. We rewrote the step order and added a “before powering on” checklist. Drop-off improved after that.
Most platforms have dashboards, but even a simple spreadsheet works if you’re consistent about recording results.
16. Make Certification and Badge Systems Meaningful
Badges and certificates can be motivating—if they reflect real skill. I’ve seen learners earn a certificate without being able to perform the task. That’s a trust killer.
Here’s how to make it meaningful:
- Tie badges to specific competencies (not “watched 80% of videos”).
- Use a rubric for practical tasks so the badge has a consistent standard.
- Make the credential verifiable so it’s not just a decorative badge.
Digital credentials can help with verification. If you want a starting point for secure digital badges or certificates, CreateAICourse is one option to explore.
Bottom line: the value of a certificate comes from the evidence behind it.
17. Consider a Blended Approach When Possible
Online can take you far. But some skills still benefit from in-person coaching—especially when physical handling is involved or when learners need immediate, hands-on correction.
If you can, plan periodic workshops or exams to reinforce the tricky parts. You don’t need frequent in-person sessions. Even a single checkpoint at the right time can boost confidence and reduce repeated mistakes.
Strategically, I like staggering live sessions based on progress so the in-person time is used for the steps that are hardest to teach remotely.
Many companies go hybrid for a reason: it’s the best of both worlds when supervisory or technical skills require real-world practice.
FAQs
Give learners something they can practice with at home (a kit if it fits), then teach the technique with clear step-by-step instructions and live or recorded demos. The big difference-maker is evidence-based practice—photos/videos, short checklists, and quick assessments that confirm they can actually perform the skill.
Use video platforms that support real-time camera views, screen sharing, and annotation. In my experience, annotation is especially helpful for pointing out small details—like where to place a component or what to click next.
Build collaboration into assignments: shared documents, breakout rooms (if you do live sessions), and peer review prompts with a simple rubric. When learners know exactly what to comment on, collaboration doesn’t turn into vague “nice work” feedback.
Students review content before the live session, so class time is used for practice, feedback, and troubleshooting. It usually leads to better participation because learners show up ready with questions instead of trying to learn everything in real time.