
How to Set Up a Home Studio for Online Teaching in 7 Simple Steps
If you’ve tried setting up a space for online teaching, you know the “just make it work” part is way harder than it should be. I’ve been there—first attempt, I thought I had everything covered… and then my audio sounded like I was talking from inside a closet and my face looked weirdly washed out. Fun times.
So here’s what I do now: follow a simple, repeatable setup plan. You’ll end up with a home studio that’s cozy, functional, and actually makes your lessons easier to watch (and easier for you to run).
In the steps below, I’ll focus on the things that usually cause problems—echo, mic levels, lighting placement, camera height, and the “why is my stream stuttering?” moments. By the end, you’ll have a practical checklist you can run before every class.
Key Takeaways
- Pick a quiet spot with controllable noise and minimal echo. Natural light is a bonus, but soft furnishings (rugs, curtains) can save you when the room is reflective.
- Use a real USB microphone and place it 6–12 inches from your mouth. Aim for peaks around -6 dB (not louder) so you don’t clip when you get enthusiastic.
- Light your face from the front. If you use one light, put it slightly above eye level and angle it down a bit. If you use two, the second “fill” light helps remove harsh shadows.
- Set your camera at eye level and keep it steady. A simple chest-up framing looks more natural than “headroom for days.”
- Don’t run your class on a struggling laptop. I target 8GB RAM, a modern CPU, and an SSD at minimum, plus a dedicated GPU if you edit video.
- Organize teaching materials so you can find anything in seconds—slides, links, handouts, and your “emergency” files for when something goes wrong.
- Test before every session. Record a 30–60 second clip to check audio, lighting, and framing. If possible, test on the exact internet connection you’ll use live.
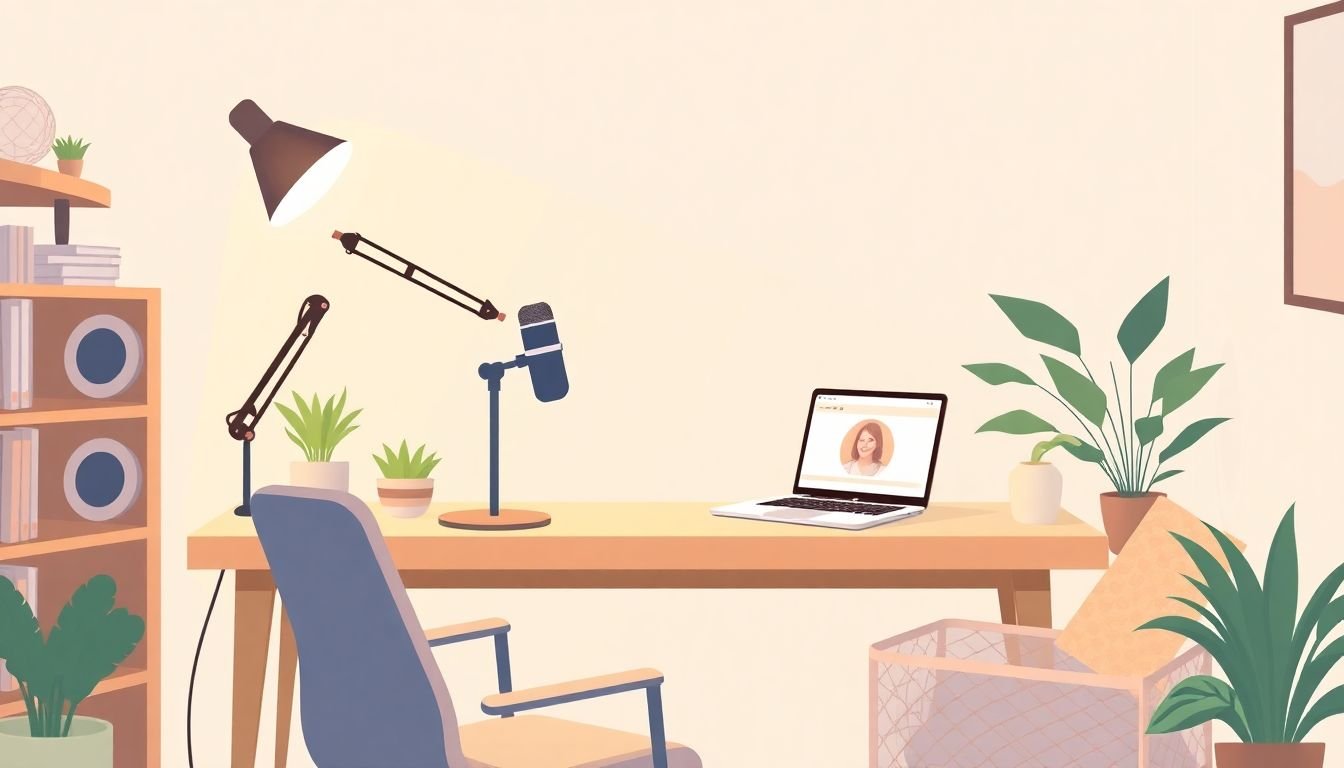
Step 1: Choose the Right Space
Picking the right spot is where everything starts. If the room is noisy or echo-y, you can buy the fanciest mic on earth and still sound “meh.”
I look for three things:
- Quiet: away from kitchens, HVAC vents, and windows that face traffic.
- Light: ideally near a window, so your face gets even illumination during the day.
- Low echo: a room with some soft stuff helps—rugs, curtains, bookshelves, even a couch.
Here’s a quick echo test I use: clap once where you’ll sit and listen. If you hear a clear “boing” or lingering sound, plan to add absorption (rugs/drapes) or move your setup away from bare walls.
Background matters too, but you don’t need perfection. A plain wall, a simple bookshelf, or a tidy backdrop with one or two props looks professional—just avoid messy clutter that pulls attention away from your face.
Budget reality check: you don’t need a dedicated room. In my experience, even a corner of a bedroom works as long as you control noise and soften reflections.
Step 2: Optimize Audio Quality
Let me be blunt: audio is the #1 thing students complain about. Bad sound makes people tune out fast.
A USB microphone is usually the simplest upgrade. Models like the Blue Yeti or Audio-Technica ATR2100x can sound great for teaching, especially if you place them correctly.
What I recommend focusing on (because it’s what actually changes the sound):
- Distance: start with 6–12 inches from your mouth. Too close can boost boomy bass; too far makes you sound quiet and distant.
- Angle: point the mic slightly toward your mouth, not straight at your keyboard.
- Pop filter: if you get harsh “P” and “B” sounds, a pop filter helps a lot.
- Levels: if your software shows a meter, aim for peaks around -6 dB during normal speech. You can go a bit higher for emphasis, but avoid clipping (red/orange peaks).
- Connections: plug in directly by USB. If you’re using any analog audio, go wired whenever possible to avoid weird dropouts.
Also—avoid the laptop mic. It almost always picks up fan noise, keyboard clicks, and room echo. Even if students “can understand you,” they’ll still feel the difference.
Before class, do a 30-second recording. Listen for:
- Background noise (fans, street noise, AC hum)
- Echo (does your voice sound like it’s in a hallway?)
- Consistency (do you get louder/softer as you move?)
Step 3: Set Up Proper Lighting
Lighting is the difference between “I can see you clearly” and “why does your face look ghostly?”
Natural light is the easiest win. Face a window, and position yourself so the light hits your face from the front. If the sunlight is blasting, use a sheer curtain or shift your angle so you’re not getting harsh shadows under your eyes.
If natural light isn’t consistent (or you teach evenings), soft lights are your friend. Softboxes or a ring light can work well, but placement matters more than brand.
My go-to placement rules:
- Front lighting: place the light in front of you, slightly above eye level, angled downward.
- Fill shadows: if you’ve got strong side shadows, add a second light (or bounce light off a white wall) to soften them.
- Color temperature: try to avoid super-warm or super-cool lighting. If your skin looks orange or blue, adjust the bulbs or use a different lamp.
One thing I noticed after switching setups: students react better when the background isn’t brighter than your face. If your wall is brighter than you are, your camera will “expose for the wall,” and you’ll look darker.
Step 4: Position Your Camera Effectively
If your camera angle is off, students notice immediately. It’s one of those tiny things that somehow feels huge.
I always aim for eye level. That means when you look at the screen, your eyes should be looking back—not up into the ceiling or down at your chest.
If you’re using a laptop, raise it. Books, a laptop stand, anything that gets the camera to eye level. Otherwise, you’ll get that “interrogation room” look (and not in a good way).
Framing tip: set your camera for chest up (or shoulders up). You don’t need to be super zoomed in, but leaving tons of headroom usually looks awkward.
Also, keep the background tidy and distraction-free. A clean background makes your face and gestures do the work.
When possible, use an external webcam. Better resolution and more consistent auto-exposure can make you look sharper without you changing anything else.
Step 5: Use a Capable Computer System
You can have great audio and lighting, but if your computer can’t keep up, everything falls apart. I’ve had sessions where screen sharing lagged and students just… lost patience.
Here’s what I consider a solid baseline:
- RAM: at least 8GB
- Storage: SSD (speeds up loading and file access)
- CPU: modern enough to handle screen share + video conferencing
If you do any heavier work (video editing, virtual backgrounds, lots of media), a dedicated graphics card can help a lot.
During teaching, close anything you don’t need: extra browser tabs, file syncs, and background apps that steal CPU/RAM. You’re not being “overly cautious”—you’re just preventing avoidable bottlenecks.
And yes, budget setups can still work. I’ve seen teachers run professional-looking lessons on affordable gear as long as they get the basics right: mic placement, stable lighting, and a computer that isn’t constantly maxing out.
Step 6: Organize Your Teaching Tools
This is the step most people skip—then they wonder why class feels stressful.
When your materials are scattered, you waste time searching. Students feel that pause. So I organize like I’m preparing for a flight: everything has a place, and I can grab it fast.
Try this simple structure:
- Folders by topic (Week 1, Week 2, etc.)
- Slides + handouts in the same folder
- Reference links saved in a “Quick Links” list
- Recorded assets (demo videos, examples) ready to go
A digital “personal library” is a lifesaver. Tools like Google Drive or Evernote make it easy to pull up files from anywhere—especially if you teach from different rooms.
When it comes to quizzes and practice, having a consistent flow matters. If you use quiz tools, pick one system and stick with it so you’re not rebuilding assessments every time. (For related resources, you can use Create a Quiz if you need a starting point.)
The payoff is real: fewer distractions, fewer “wait—where is that file?” moments, and more focus on teaching.
Step 7: Test and Adjust
This is the part that saves you on the day of class.
Before you go live, do a quick run-through of:
- Audio: mic level and background noise
- Video: lighting, framing, and camera angle
- Internet: stability and any dropouts
- Materials: slides open, links work, files accessible
Record a short trial (30–60 seconds). Don’t just watch the preview—play it back. You’ll catch issues you didn’t notice live, like:
- your voice getting too loud during emphasis
- shadows under your chin
- your camera drifting lower than you thought
Internet-wise, I aim for at least 25 Mbps download and 10 Mbps upload for smooth video. If your connection is flaky, Ethernet beats Wi‑Fi almost every time.
One more thing: ask a friend or colleague to do a test run if you can. Fresh eyes catch problems you’ve gotten used to—like a background that’s too busy or audio that’s “almost fine” but still not great.
Bonus Tips for Engagement
Even with the best studio, engagement comes from how you teach. But the studio helps you do it.
- Use interactive moments: quick polls, short quizzes, or a chat prompt every 10–15 minutes.
- Switch formats: alternate between explaining, showing slides, and doing a quick activity.
- Camera eye contact: look into the camera during key points. It feels more personal than staring at your screen.
- Encourage cameras (when appropriate): it makes discussions more lively. If it’s not required, at least invite it.
- Set expectations: tell students to mute when not speaking and use chat for questions so you don’t lose your flow.
And yes—give timely feedback. When students feel noticed, they’re more likely to participate and stick with you.
FAQs
Pick a quiet area with minimal background noise and distractions. Try to choose a spot with good natural or soft artificial lighting, and keep the background simple. If the room echoes, add soft furnishings like a rug or curtains.
Use a dedicated microphone, speak close to it (about 6–12 inches), and record in the quietest part of your home. If you notice echo, soften the room with rugs, curtains, or foam panels. Also watch your input levels to avoid clipping.
Use soft, diffused lighting placed in front of you to reduce shadows. Natural light from a window works great, and ring lights or softboxes can work if you position them correctly. Avoid harsh overhead lighting and try not to let the background be brighter than your face.
Do a quick trial run. Check that your mic levels look good, your lighting is flattering and even, your camera framing is at eye level, and your background is tidy. Finally, confirm your internet connection is stable and that your links/files are ready.