
How to Film Course Videos on a Budget in 8 Simple Steps
Have you ever sat down to film your course videos and immediately thought, “Yeah… I can do this… but I really don’t have money for all that gear”? Same. I’ve been there. I wanted my lessons to look clean and feel easy to follow, but I also had a very real budget constraint: I couldn’t justify spending hundreds (or thousands) before I even knew if the course would take off.
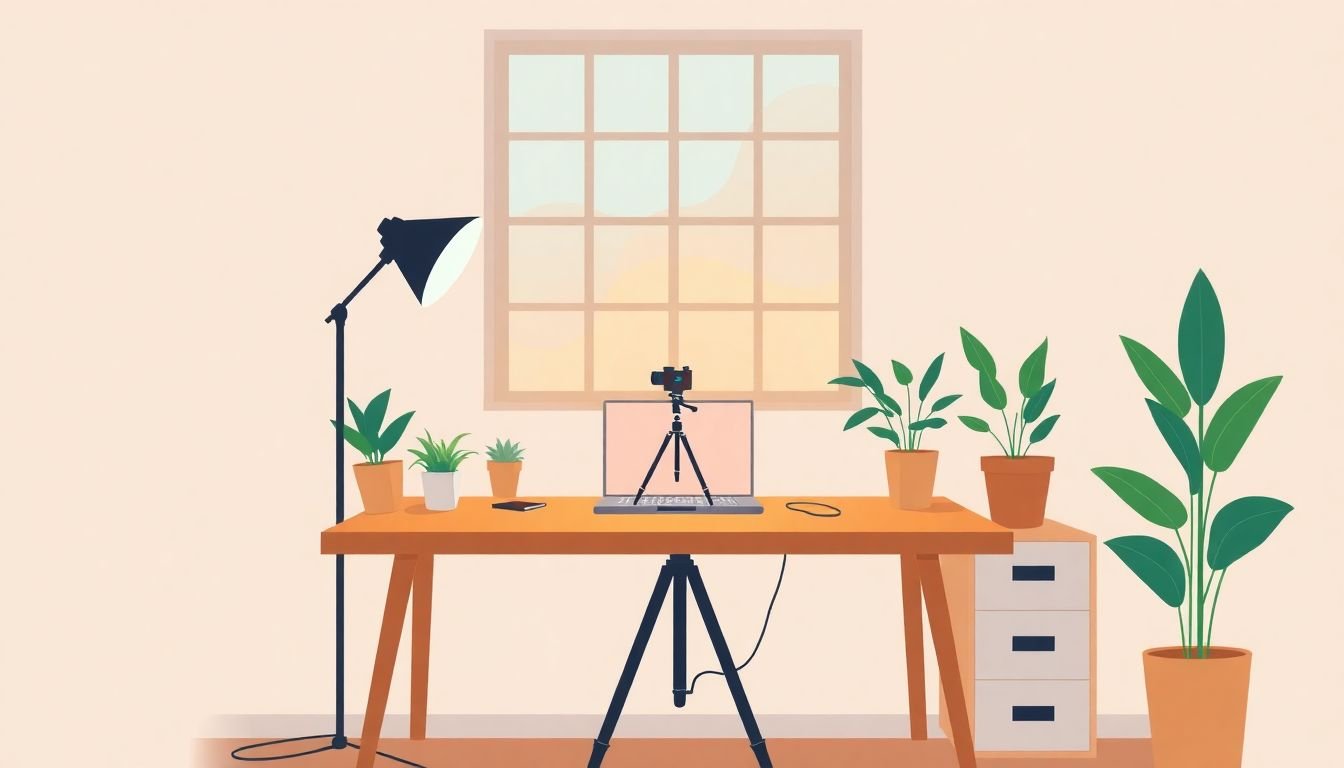
In my case, I started with what I already had: a phone, a basic laptop, and a quiet room. The first recordings were… rough. The lighting was uneven, the audio had that distant “room” sound, and I spent way too long trimming tiny mistakes. But once I tightened up my process and made a few cheap upgrades, everything got dramatically easier. This is the exact approach I used to film course videos on a budget in a way that still looks professional.
Key Takeaways
- Plan fast, film faster: Write a simple outline (or script), split it into sections, and practice once. It saves editing time because you’re not guessing what to cut later. I used a Google Docs outline and it kept me from rambling.
- Use what you already own: A smartphone camera is usually enough for course-style talking-head videos. The bigger win is stable framing and clear audio—not fancy lenses.
- Lighting is the cheapest “upgrade”: Film facing a window and use DIY bounce/diffusion (like a $10–$20 poster board) to soften harsh shadows.
- Audio matters more than video: If you do one budget upgrade, make it sound. A basic USB or lapel mic placed correctly can make your voice sound 10x closer and cleaner.
- Edit with a simple workflow: Trim, clean up audio levels, add captions/text overlays, and export MP4. Don’t add effects just to add effects.
- Batch everything: Film multiple lessons in one setup session, reuse intros/outros templates, and keep export presets ready so you’re not repeating the same steps all day.
Step 1: Plan Your Video Efficiently (so you don’t waste filming time)
I learned this the hard way: if you don’t plan, you end up re-recording everything. And re-recording is where budgets go to die.
Goal: Create a clear “map” for each lesson so you can film in sections.
What I do (and what you can copy):
- Write a 1-page outline: 3–6 bullet sections per lesson. Example: “Problem → Tools → Step-by-step → Common mistakes → Recap.”
- Add a script-lite delivery: Don’t write every word. Instead, write the key sentences you want to sound confident saying.
- Practice once: Do a quick run-through in your filming spot. This helps you catch awkward phrasing before you record.
- Plan your visuals: Decide what you’ll show—screen recording, slides, a prop, or just you talking to camera.
- Schedule realistic filming: Block 2 hours on a weekend. That’s usually enough to film 2–4 short lessons if your setup stays the same.
Time estimate: 30–90 minutes per lesson (depending on complexity).
Common mistakes: trying to freestyle; making the outline too detailed; not deciding what visuals you’ll use; filming without rehearsing once.
Quick checklist: Outline done, sections named, visuals picked, filming location confirmed, and you’ve practiced at least once.
Step 2: Use Affordable or Existing Equipment (and spend on sound first)
Let’s be honest: you don’t need a studio camera to teach. You need something stable, something that records cleanly, and something that makes your voice easy to hear.
Goal: Get a reliable setup with minimal spending.
What to use:
- Camera: Use your smartphone. If it has 1080p/4K options, stick to 1080p for easier editing and smaller file sizes.
- Stability: Put your phone on a tripod, or improvise with books. In my setup, a stack of 3–5 books under the phone got me steady framing without shaking.
- Editing software: If you’re on Windows, Shotcut is free. If you’re open to a slightly steeper learning curve, DaVinci Resolve (free) is great for audio cleanup.
- Audio: If you can, upgrade here. A lapel mic or USB mic beats “phone mic audio” almost every time.
Budget mic ideas (real-world examples):
- Lapel mic: Look for a 3.5mm lapel mic with a simple plug-in receiver (often in the $15–$40 range).
- USB mic: A basic USB mic is usually $40–$120. Placement matters more than brand—aim for 6–10 inches from your mouth.
- Budget “backup”: If you’re stuck, an earbud mic can work for voiceovers. It won’t be perfect, but it’s better than nothing.
Time estimate: 30–60 minutes to set up and test.
Common mistakes: recording too far from the mic; filming in a noisy room; using a cheap mic but placing it incorrectly; changing your setup mid-session (it kills consistency).
Quick checklist: Camera stable, frame locked, mic tested with a 10-second recording, and you’ve checked audio level (no constant clipping).
Step 3: Leverage Natural Light and Basic Lighting (no studio required)
This is one of the biggest “budget wins” I found. Lighting doesn’t have to be expensive—it just has to be flattering and consistent.
Goal: Even, soft light on your face with minimal shadows.
My go-to setup:
- Film during the day: Stand facing a window. Avoid direct harsh midday sun if it creates strong shadows on one side of your face.
- DIY diffusion: If the light is too harsh, use a white sheet, thin curtain, or poster board to soften it. I’ve used a $12–$20 poster board before and it noticeably reduced harsh shadows.
- Fill the shadows: Place a second poster board on the darker side of your face to bounce light back in.
- Skip overhead fluorescents: They can create a weird color cast and throw shadows upward.
- If you need extra light: A simple ring light or clamp lamp with a soft white bulb can help. Place it slightly above eye level and angle it so it doesn’t create a glare in your glasses.
Camera tips that help: If your phone allows it, lock exposure/white balance so the brightness doesn’t “hunt” between takes.
Time estimate: 15–30 minutes for light testing (seriously, this saves hours later).
Common mistakes: filming with your face too dark; having a bright window behind you (backlighting makes you a silhouette); inconsistent lighting between lessons.
Quick checklist: Your face is evenly lit, background isn’t overpowering, you’re not squinting, and the lighting looks the same across multiple takes.
Step 4: Keep Your Editing Simple and Cost-Effective (trim + clean audio + captions)
Editing is where I used to lose patience. I’d add transitions, tweak colors, and suddenly it was 3 hours later and I still didn’t export.
Goal: Publish a clean lesson fast.
Editing workflow I recommend:
- Trim the obvious mistakes first: Cut long pauses, flubs, and “um/uh” sections.
- Fix audio levels: In most editors you can normalize or adjust gain. Aim for voice that’s consistently audible.
- Remove background noise (lightly): If you overdo noise removal, voices can sound robotic. Small cleanup is usually enough.
- Add simple text overlays: Use lower thirds for names or key terms. Add 1–2 short callouts per section.
- Keep it moving: If a section goes longer than ~2–3 minutes, add a visual cue (slide change, on-screen bullet, screen recording).
One trick that saved me time: Record longer takes, then cut them down. Trying to get “perfect” takes on the first try is exhausting and often leads to more re-recording.
Export settings (simple and reliable): Export as MP4 (H.264), 1080p if possible, and a standard frame rate like 30fps. This avoids most playback issues on course platforms and YouTube.
Time estimate: 45–120 minutes per lesson.
Common mistakes: over-editing with effects; forgetting to check audio on headphones; exporting in the wrong format; changing the style every lesson.
Quick checklist: Audio is clear, pauses are trimmed, text overlays are readable, and export is MP4/H.264.
Step 5: Optimize Your Workflow for Efficiency (batching is everything)
If you want to keep costs low, you can’t treat every lesson like a brand-new production. You need a repeatable system.
Goal: Reduce setup time and reduce decision fatigue.
How to batch like a pro:
- Film multiple lessons in one session: Keep the same camera angle, same lighting, same mic placement.
- Reuse your “video template”: Create intro/outro clips once (even if they’re simple). Reuse lower thirds styles and title card formatting.
- Make a checklist for every phase: Planning → setup → record → review → import → trim → audio check → export.
- Automate the boring parts: Upload to your editing folder directly from your phone (or use a simple naming convention like “Lesson01_TakeA”). Set an export preset so you don’t reconfigure each time.
Practical example: I’d record 3 lessons back-to-back, then only edit one at a time. That way, I wasn’t mixing setup changes with editing decisions.
Time estimate: Setup and batch filming: 2–4 hours. Editing stays consistent per lesson.
Common mistakes: changing your lighting between lessons; using different framing; forgetting to label takes; editing everything immediately (then you lose your place and momentum).
Quick checklist: Same setup, labeled files, templates ready, and a repeatable checklist you follow every time.
For planning support and structure, you can also use lesson planning templates to keep your content organized while you batch record.
Step 6: Distribute and Promote on a Budget (get views without paying for ads)
Once you’ve filmed and edited, the budget part isn’t over—you still need distribution. The good news? You can do a lot for free.
Goal: Publish where your audience already watches and make it easy to find your course.
- Choose free platforms: YouTube is great for search. Vimeo and social platforms can work too, depending on your niche.
- Use keywords that match how people search: Put them in titles, descriptions, and tags. Example: “course video editing workflow” beats “editing tips.”
- Share directly with interested people: If you have an email list, send a short update with one key takeaway and a link.
- Cross-promote: Collaborate with another educator/creator. Even a simple guest video or shared post can expand reach.
- Repurpose smartly: Turn each lesson into 2–5 short clips. One clip could be a common mistake, another could be a quick tip, another could be the “before/after” result.
- Capture leads: If you want signups, build a basic landing page. Free tools and templates make this much easier than starting from scratch.
If you want a simple way to set that up, check out website builders or landing page templates to capture leads without paying for a full custom site.
FAQs
Start with what you already have: a smartphone camera, a stable setup, and natural light. Make your audio the priority (even a basic lapel/USB mic helps a lot). Then edit with free tools like Shotcut or DaVinci Resolve, keeping changes simple: trim mistakes, adjust audio, and add a little text for clarity.
Record in a quieter room, get closer to your mic, and reduce background noise instead of trying to “fix it later.” If you use a lapel mic or USB mic, place it consistently (around 6–10 inches from your mouth is a good starting point). Then use basic audio controls in your editor to level the voice so it stays consistent throughout the lesson.
Use free or low-cost editors like DaVinci Resolve or Shotcut. Keep a repeatable editing checklist: trim, clean audio levels, add captions/text overlays, and export MP4. The biggest time saver is planning your filming so you have usable takes—then editing becomes mostly cutting and organizing, not reworking.