
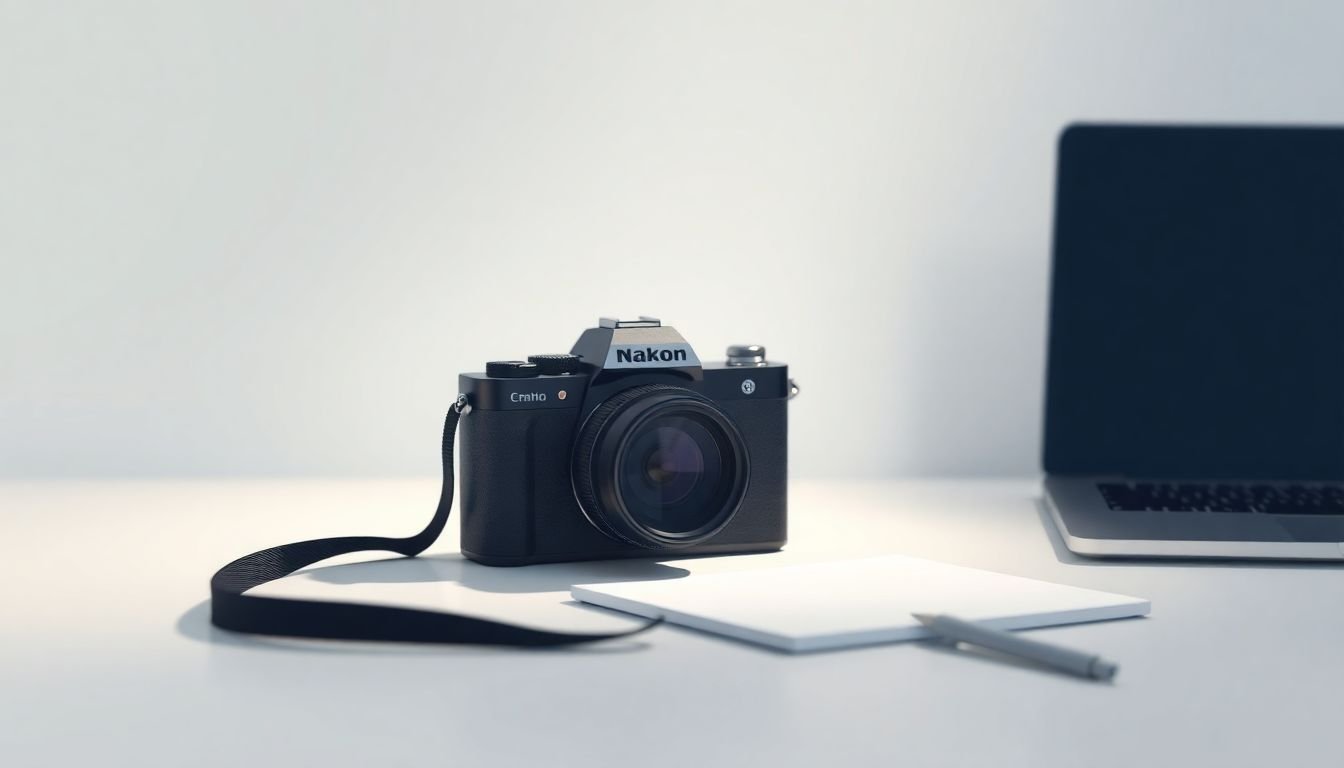
How to Choose the Right Camera for Course Videos in 8 Simple Steps
Picking a camera for course videos can feel like way too much—especially when every listing is screaming “4K!” at you. I’ve been there. The first time I tried to record a lesson, I focused on the camera specs… and completely ignored the stuff that actually ruined the video: audio, lighting, and whether the camera would stay in focus when I moved. So yeah, it’s overwhelming. But it doesn’t have to be.
In this post, I’m walking you through the same decision process I use when I’m helping someone plan a course setup. I’ll also show you what to check (not just what to buy), because “good on paper” and “works in your room” are often two different things.
If you want a simple path to a camera that fits your workflow—without overspending—keep reading.
Key Takeaways
- Match the camera to your filming style first. Talking-head in one spot? You can prioritize clean focus + audio. Moving around or teaching from different angles? You’ll want stabilization and a camera that’s easy to reposition.
- Don’t chase resolution without considering autofocus + audio. In my experience, viewers forgive “not-perfect 4K” way more than they tolerate muffled audio or a camera that hunts focus.
- Use a practical minimum spec by scenario. For most course talking-head setups, aim for 1080p or 4K with reliable face/subject autofocus and a way to get clean external audio. For demonstrations, prioritize sharp detail and no long record limits (battery + storage).
- Stabilization isn’t optional if you’ll move. Even with a great lens/sensor, shaky footage gets distracting fast. Test stabilization by walking a bit while recording a 30–60 second clip.
- Flip-out screens are underrated for self-recording. If you’re filming solo, being able to frame yourself without guessing is a quality-of-life feature that directly improves consistency.
- Budget for the “invisible upgrades.” Tripod/rig, lighting, and a mic usually matter more than bumping from 1080p to 4K.
- Compare cameras with a checklist that includes real workflow constraints. File transfer speed, codec/compatibility, battery life, and how fast you can get from “idea” to “recorded clip” matter.
- Start simple, but plan your next upgrade. Many creators begin with a webcam or compact camera, then step up to mirrorless/advanced audio once they know their teaching format.
1. Choose the Right Camera Based on Your Needs
Start with the uncomfortable question: where will you actually film? If you’re mostly at a desk, you don’t need a camera built for action sports. If you’re teaching in different rooms (or pacing while you talk), portability and stabilization jump way up the list.
Here’s what I look at first:
- Setup time: Can you go from “camera on” to “recording” in under 2 minutes?
- Framing: If you’re filming yourself, can you see framing clearly (flip-out screen or reliable app/monitoring)?
- File workflow: How fast do you get footage into your editing software? Is it a pain to import? (This matters more than people think.)
Then decide what “quality” means for you. Is it:
- Sharp talking-head footage (focus accuracy + skin tones + low noise)?
- Demonstrations (detail, minimal motion blur, and reliable recording length)?
- Multi-angle or immersive lessons (consistent coverage and easier editing)?
One more thing I learned the hard way: if you’ll be recording in your real space (a bedroom, home office, classroom), check how the camera behaves under your lighting. “Low-light performance” sounds great—until it shows up as noisy footage or weird autofocus hunting.
2. Identify Key Features for Course Videos
Features are only useful if they fix a problem you’ll actually have. So instead of listing specs, let’s translate them into what you’ll notice on your footage.
Autofocus (this is the big one)
If you move even a little—turn your head, step closer, gesture—autofocus becomes your job’s quality control. When I test cameras, I record a 30–60 second clip where I:
- starts at my normal distance
- leans toward the lens
- moves left/right slightly
- pauses and talks for a few seconds
You’re looking for stable focus on your face/eyes (or subject) without constant refocusing. If the camera “breathes” focus or hunts, your editing time goes up fast.
Audio inputs (don’t let the camera’s mic decide your fate)
Most course creators underestimate audio until they hear the playback. What I recommend checking:
- Mic input: Does it have a proper external mic input? (A built-in mic is fine for tests, but external audio is usually the upgrade.)
- Monitoring: Can you monitor levels (headphone jack or clear on-screen meters)?
- Compatibility: Will your chosen mic work without weird adapters?
Practical starting point: for talking-head, a wired lavalier is often the easiest “good audio” win. For more room sound, a shotgun mic can work, but you’ll need to keep your position consistent.
Stabilization (for handheld or moving teaching)
Stabilization matters when you’re not on a locked tripod. If you’re walking while teaching, you’ll want either:
- strong in-body or lens stabilization, or
- digital stabilization that doesn’t crop too aggressively
Test it by recording while walking slowly for one minute. If the image jitters or warps, it’ll distract viewers—especially in wide shots.
Flip-out screen + framing tools
If you film yourself alone, a flip-out screen (or a reliable monitoring app) saves takes. It’s not just convenience—it’s fewer retakes.
Low-light performance (but also your lighting)
Even the best low-light camera can look rough if you’re shooting in dim rooms. My rule: if your room lighting is weak, fix lighting first (a simple LED/ring light) and then worry about camera sensitivity.
Streaming / clean output (if you host live classes)
If you plan to stream, check whether the camera can do it the way you need—clean HDMI output, webcam mode, or RTMP support via software. Don’t assume “it streams” means “it streams the way your setup requires.”
If you want to go deeper on how webcams and capture software handle video, you can also reference general guidance from VLC and common capture workflows—but the key is testing with your actual laptop and editor.
3. Select the Camera Type That Suits You
Camera type is really just a shortcut for your workflow. Here’s how I’d match them to course styles:
- Smartphone / webcam: Best if you want speed and simplicity. Great for quick lessons, updates, and screen-record + webcam combos. Downside? You may hit limits with audio control and consistent framing.
- Mirrorless / DSLR-style: Best for higher image quality and flexibility (especially if you want external mics and better low-light). Downside? More setup and more gear.
- Compact cameras: Middle ground—often easier than mirrorless, but still with decent video performance.
- Action/compact 360-style cameras: Useful for immersive or “walk around” teaching. Downside? Editing can be more involved, and audio still needs attention.
What I noticed when comparing types: people often buy based on how cool the footage looks online, not how it will look in their own room. If possible, record a short test with the exact setup you’ll use—same light, same distance, same mic.
4. Choose Cameras That Match Your Budget and Goals
Budget isn’t just the camera price. It’s the total cost of getting a finished lesson—camera + mic + lighting + tripod + storage + cables. If you only budget for the camera, you’ll end up frustrated.
My approach:
- Decide your “must-have” first: usually audio and lighting.
- Then pick the camera that supports those upgrades: does it have the inputs you need? Can you monitor levels? Is the file format easy to edit?
- Only after that, chase resolution/features.
If you’re just starting and want to keep costs down, you might begin with a solid webcam or compact camera and put most of your money into a good mic and a simple light. If you’re producing a lot of content, spending a bit more on a camera that’s reliable (focus, battery, recording length) can save you hours of re-takes.
Also, if you’re building your course workflow in parallel, tools matter too—here’s a resource that can help you plan your course creation process: best AI course creator.
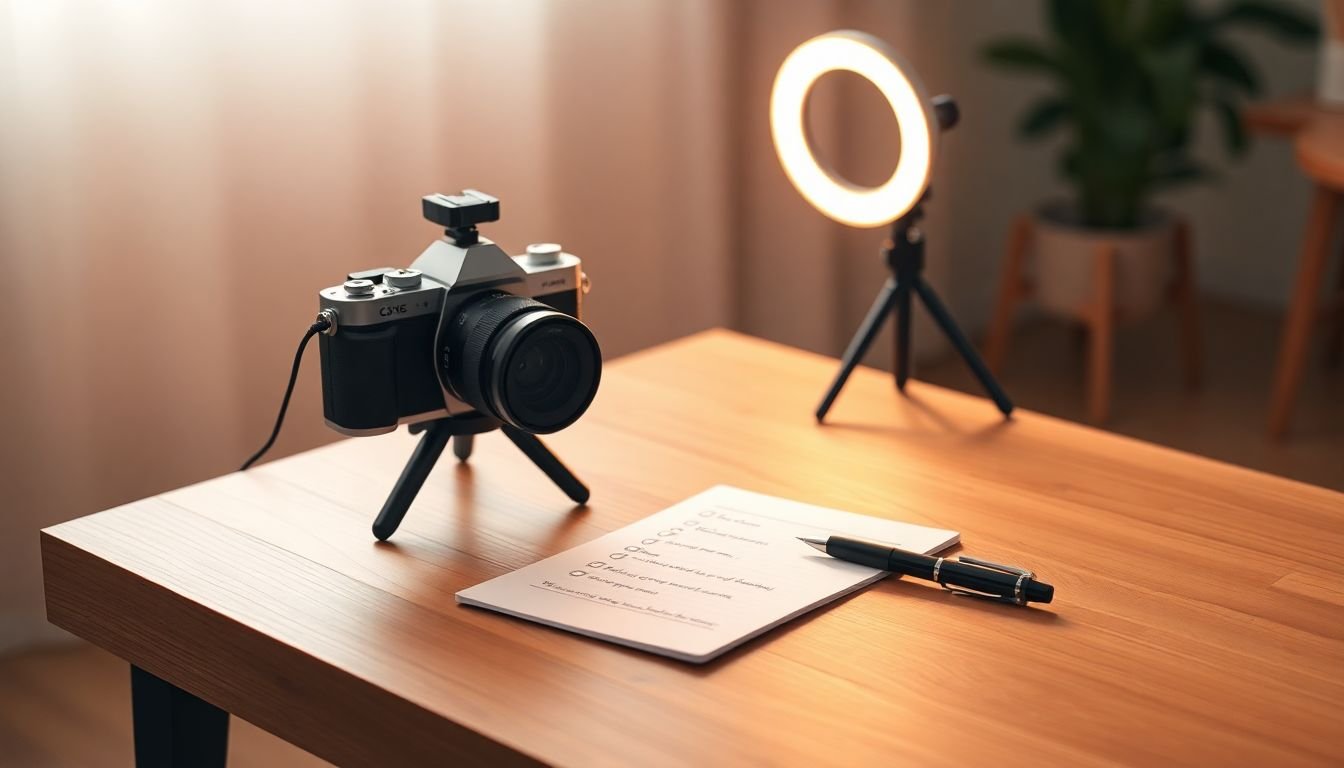
5. Gather Accessories That Boost Video Quality
A good camera is only half the equation. The accessories are what make your footage look “finished” and keep you from scrambling mid-record.
Tripod (or something that behaves like one)
If you’re doing talking-head, a tripod is the easiest quality upgrade. If you’re moving, consider a stable handheld rig or gimbal (but know gimbals add complexity and cost).
Lighting (simple beats fancy)
You don’t need studio lights. You need consistent light on your face. A ring light or a small LED panel can make a dramatic difference—especially if your camera struggles in low light.
Microphone (plan this early)
In most course setups, audio clarity is the difference between “professional” and “okay.” Typical starting points:
- Lav mic: great for clear speech while you move slightly.
- Shotgun mic: good if you’ll stay relatively centered and the room isn’t too echo-y.
- USB mic: can work well if you’re comfortable syncing audio (but it adds an extra step depending on your editing setup).
Batteries + storage
This is the boring stuff that ruins recordings. If you’re filming longer lessons, make sure you have:
- extra batteries (or a reliable power option)
- sufficient memory cards
- a fast way to transfer files
6. Use a Checklist to Compare and Decide
When you’re comparing cameras, don’t rely on spec sheets alone. Use a checklist that matches how you’ll actually film.
My quick comparison checklist
- Video quality: 1080p is a minimum for most courses; 4K is useful if you want cropping or zooming later.
- Autofocus behavior: face/subject tracking that stays stable when you move.
- Stabilization: test with handheld movement and check for warping/jitter.
- Audio support: external mic input + headphone monitoring (or at least reliable level meters).
- Screen/framing: flip-out screen or monitoring that helps you frame quickly.
- Recording limits: do you hit overheating or time limits during long takes?
- Editing workflow: are the file formats easy to import and edit in your software?
- Setup speed: how long does it take to get ready?
Scenario-based mini-checklists (so you can decide faster)
Talking-head (desk or classroom)
- Mic: lavalier or shotgun (external)
- Lighting: one key light aimed at your face
- Camera test: record 1 minute, lean forward/back, confirm focus stability
- Stability: tripod preferred
Screen capture + webcam
- Camera mode: webcam mode or easy capture connection
- Audio: mic input that won’t cause sync issues
- Camera test: record a short segment and check lip-sync after import
Moving instructor / classroom movement
- Mic: lavalier (usually safest)
- Stability: in-body stabilization or a rig that reduces shake
- Camera test: walk slowly, gesture, and check for focus tracking
- Lighting: avoid harsh shadows when you step away from the light
If you’re shopping in-store, ask to record a short clip using the same lighting you’ll have at home. If that’s not possible, use a sample clip from the camera brand—but always sanity-check it against your room conditions.
7. Start Small and Think About Future Upgrades
You don’t need the most expensive camera to make a great course. What you need is a setup you can repeat every week.
I usually recommend a “two-stage” plan:
- Stage 1 (get consistent): smartphone/webcam/compact camera + basic lighting + decent mic.
- Stage 2 (upgrade for scale): better autofocus camera, improved audio interface/mics, and more reliable rigging.
Also, learning curves are real. If you buy a complex setup before you know your teaching style, you’ll spend more time troubleshooting than teaching. Start with something versatile—then upgrade only when you’ve identified a specific limitation (like audio clarity, focus reliability, or long recording time).
Upgrading isn’t failure. It’s just how most creators level up.
8. Take Action and Start Creating Your Course
Here’s the truth: the best way to choose a camera is to start making lessons and letting your footage teach you what you need.
Pick your camera, grab the essentials, and record your first session—even if it’s imperfect. Then watch it back with a “fix list” mindset:
- Was audio clear, or did you have to crank volume?
- Did focus stay locked on your face?
- Was framing easy, or did you miss shots?
- Did stabilization help or create weird motion?
- How long did it take to import and edit?
Once you know what’s actually bothering you, upgrading becomes way easier. Consistency matters more than studio-perfect. Your students are here for the knowledge—not the camera brand.
So set a schedule, record a short lesson this week, and improve from there.
FAQs
Start with your filming environment and teaching style. If you’ll be mostly at a desk, prioritize stable focus and easy audio. If you’ll move around, prioritize stabilization and a reliable autofocus mode. Then make sure you can use an external mic (or at least get clean audio) so your lessons don’t sound “off” even if the video looks great.
Look for reliable autofocus (ideally face/subject tracking), good low-light performance for your room, and a way to get quality audio (external mic input and level monitoring are huge). Stabilization matters if you’ll be handheld or moving. And don’t ignore practical stuff like file import speed and recording limits.
Match the camera type to how you teach. For quick desk lessons, webcams/compact cameras are often enough. For higher image quality and flexibility, mirrorless is a solid choice. For immersive or “walk around” lessons, 360/action-style cameras can work—but plan for editing and still prioritize audio.
Compare based on your real workflow: autofocus reliability, external mic support, stabilization, battery/recording limits, and how easy the footage is to import and edit. Also budget for accessories—audio and lighting are usually the biggest improvements you’ll feel immediately.