Car Detailing Course: Best Training for Pros (2026)
⚡ TL;DR – Key Takeaways
- ✓Use SOP-first teaching so students repeat results (wash stages, correction passes, coating workflow).
- ✓Design modules around real outcomes: paint correction → ceramic coating → interior restoration → PPF application.
- ✓Add multi-stage paint correction practice using safe simulations when hands-on access is limited.
- ✓Include business training early: pricing strategies, customer service, salesmanship, and operations.
- ✓Structure the course like proven programs (1-day certifications through 5-day intensive tracks).
- ✓Use quizzes + digital badges to support certification credibility and reduce online dropout.
- ✓Plan for hybrid delivery: video demos + interactive tools (AI Q&A, defect practice, technique checklists).
What Makes a Professional Car Detailing Course (2026)
A professional car detailing course is measured by judgment, not by how many techniques get shown on camera. If students can’t inspect, decide, and execute safely, they’re not trained—they’re entertained.
I evaluate courses by repeatable outcomes. That means you can run the same workflow twice and get the same finish quality, with the same level of risk control, even when paint types vary.
Experience-led criteria: results, repeatability, and safety
Define safety and chemical handling up front, or you’re teaching a liability. PPE, ventilation, dilution ratios, and waste disposal rules should be part of the first day—not tucked into module five as an afterthought.
Then require documentation. Every step students do should be logged with the exact product, dwell/contact time, dilution (if applicable), tool behavior, and inspection results so their “memory” doesn’t replace an SOP.
Here’s the trap I see in weaker programs: they teach “how” but not “when.” Paint correction, Ceramic coating prep, and interior work all depend on conditions. If a student can’t explain why they chose a pass, a pad, or a chemical, they’ll freestyle on customer cars.
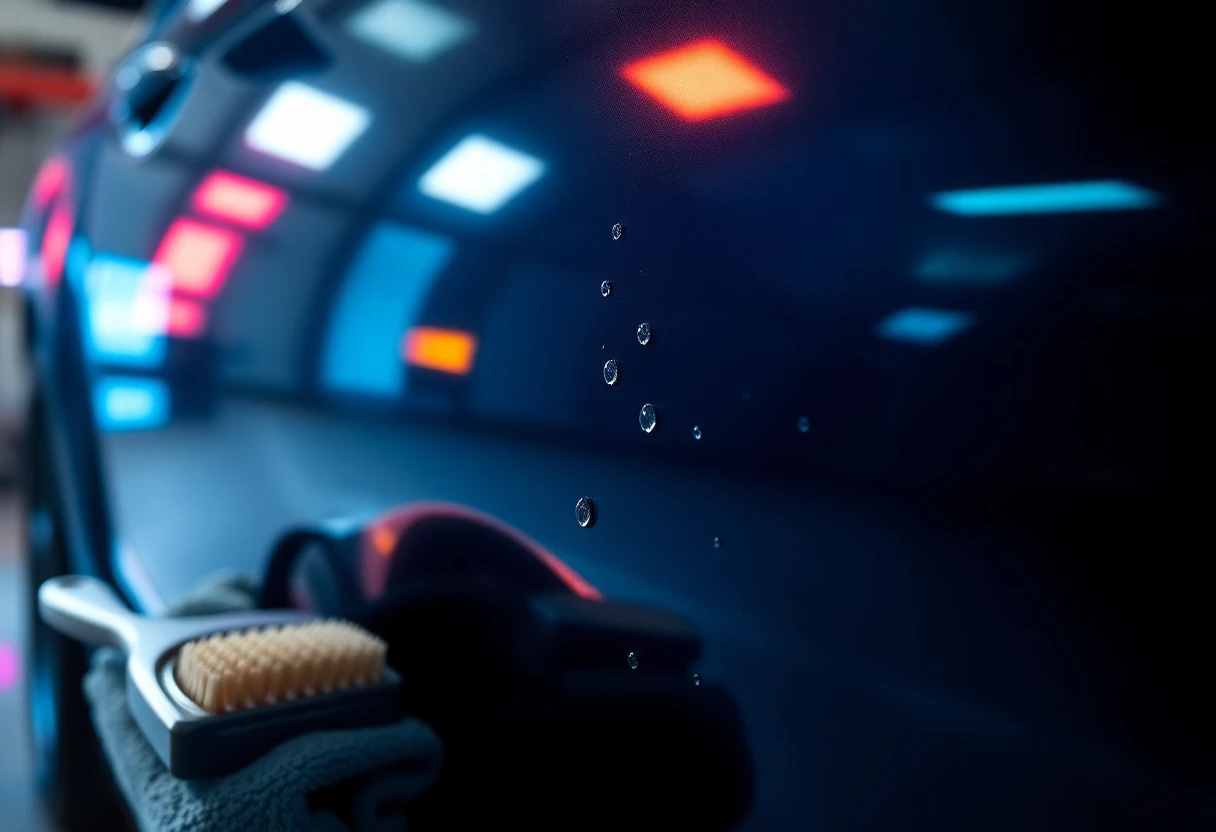
Hands-on training vs. “watch-and-hope” learning
Hands-on training must include inspection, test panels, and feedback loops. Video walkthroughs are fine, but they don’t teach tactile control, defect recognition, or real-world workflow timing.
In-person programs often cap scalability (3-day craftsman-style limits are common), and online creators run into the opposite problem: students never touch anything. The fix is hybrid thinking: replace missing touch-time with structured practice on safe surfaces plus strict review criteria.
What does that look like online? Students submit a short practice video (10–60 seconds), take photos under consistent lighting, and get graded with a rubric that checks defect targeting, machine settings, pad cleanliness discipline, and finishing outcomes.
I’ve seen students “pass” quizzes yet still polish like they’re trying to erase a mistake. The difference is touch-time plus feedback. Without it, they can’t build the judgment that keeps paint correction safe.
| Learning Component | In-Person Must Include | Online Must Replace With |
|---|---|---|
| Inspection | Live defect mapping on vehicles/test panels | Consistent lighting photo requirements + AI/rubric review |
| Correction technique | Machine handling + controlled passes | Simulated defect practice + uploaded technique video grading |
| Safety | PPE, ventilation, chemical handling demos | Mandatory safety modules + scenario checks |
| Feedback | Instructor corrections during practice | Cadenced reviews (Day 1 submission → rubric → human check) |
Choose the Best Format: 1-Day, Multi-day, or Hybrid
The right format is the one your students will actually finish and apply. Most programs fail because they pick a duration without matching it to outcomes and access to vehicles or training surfaces.
In 2026, the winners usually offer multiple entry points. A customer can be “ready” in different ways: some just need a ceramic coating track, others need Full exterior/interior workflow and business systems.
Multi-day intensive programs (2-day, 5-day formats) that stick
Multi-day programs work when they’re structured like a ladder, not like a lecture sprint. Students should earn access to the next step after passing a technique checklist, a safety check, and an inspection standard.
2-day options are ideal for focused outcomes like ceramic coating prep and application technique. You can cover decontamination order, paint readiness checks, surface prep mistakes, and coating wipe strategy without diluting everything into a “general detailing” blur.
5-day tracks fit comprehensive training across exterior, interior restoration, and business systems. It also gives you the repeat practice time multi-stage paint correction demands.
Realistic structure I’d copy from proven programs: Day 1 is business/marketing or fundamentals (depending on your audience), Day 2 is exterior execution and paint correction fundamentals, Day 3 is interior restoration, and the remaining days deepen outcomes like multi-stage paint correction or advanced coating workflows.
- 2-day focus: ceramic coating prep + application + inspection workflow.
- 5-day comprehensive: paint correction, Ceramic coating, interior, and sales/customer service systems.
- Skill gating: access to the next module only after passing photo + checklist standards.
How to run an online car detailing course without losing the hands-on core
You can’t “replace touch-time” with more videos. But you can keep the hands-on core by building a hybrid loop: video demos, safe practice, and strict feedback cadence.
A practical model: live-vehicle video demonstrations (different paint types if possible), virtual defect scenarios, then student-uploaded practice videos. The point isn’t entertainment; it’s to generate evidence for grading.
Gamify progress with micro-missions. Examples: headlight restoration technique checks, clay bar systems safety with proper lubrication behavior, and wheel cleaning safety. Each mission should produce a measurable output: before/after photos, time to complete, and a “defect claim” the student proves.
Feedback cadence is the real lever. Example schedule: Day 1 submission → AI rubric + human review → short corrective lesson → Day 3 re-submission. Students improve fast when you catch the same mistake early and force a fix.
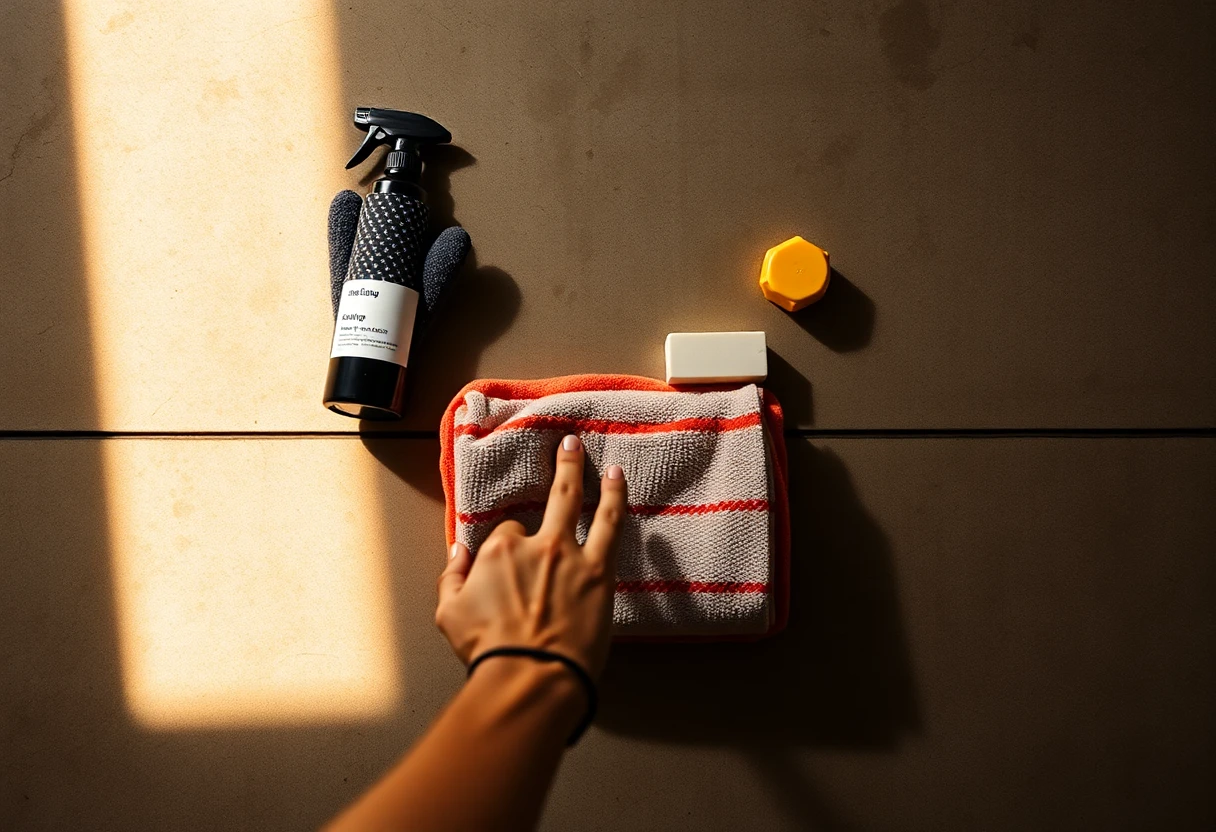
SOP-First Curriculum: Tools, Chemicals, and Checklists
If you want Professional detailers, teach SOPs. Otherwise students pick up variations and call it “experience,” and then they can’t reproduce quality or price confidently.
SOP-first also protects you as an instructor. When students ask “what do I do next?”, your SOP gives you the answer in a way that doesn’t depend on your mood or memory.
Design SOPs students can actually follow under time pressure
Good SOPs are short enough to use but complete enough to pass. Include dwell times, contact times, proper dilution, wipe order, and “inspect checkpoints” that force defect verification.
Students should log results with photos under consistent lighting. You want the process to be measurable: where did contamination start, what did correction remove, and what remains after refinement?
Standardize tool behavior too. With dual-action polishers, you can teach speed/pressure guidance in a simple way: how to start a pass, how to maintain stable contact, and what “overworking” looks like on high-solid clears.
- Inspection checkpoints: before decontamination, after decon, after correction pass, and final verification.
- Tool cleanliness rules: pad inspection and microfiber rotation so contamination doesn’t fake “defects.”
- Contact timing: dwell/contact time recorded every time students touch chemicals.
Equipment and product reviews: what to teach beyond the brand
Teach compatibility, not marketing. Students should know why this chemical system works together: performance windows, chemical compatibility, and finish impact.
Include reviews of common ecosystems students will actually see: Meguiar’s-style compounds/polishes, Chemical Guys-style kits, clay bar systems, and extraction approaches for interior restoration. You’re not trying to crown one brand. You’re teaching decision-making across options.
Add troubleshooting decision trees for streaking, incomplete decontamination, and coating failures. If a student can trace a failure back to prep, wipe strategy, humidity, or surface contamination, they’re ready for real work.
One of the best training improvements I made was adding “why this happens” decision trees. Students went from guessing to diagnosing. That’s the difference between a hobbyist and a shop-ready detailer.
Paint Correction: The Skill Core of Auto Detailing Training
Paint correction is where detailing becomes real. It’s the skill that separates “clean” from “correct,” and it’s where safety and judgment matter most.
If your course skips defect inspection and test spot logic, you’ll end up with students who can polish… but can’t choose a safe approach for a specific paint condition.
Dual-action polishers, correction passes, and inspection workflow
Dual-action polishers are the starting point for most beginner-to-pro training, and the training must be built around consistent inspection. Students need to learn how defect mapping changes under different lighting angles and how test spots reveal workable outcomes.
Cover defect types: swirls, scratches, etching, and haze. Then match them to pad/compound choices and teach why a “stronger” approach isn’t always correct if the clear coat is thin or the defect type requires different mechanics.
Require documentation: machine settings, pad cleanliness behavior, and lighting angles. Most “correction failure” is actually workflow failure—wrong pass sequence, dirty pads, or skipping re-inspection.
Multi-stage paint correction using real defect progression
Multi-stage paint correction should be progressive: leveling step, refinement step, finishing/chemical prep step. The surprise for many students is that the “best-looking” finish isn’t from the first aggressive pass—it’s from controlled staging.
Use controlled practice panels or painted panels to reduce risk on customer cars. In hybrid learning, you can still build progression without full access by combining safe practice with AI-driven defect practice concepts and rubric-based video review.
I’ve found students improve fastest when they see defect progression like a story: what happens when you go from compound leveling to polish refinement, and what you should expect each stage to change.
- Stage 1 leveling: target depth and visible defect removal with controlled aggression.
- Stage 2 refinement: reduce remaining haze and improve gloss uniformity.
- Stage 3 finishing/chemical prep: prep surface for Ceramic coating or final protection steps.
| Practice Approach | What Students Learn Best | Where It Breaks |
|---|---|---|
| Real vehicle sessions | Complex defect patterns + variability | Scales slowly; inconsistent paint access |
| Painted panels | Safe progression and repeatability | Less variability than real cars |
| Hybrid AI/rubric video review | Technique discipline + correction logic | Needs strict photo/video standards |
| AI defect simulations | Decision-making and defect recognition | Can’t fully replace real tactile feedback |
Ceramic Coating Training: Prep to Hydrophobic Finish
Ceramic coating success is mostly prep, not application flash. If students don’t nail decontamination order and surface readiness checks, the coating becomes expensive decoration.
In 2026, good Ceramic coating training also includes the customer conversation: what the coating does, how long it takes to cure, and what “maintenance” actually means.
Ceramic coating success depends on prep more than application flash
Teach decontamination order: wash → clay bar systems or equivalent decon → polish if needed → finalize with IPA/surface prep. Students must understand that Ceramic coating bonds to the surface state you leave behind.
Cover hydrophobic coatings science in simple terms: bonding behavior, curing windows, and environmental impact. Then build the workflow around real constraints like humidity and temperature, because these are the variables that cause “it failed” complaints.
Require demonstration of readiness checks: students should be able to identify surface contamination risk and verify they didn’t leave behind residue, oils, or incomplete decon artifacts.
Hydrophobic coatings: curing, maintenance, and customer expectations
Teach curing times and safe rinse/avoidance rules. Coating failures often look like “bad products,” but they’re frequently workflow timing errors, improper wipe strategy, or exposure during the curing window.
Include maintenance upsell scripting that feels fair, not desperate. Explain what maintenance protects: contamination barrier, chemical resistance behavior, and longevity.
Train failure modes: patching, streaking, incomplete prep, and improper wipe strategy. Then create customer handoff checklists and aftercare instructions that students hand to real customers.
- Cure plan: define when they can wash, rinse, or apply drying aids.
- Maintenance plan: teach safe wash chemicals and drying approach.
- Failure prevention: document prep checks and wipe strategy notes.
- Aftercare handoff: include a written “what to do / what not to do” card.
PPF (Paint Protection Film) Application for Advanced Detailers
PPF is advanced detailing with a timing problem. If students treat it like “just another film job,” bubbles and edge lifts show up fast.
Good PPF application training teaches cutting, fitting, and removal safety, plus workflow consistency. You’re not just teaching technique—you’re teaching discipline.
PPF application fundamentals: cutting, fitting, and removal safety
Teach surface preparation and slip solutions so students don’t trap contaminants under the film. The goal is clean bonding behavior and clean finish, not “it stuck eventually.”
Cover seam planning and edge finishing to prevent lifting and premature wear. Students need to understand how edges behave under heat, washing friction, and road grime exposure.
Stress safe handling and workflow consistency. PPF application is timing-critical, and inconsistency becomes trapped under film where it’s painful to fix.
PPF troubleshooting: bubbles, lifts, and edges
Build a troubleshooting matrix: cause → symptom → fix. Example patterns: heat misuse causing texture damage, wrong solution ratio causing poor slip behavior, or incomplete rework steps leaving micro-lifts.
Have students practice on lower-risk panels before complex curves. Then assess technique using before/after photo standards and simple pass/fail checks: edge alignment, bubble presence, and residue-free finishes.
In hybrid learning, you can’t always provide film time for everyone, so use AI/rubric concept grading for steps: film positioning logic, smoothing stroke control, and edge finishing sequence. Students still need real practice, but your training can scale with better review.
- Bubble troubleshooting: isolate whether it’s trapped solution, debris, or heat-related behavior.
- Edge lifts: teach correct finishing and bonding behavior at seams.
- Rework discipline: students must recheck cleanliness and surface readiness before reapplying.
Interior Restoration: Upholstery, Odor Removal, and ExJet Detailing
Interior restoration is where “care” meets technique. If students don’t preserve materials and manage residue, they’ll create damage that customers can’t ignore.
This section needs clear SOP checkoffs. Stain behavior, fabric fibers, and sensitive plastics don’t tolerate guesswork.
Interior cleaning that preserves materials
Teach material identification and test spots (leather, alcantara, cloth, sensitive plastics). Students should do test spots before committing to broad extraction or chemical dwell.
Cover agitation choices, dwell time, extraction steps, and residue management. Extraction isn’t just “pulling water”—it’s controlling residue so odors don’t return and textures don’t stay chalky.
Use SOP checkoffs for stain handling and post-clean verification. If a student can’t confirm the surface is truly clean and dry (not just “looks better”), they’re not ready.
Odor removal workflows and controlled chemical use
Present odor classes: surface odors, embedded odors, and moisture-driven odors. Then map each class to the correct treatment approach rather than throwing the strongest chemical at everything.
Use safety and ventilation rules for odor remediation products. If students can’t explain why they selected a product for that odor class, they’re guessing.
Add “evidence-based cleanup” steps: pre-scan (smell/condition), treatment, post-scan. That evidence becomes your quality standard and reduces disputes.
My biggest “aha” with odor training was forcing evidence. When students do pre/post checks with the same expectations, the work becomes consistent instead of random chemical swings.
ExJet detailing systems: when to use it and what to avoid
ExJet detailing can be powerful, but only in the right use-cases and with correct technique limits. Teach students when it makes sense and when it’s overreach.
Show how to prevent oversaturation and re-soiling through correct dry-down steps. Quality checks should include texture integrity, no residue haze, and no waterline effects.
If your program doesn’t include supervised practice for these systems, at least require tight workflow evidence from student submissions. Otherwise students will “chase cleanliness” without controlling the underlying moisture and residue outcomes.
- Use-cases: targeted restoration where controlled agitation and extraction matter.
- Avoid: oversaturating sensitive fibers and leaving residue haze.
- Quality checks: texture integrity and consistent dryness.

Selling Your Services: Pricing Strategies, Salesmanship, Customer Service
Most detailing courses fail here. Students learn to correct paint but can’t price a job, scope a quote, or handle expectations. Then they burn out chasing low-margin work.
So yes—you need business training early. Not as a separate “marketing class” at the end. Build it into the workflow mindset from day one.
Running a quote: scope definition + upsell paths that feel fair
Teach scope definition by describing the measurable outcome, not the vague service name. Students should identify panel counts, defect intensity, contamination level, and the protection outcome they can deliver.
Use pricing strategies tied to risk/time. Light detail pricing should reflect limited correction and maintenance cleaning. Correction-heavy pricing should reflect multi-stage paint correction time, inspection time, and increased risk.
Include upsell scripts for maintenance plans and aftercare packages. The upsell should feel like “protecting your investment,” not adding random add-ons.
| Job Type | What You Price Based On | Upsell That Fits |
|---|---|---|
| Light detail | Wash/decon time + minor surface prep | Quick protection maintenance guidance |
| Paint correction | Defect depth + stage count + inspection workflow | Ceramic coating prep and final protection plan |
| Ceramic coating | Surface readiness + prep level + wipe discipline | Aftercare and curing timeline confirmation |
| PPF | Coverage complexity + fitting time + edge finishing | Edge care and maintenance schedule |
Salesmanship is clarity. If students can explain what’s included, what’s not included, and why the process takes time, they’ll naturally convert better—even with average social skills.
Customer service systems that increase referrals
Use pre- and post-photos and written promises with clear timelines. Curing times for Ceramic coating, environmental limitations, and aftercare requirements should be communicated upfront.
Train students to handle expectation conversations professionally. When they know how to explain why a result takes time (or depends on conditions), customers stop turning work into a complaint.
Implement a follow-up workflow to drive reviews and repeat jobs. The simplest version: send a check-in message after a defined curing window and include aftercare reminders.
Running a Car Care Business: Licensing, Certification, and Operations
Starting your own business requires structure. A detailing student who can’t run inventory, schedule work, and control cost won’t stay in business long enough to use their skills.
This is where your course earns its keep. Students aren’t just learning to detail—they’re learning to operate.
Certification credibility: online exams, badges, and standards
Certification is a trust signal, not a magic badge. Position it that way to avoid the “I paid, I’m pro” mindset.
Design an exam flow modeled on recognized standards: equipment/chemicals/safety structure is the backbone. IDA-style models (including Phase I concepts) emphasize equipment and chemical/safety knowledge through multiple written assessments.
Use digital badges after passing short assessments. Most online learners respond better to clear milestones. Short exams in the 10–20 question range reduce the “I’ll do it later” dropout problem.
When we built certification logic into AiCoursify-style journeys, completion improved—not because learners got “smarter,” but because checkpoints reduced decision fatigue. People finish what they can measure.
Operations: SOPs, scheduling, inventory, and cost control
Operations beats motivation. Teach inventory forecasting: pads, microfiber, chemicals, blades, consumables. Give reorder thresholds so students don’t run out mid-job or waste money on overstock.
Include time-and-motion planning for shop versus mobile detailing. The same service can require different prep logistics and vehicle setup time depending on location and access.
Map the customer journey: intake → prep → execution → handoff → maintenance reminders. When students understand the full journey, their quoting becomes more accurate and customer service becomes consistent.
- Scheduling SOP: block time for inspections, curing windows, and cleanup/fluids disposal.
- Cost control: track consumable usage per job type and adjust pricing.
- Maintenance reminders: drive repeat jobs through simple aftercare follow-ups.
Wrapping Up: Your Car Detailing Course Launch Checklist (2026)
If you can’t launch it as an SOP, don’t call it a course. A real launch plan is modular, measurable, and built around evidence from students—not just your confidence in the curriculum.
Here’s the build order I’d use to start this year, including licensing and certification logic so you don’t scramble later.
A practical build order I’d use to start this year
Start with your SOPs and safety rules. This is the non-negotiable backbone for Professional detailers because it controls risk and makes technique repeatable.
Then build modules in order of dependency: paint correction logic needs inspection discipline; Ceramic coating needs decon readiness; PPF needs surface prep + timing discipline; interior restoration needs material ID and test spot SOPs.
Pick a format based on your audience access to vehicles. A 1-day certification can work if it’s narrowly scoped. A 5-day track makes sense if you want real practice time across paint correction, Ceramic coating, and interior restoration.
- Define safety + SOPs first. PPE, ventilation, chemical dilution, waste rules, and tool handling.
- Choose format and outcomes. 1-day, 2-day advanced, 5-day comprehensive, or hybrid.
- Build practice evidence. photos under consistent lighting + short technique video submissions.
- Layer business modules early. scope, pricing strategies, marketing, customer service, and operations.
- Plan online interactivity. quizzes, digital badges, and AI-assisted Q&A support.
How AiCoursify supports the delivery (without replacing hands-on training)
I built AiCoursify because I got tired of seeing courses that don’t stay consistent across cohorts. People add “best practices” to the videos and then coaching drifts. SOP-first delivery fixes that.
Use AiCoursify to structure course modules, quizzes, and certificate/badge logic so your learner journey is consistent. Then add AI-assisted Q&A for topics like leather conditioning or odor removal troubleshooting so students get support between live sessions.
The key is that tools shouldn’t replace hands-on training. They should enforce structure: checkpoints, rubrics, SOP language, and evidence submissions.
Frequently Asked Questions
What should I learn first in a car detailing course—paint correction or washing?
Start with safe fundamentals and decontamination before correction. If students can’t wash correctly and understand contamination behavior, paint correction becomes guesswork.
Then move to inspection + test spots so paint correction has a reason to exist. You want them to learn why they’re correcting—not just how.
Are ceramic coating and PPF worth teaching in the same training course?
They’re advanced outcomes, so teach them together only if your course is long enough for real practice. Otherwise, ceramic coating should be the primary track and PPF an advanced add-on module.
Trying to cram both into a short program often turns PPF into “watch and hope,” and Ceramic coating into “application theater.”
How do online car detailing courses provide hands-on training?
Use hybrid teaching: video demos + student practice on safe panels + structured photo/video submission. Add AI/rubric-based feedback and frequent quizzes to reduce dropout.
The online win is faster iteration. Students can re-submit after feedback instead of waiting for the next in-person week.
Do I need certification or licensing to teach auto detailing?
Requirements vary by location, so check local business and safety regulations. Some places care about business licensing more than “teaching credentials.”
Certification helps credibility, and you should design exams to match real equipment/chemical/safety knowledge. That’s how you earn trust instead of claiming it.
Which programs are good references for structuring a professional detail training course?
Look at proven training frameworks for module ideas and standards. Detail King, Chemical Guys, Smart Detailing University, Gloss University, and IDA-style exam frameworks are good reference points for structure.
Use their structure (SOPs, practice segments, and business modules) as a benchmark, then adapt it to your audience and delivery format. The best reference is the one you can translate into your own measurable checkpoints.