
Best Equipment for Recording in Small Spaces: 8 Easy Tips
Recording in a small space can feel like you’re fighting the room before you even hit “record.” If you’ve ever heard that low-end boom or a weird slapback echo that only shows up when you listen back, you already know what I mean.
In my experience, the fix isn’t one magic product—it’s picking compact gear that’s easy to position, then doing a few practical acoustic moves so your recordings sound clearer and more controlled. And yes, you can do it without spending a fortune.
Below, I’ll walk you through the equipment that works best in tight setups, what to look for, and exactly how I’d place things in a desk-in-a-corner situation (plus what I noticed when I changed distances and added treatment). Sound good? Let’s get into it.
Key Takeaways
Key Takeaways
- Choose a cardioid condenser (or a clean dynamic) that focuses on your voice and rejects some room sound—mics like the Audio-Technica AT2020 or Rode NT1-A are popular for a reason.
- Use a compact USB audio interface like the Focusrite Scarlett 2i2 or Universal Audio Volt 1 for low-latency monitoring and straightforward setup.
- For mixing in small rooms, pick nearfield monitors such as the Yamaha HS5 or KRK Rokit 5 G4, and keep them close to your ears (not across the room).
- Acoustic treatment matters more than people think: start with 2–4 inch bass traps in corners and add panels at first-reflection points.
- Desk placement is part of the “gear” too—try to avoid putting the mic right against a wall, and use stands/mounts to keep the room usable.
- Headphones like the Audio-Technica ATH-M50x help you edit and track without your desk speakers adding extra reflections.
- Instead of chasing the newest brand, focus on compact designs that are easy to place and match your recording style (voice, podcasting, instruments).
- Avoid clutter: cable management and fewer “extra” surfaces reduce the chance you’ll bump the mic or create new reflective spots.
- Future-proof smartly: get gear that’s easy to upgrade (interface inputs, mic options) and treat the room early so your improvements stick.
Best Equipment for Recording in Small Spaces
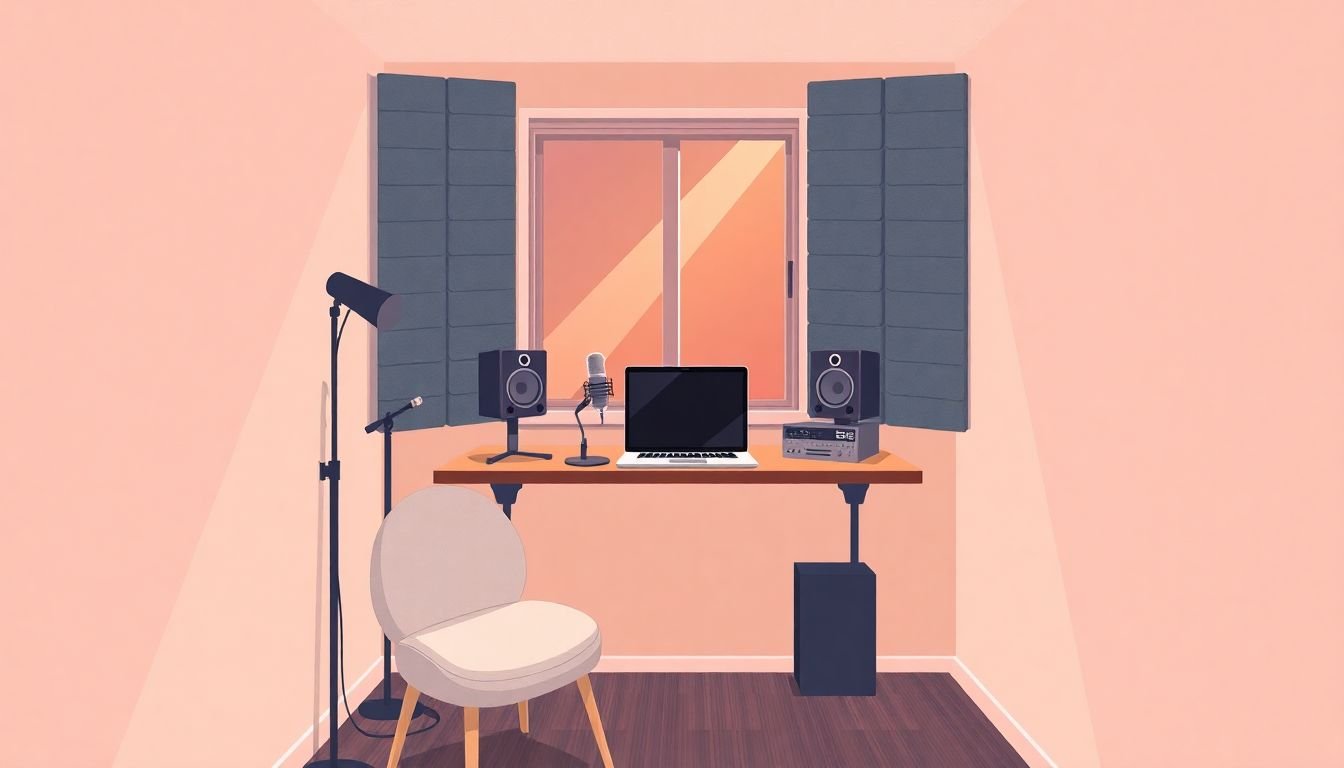
When you’re working in a tiny room, your biggest enemy is usually reflections—and small rooms reflect like crazy. So the “best equipment” is the stuff that’s easy to place close to you (or the instrument) and doesn’t pull in every corner of the room.
Compact microphones are a great start. In desk setups, I’ve had the best results with cardioid condenser mics like the Audio-Technica AT2020 or the Rode NT1-A. Why? They’re sensitive enough to capture detail, but their polar pattern helps reduce sound coming from behind you—so you’re not hearing every wall bounce.
Then there’s the audio interface. A small USB unit like the Focusrite Scarlett 2i2 or Universal Audio Volt 1 makes a difference because it keeps your signal path simple. Less fuss means you’re more likely to actually record consistently, and clean conversion helps your recordings stay usable even when the room isn’t perfect.
For playback and mixing, studio monitors matter—just not in the “turn them up across the room” way. In small spaces, I’d rather have something like the Yamaha HS5 or KRK Rokit 5 G4 working as a nearfield setup. Keep them closer to your ears, and you’ll hear issues (harshness, muddiness, low-end build-up) much more realistically.
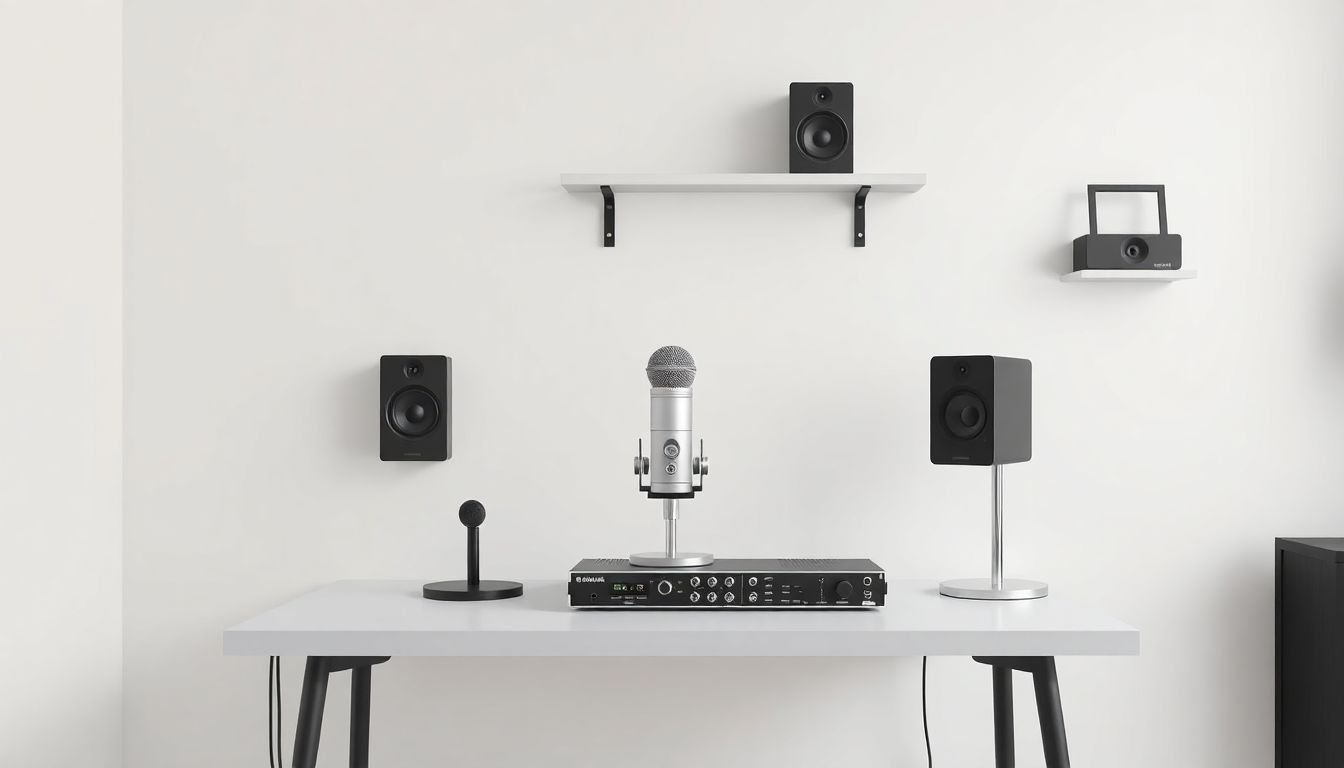
Essential Equipment for Small Spaces
If your space is tight, every item should earn its spot. Here’s what I consider the “core stack” for small-space recording:
- Microphone (the backbone): Pick one that matches your voice and your room. If your room is bright or echoey, a cardioid condenser can still work, but placement becomes everything. If your room is noisy, a dynamic mic can be more forgiving (less sensitive to distant chatter).
- Audio interface (clean input + monitoring): You want stable drivers, low-latency monitoring, and enough gain for your mic. Small models like the Scarlett 2i2 are popular because they’re easy to set up and don’t take over your desk.
- Headphones (for editing and tracking): The Audio-Technica ATH-M50x is a common pick because it’s comfortable for long sessions and gives you clear detail while you edit. In small rooms, headphones also prevent speaker bleed from turning into “bonus reverb” on your tracks.
- Nearfield studio monitors (optional but helpful): If you mix in your room, don’t skip monitors entirely. Just be realistic about placement and volume. Monitors like the Yamaha HS5 or KRK Rokit 5 G4 can be a solid choice for limited space because they’re designed for desk distances.
- Stands and isolation: A good microphone stand helps you keep the mic stable and consistent. Add an isolation shield or simple wind/pop setup if you’re recording vocals—plosives and desk noise can ruin takes fast.
One practical tip I always use: set your mic up so you can keep your head position consistent. If you’re constantly leaning forward or turning, your tone will change—and in a small room, that “small change” can sound huge on playback.
Acoustic Treatment for Recording
Small rooms reflect sound and create echoes, but here’s what people miss: it’s not just “echo.” It’s also early reflections that smear clarity and make your voice sound like it’s sitting further back than it should.
In my own desk-and-corner setups, the biggest noticeable improvements usually come from two places:
- Corners for bass buildup: Start with bass traps. If you’re buying ready-made panels, look for 2–4 inch thickness (or thicker if you can). Corners are where low frequencies pile up, so treating them first is often the fastest win.
- First reflections around the mic: Add panels where sound bounces from your walls toward the microphone and your listening position. Think: left/right wall, and sometimes the wall behind your head depending on your layout.
Then use soft stuff to tame the “top end” reflections. A rug on a hard floor, heavier curtains, and even a chair with upholstery can help break up reflections that make vocals sound sharp or “spitty.” Foam can help a little for high frequencies, but if your goal is cleaner low-mid clarity, foam alone usually won’t cut it.
Also, placement helps more than people want to admit. Try this simple workflow:
- Place your desk/mic so the mic isn’t firing directly at a bare wall.
- Move the mic closer to your mouth (often 4–6 inches for many voices) and slightly off-axis (a few degrees) to reduce plosives and harshness.
- Then back off from the wall behind you by even a small amount (like 1–2 feet if you can). The difference can be surprisingly obvious on playback.
When I did this, what I noticed wasn’t just “less reverb.” It was that my voice sounded more forward and intelligible, and the low-end didn’t feel as thick and congested.
How to Choose Compact Equipment that Fits Your Small Studio
Choosing gear for a tiny space isn’t just about “small.” It’s about small + usable—meaning you can place it correctly without fighting the room.
Here’s what I look for when I’m picking equipment:
1) Microphones: match polar pattern to your room
If your room is echo-prone, cardioid mics usually give you a better chance than omnidirectional designs. For many small studios, condenser mics like the Audio-Technica AT2020 or Rode NT1-A are popular because they capture detail at reasonable sizes.
If you record louder sources (like a guitar amp) or you have lots of background noise, you might prefer a dynamic mic instead—because it’s less sensitive to distant room sound.
2) Interfaces: keep it simple and low-latency
A USB interface like the Focusrite Scarlett 2i2 is a practical choice when you want reliable drivers and easy monitoring. In small rooms, I’d rather have clean monitoring and stable levels than chase extra features I won’t use.
3) Monitors: nearfield beats “bigger” in small spaces
Oversized monitors can be a pain in small rooms because you end up too close or too far from the ideal listening position. Models like the Yamaha HS5 are designed to work well at desk distances, which is exactly where most small studios live.
Extra tip: if you can, choose gear with a clean physical layout—fewer knobs, fewer cables, and less clutter. It sounds silly, but a tidy desk helps you avoid bumping the mic and keeps your recording workflow consistent.
What Are The Best Small-Space Audio Gear Brands?
I’m not loyal to brands just for the logo. What I care about is whether a brand makes gear that’s actually convenient to use in a small setup.
Yamaha and KRK are often mentioned for a reason: their monitors are widely available and tend to be easy to live with at nearfield distances. In small rooms, that matters more than people think.
Audio-Technica and Rode show up a lot in small studio mic conversations because their microphones are compact and straightforward to integrate with common interfaces.
For interfaces, Universal Audio and Focusrite are popular because the units are typically compact and built for reliable day-to-day recording.
If you’re comparing brands, ask yourself: can you place it easily without rearranging your whole room? If the answer is no, it’s not the right gear for a small space—even if the specs look great.
How Does the Growing Market Shape Small Studio Equipment Options?
More people are building home studios now, which means manufacturers are making gear that’s smaller, cheaper, and easier to set up. That’s good news for small-space recording because it lowers the “entry barrier.”
Still, I’d take broad market hype with a grain of salt. What matters to you is whether the gear actually solves your constraints: desk space, mic placement, monitoring accuracy, and room sound.
In practice, this market shift is why you can find compact interfaces, smaller monitor options, and more affordable microphone choices that fit into real homes. You’re not stuck only with giant studio racks anymore.
What Are Some Common Mistakes When Setting Up Small Rooms for Recording?
Here are the mistakes I see again and again—some of them are “obvious,” but they still happen:
- Overcrowding the room with gear: It doesn’t just look messy. Too much stuff creates random reflective surfaces and makes it harder to position the mic consistently.
- Skipping acoustic treatment: Without it, you’ll fight early reflections. The result is usually a voice that sounds less clear and more “roomy,” even if the mic quality is good.
- Cramming the desk into a corner: Corners can boost bass and exaggerate low-mid buildup. Sometimes it’s unavoidable, but if you do it, treat the corners and don’t place the mic directly against a wall.
- Ignoring cable management: A tangled setup increases the chance of accidental bumps, power noise, or just wasting time during sessions.
Tip: keep only what you need within arm’s reach. If you can, use wall-mounted shelves or a simple wall stand for your monitors/mic accessories. It frees floor space and can help you keep the recording area more controlled.
How Can You Future-Proof Your Small Studio Setup?
Future-proofing a small studio doesn’t mean buying everything at once. It means choosing upgrades that won’t force you to start over every time you improve your workflow.
- Start with an interface you won’t outgrow instantly: If you might record more than one source later, pick something with the inputs you’ll need (or that supports expansion).
- Choose mics and monitors that can scale with your skills: A mic that sounds good on your voice now can still be useful later when your performance gets better.
- Treat the room early: Panels and bass traps are one-time buys (or close to it). Once your room is controlled, every future upgrade sounds better because the environment isn’t fighting you.
- Stay flexible with layout: In small spaces, you’ll constantly adjust. If your setup is too “fixed,” it becomes hard to experiment with mic distance and angles.
What I like most about this approach is that you’ll feel improvements immediately—even before you buy the “next” piece of gear.
FAQs
Start with a solid microphone, a reliable audio interface, and comfortable headphones. A mic stand and a pop filter help a lot for vocals, because keeping consistent distance is easier when the mic is stable.
Use acoustic panels and bass traps to control reflections. For a practical starting point: put bass traps in corners, then add panels at first-reflection points around your mic and listening position. Also, rugs and curtains can reduce harsh flutter echo in the highs.
You can do a lot on a budget: consider an affordable condenser or dynamic mic, a used or entry-level USB interface, and DIY acoustic treatment (like properly built panels with the right thickness). The big win is spending effort on placement and treatment, not just the mic.