Sell Online Courses From Your Own Website: A Complete Guide
I still remember the moment I realized I couldn’t keep “thinking about making a course.” I had a bunch of useful notes, a real audience on social, and… zero idea how to turn it into something people would actually pay for. My first attempt was messy: the lessons were all over the place, the course page was basically a wall of text, and I priced it way too low just to “get it out there.”
So I rebuilt it. I picked one narrow outcome for my students, tightened the module flow, added assignments (not just videos), and redesigned the sales page around objections I kept hearing in DMs. The version I launched next got 3.4x more enrollments than my first test and reached $6.2k in the first 30 days—mostly from a simple email sequence and a course page that finally answered the questions people were too polite to ask.
If you’re trying to sell online courses from your own website, this guide is for you. I’ll walk you through the whole process step by step: topic, content, website setup, course page design, pricing, marketing, payments, and how to scale without burning out.
Key Takeaways
- Pick a course topic that matches your expertise and a real buyer intent (not just “people are curious”).
- Validate demand using search trends, competitor course structure, and direct feedback from your network.
- Build a clear course outline with modules, lessons, and deliverables (projects, worksheets, quizzes).
- Use a mix of videos, PDFs, and assignments—then record with clean audio and a consistent lesson format.
- Set up your website with the right domain, hosting, and course platform so enrollment + access actually works.

Choosing Your Course Topic (and Making It Sell)
Picking the right course topic is the difference between “I made a course” and “people actually enroll.” Your expertise matters, sure. But buyer intent matters more.
1.1 Start with what you can teach without faking it
Write down the subjects you know well enough to help someone get unstuck. Not “I can talk about this.” I mean you can guide someone through a real problem.
In my case, I had experience with content systems and course creation, but my first outline was too broad. When I narrowed it to one outcome—“create a course page that converts”—it clicked. People know what they want. Give it to them in a form they can follow.
1.2 Validate demand the practical way (not just vibes)
Here’s what I do before I record anything:
- Search intent check: Use Google Trends to see if interest is rising or stable. If you only see spikes that die off, it’s risky.
- Competitor teardown: Open 5–10 courses on Udemy and Coursera. Don’t just look at the price—look at the lesson sequence. What’s missing?
- Review mining: Read 20+ reviews. Look for repeated complaints like “too advanced,” “no templates,” or “no step-by-step.” That’s your content roadmap.
- Direct feedback: Ask your followers one simple question: “What would you want to be able to do after 2–3 weeks?” People will tell you what they’re struggling with.
Also: if nobody asks for it, don’t force it. You can always teach later. The market will decide for you.
1.3 Evaluate competition and find your angle
Competition isn’t the enemy. It’s proof there’s demand. Your job is to position differently.
When I analyzed competitor courses, I noticed most were video-heavy and light on “what to do next.” So I added deliverables: a course outline template, a pricing worksheet, and a checklist for building the course page. That’s the kind of gap you can fill fast.
Use this quick gap checklist:
- Do competitors include templates or just advice?
- Do they include assignments or “watch and hope”?
- Do they clearly cover beginner setup (website, payments, enrollment)?
- Do they address objections (time, cost, tech, results)?
Once you know what’s missing, your course becomes a solution—not another video library.

Creating Your Course Content (What to Build, Not Just Record)
Okay, topic chosen. Now it’s time to create the actual course experience. This is where most creators get stuck—because “create content” sounds vague.
Instead, think in deliverables: students should leave with something they can use immediately.
2.1 Organize your course structure like a roadmap
Start with modules and lessons, but don’t stop there. For each module, define:
- Outcome: What will the student be able to do?
- Deliverable: Worksheet, template, project, quiz, etc.
- Assessment: How do they prove they learned it?
Example module flow I like (and used):
- Module 1: Define the target learner + course promise (Deliverable: one-page learner profile)
- Module 2: Build the course outline (Deliverable: module/lesson outline template)
- Module 3: Create the course page (Deliverable: filled-in course page sections)
- Module 4: Price + launch plan (Deliverable: pricing worksheet + launch checklist)
2.2 Develop engaging materials (mix formats intentionally)
2.2.1 Videos: keep them focused, but don’t fear 20 minutes
Videos are great, but the “10–15 minutes” rule isn’t universal. In my own retention tests, shorter lessons usually win for single concepts. But when a lesson includes a full walkthrough (like building a page section-by-section), 20–25 minutes can work if the structure is tight and you recap often.
My rule of thumb:
- 10–15 minutes for one concept + one exercise.
- 20–25 minutes for a complete workflow walkthrough.
- Include mini recaps every 5–7 minutes (“Here’s what you just learned…”).
Concrete lesson plan example (with timestamps):
- 0:00–1:30 — What this lesson fixes (and why most people get stuck)
- 1:30–6:00 — Key concepts (3 bullet points on screen)
- 6:00–12:00 — Live example using a real outline
- 12:00–18:00 — Student exercise (pause + do it)
- 18:00–22:00 — Common mistakes + how to fix them
- 22:00–25:00 — Quick recap + what to do next
2.2.2 PDFs and handouts: make them usable, not decorative
PDFs should do work. I aim for one PDF per lesson or per module, and it should match the video like a companion guide.
Include things like:
- checklists
- templates (copy/paste formats)
- examples (a “filled out” version)
- glossary or reference sheets
And yes—make them pretty. But the real win is when a student can open the PDF and immediately follow the steps.
2.2.3 Quizzes and assignments: build accountability
Quizzes help, but assignments help more—because they force action.
Here are a few assignment types that work well on course platforms:
- Submission: Upload a filled template (course outline, pricing page, etc.).
- Self-check: A short quiz that unlocks the next module.
- Peer review: Only if you have community bandwidth.
2.3 Recording your lessons (so tech doesn’t ruin your credibility)
Recording is where I wasted time early on. I tried to “sound perfect” instead of teaching clearly.
What helped immediately:
- Quiet room + consistent lighting (face visible or screen clear)
- Mic first: spend more on audio than on fancy video gear
- Screen recording setup: close notifications, set font size big enough, and use a simple cursor highlight
- One take, then edit: I cut dead space and restate unclear parts—rather than rerecording everything
Also, don’t aim for robotic perfection. If you make a mistake and keep going, students trust you more. That’s been my experience.
Setting Up Your Website (Domain, Hosting, and Course Platform)
Your website is where learners decide if you’re legit. It’s also where the boring stuff matters: uptime, checkout flow, and access delivery.
3.1 Choose a domain name that doesn’t fight you
Keep it memorable and easy to type. If you can, align it with your brand or course category.
Here are three domain naming examples (different styles):
- Brand-first: yourname.com (best for long-term growth)
- Course-first: getcertifiedwithyou.com (good when you know the audience)
- Outcome-first: buildaconvertingcourse.com (great for SEO and clarity, but longer)
Check availability, and don’t overstuff keywords. A domain that’s too long will cost you clicks.
3.2 Select a web hosting service (use a checklist)
Hosting is not glamorous, but it’s where your sales can quietly die. Here’s what I look for:
- Uptime: aim for 99.9%+
- Support: fast response matters when something breaks at checkout
- Speed: page load affects conversion
- Scalability: can it handle traffic spikes?
- Backups: automatic backups are non-negotiable
- Staging: ability to test changes before going live
Options like Bluehost and SiteGround are popular. In real setups, I’ve seen SiteGround perform well on speed for WordPress sites, but the “best” choice depends on your tech comfort and budget.
3.3 Pick the right course platform (decision rules that actually help)
You have two main routes: a WordPress setup with a learning plugin, or an all-in-one hosted platform.
3.3.1 WordPress route: when you want flexibility
If you like controlling everything (SEO, site design, custom pages), WordPress can be a strong choice. Plugins like LifterLMS or LearnDash can handle course delivery and progress tracking.
Choose this route if:
- you want full control over your website
- you’re comfortable with plugins (or have help)
- you plan to add more site features beyond courses
3.3.2 Hosted all-in-one: when you want speed
Platforms like Teachable or Kajabi can handle course hosting and payments so you can focus on content.
Choose this route if:
- you want fewer moving parts
- you’d rather not manage plugins
- you want a quick setup path for launching
3.4 What I’d test first (so you don’t build the wrong thing)
Before you build 20 lessons, test the system end-to-end:
- Create a test course
- Buy it once using a real card
- Confirm the student gets access instantly
- Verify the lesson progress tracking (if your platform supports it)
- Check email notifications (welcome email + purchase receipt)
This is boring, but it saves you from the worst kind of launch day surprise.

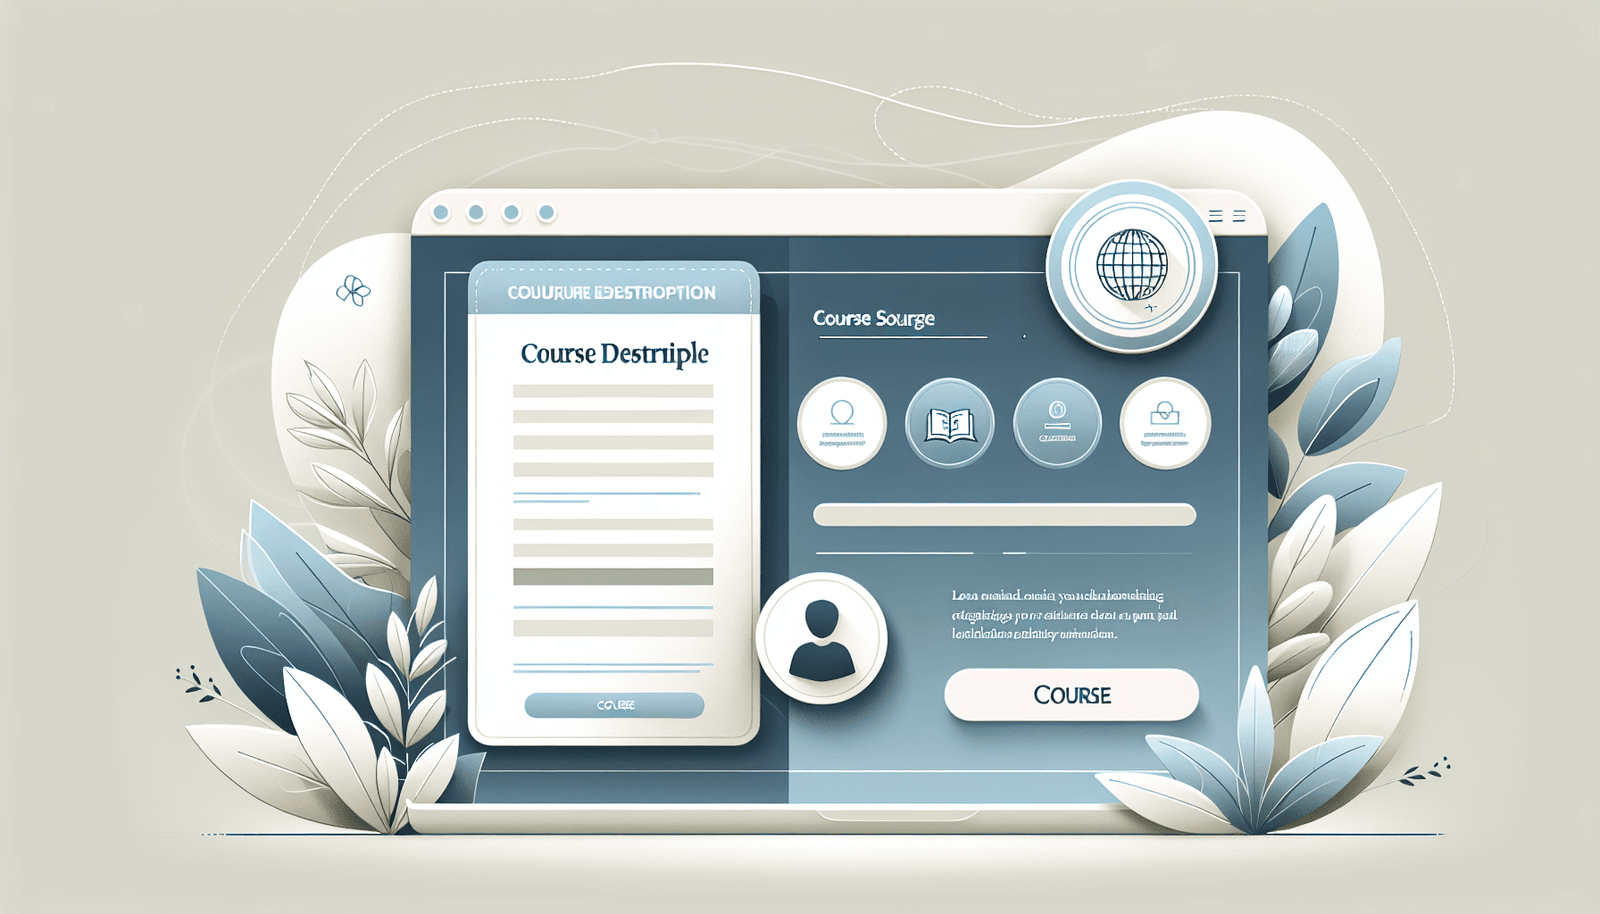
Designing Your Course Page (Your Conversion Engine)
Your course page is the sales conversation. If it doesn’t clearly answer “is this for me?” and “will this work?” you’ll bleed traffic into the void.
4.1 Write a course description that sells the outcome
I like to structure the top section like this:
- Hook: who it’s for + the problem
- Outcome: what they’ll be able to do
- What’s included: modules, deliverables, bonus resources
- Proof: testimonials, results, or experience
Use bullet points. People skim. And sprinkle in keywords naturally (don’t force them like a robot).
4.2 Add testimonials and reviews (and make them specific)
Generic praise (“Great course!”) doesn’t do much. Specific feedback does.
What I look for in testimonials:
- they mention the student’s starting point
- they mention what changed
- they mention a deliverable or result (time saved, confidence, completed project)
If you don’t have testimonials yet, run a small beta. I’ve done this with 5–10 people and used their feedback to tighten the curriculum and course page copy before the full launch.
4.3 Use visuals that support the message
Visuals should reduce friction, not just look nice.
Good visual ideas:
- short preview video (30–90 seconds)
- screenshots of what students will build
- infographics that summarize module outcomes
- teacher headshot + credibility markers (years, projects, client types)
Pricing Your Course (Without Guessing Forever)
Pricing isn’t random. It’s math + perception + positioning. And yes, you’ll probably adjust after launch.
5.1 Factor in production costs (and be honest)
When I priced my first version, I forgot to include my real costs: tools, editing time, landing page design, and marketing spend. Add everything up, including:
- website + hosting
- editing tools and design help
- course platform fees
- email tools
- ads or influencer costs
- your time (even if you don’t want to admit it)
5.2 Research competitor pricing (then decide your position)
Look at similar courses and note:
- length (hours and modules)
- format (video only vs videos + templates)
- price range
- what’s included (assignments? certificate? community?)
You don’t need to match them exactly. But you do need to justify your price with what students get.
5.3 Choose a pricing model (and test it)
5.3.1 One-time fee
One-time pricing is simple and works well for evergreen courses. Students like knowing exactly what they pay.
5.3.2 Subscription-based
Subscriptions can work if you plan ongoing content. It’s great for communities and course libraries, but it requires consistent output.
5.4 A simple pricing test I recommend
If you’re launching for the first time, consider testing two price points with the same offer:
- Test A: lower price to validate conversion
- Test B: higher price to validate revenue per visitor
Track: conversion rate (enrollments / visits), refund rate, and how many students complete the first assignment.
Marketing Your Course (A Plan You Can Actually Run)
Marketing isn’t one trick. It’s a system: traffic + trust + conversion.
6.1 Use social media without sounding like an ad
Social media works best when you share the “how” before the “buy.”
Here’s what I’ve posted that tends to perform:
- quick lesson clips (“here’s the mistake I see…”)
- before/after screenshots
- student wins (with permission)
- behind-the-scenes of building the course
Platforms like Instagram, Facebook, and TikTok can help you reach people fast. Reels/stories are especially good for showing your personality and teaching in small chunks.
6.2 Build an email list (and use it like a sales funnel)
Your email list is where you turn interest into enrollments. Start with a freebie tied to the course outcome.
Freebie ideas that match real course buyers:
- a checklist that saves time
- a mini-lesson video
- a template (outline, pricing, lesson plan)
Then use a simple sequence. Here’s a practical 5-email example:
- Email 1 (Day 0): welcome + what they get + what they’ll learn
- Email 2 (Day 2): common problem + story
- Email 3 (Day 4): show a course preview + deliverables
- Email 4 (Day 6): objections + FAQ answers
- Email 5 (Day 7): launch offer + deadline
6.3 Create content that brings the right people
Blog posts, videos, and podcasts work best when they directly answer buyer questions.
Examples of content prompts:
- “How to choose a course topic: 7 questions to ask”
- “Course page checklist: the sections that convert”
- “Pricing worksheet: how to set a number you can defend”
Then link to your course page naturally (not aggressively).
6.4 Paid advertising (only if you track ROI)
Paid ads can work, but only if your landing page is solid and your offer matches the ad promise.
Start small. Set a daily budget and track:
- click-through rate (CTR)
- conversion rate to checkout
- cost per enrollment
- refund rate and completion rate (if you can measure it)
If CTR is low, your creative is off. If CTR is fine but conversions are low, your course page or offer is the issue.
Managing Enrollments and Payments (So Students Don’t Get Stuck)
Once people enroll, your job is to make access painless. If students can’t log in or can’t find the first lesson, you’ll lose momentum fast.
7.1 Set up payment processing and test it
Use payment tools like Stripe or PayPal depending on what your platform supports.
Before launch, run these tests:
- successful payment (check access immediately)
- failed payment (see what students see)
- receipt email (does it arrive?)
- refund behavior (does the platform revoke access correctly?)
7.2 Manage enrollments (and communicate clearly)
Most course platforms show enrollment lists and progress tracking. Use that data.
What I do:
- send onboarding email with “Start here” instructions
- highlight the first deliverable (so they know what to do)
- watch who doesn’t complete module 1 and follow up
7.3 Provide customer support (reduce tickets with a good FAQ)
Support isn’t just responding. It’s preventing repeat questions.
Create a FAQ page with answers to:
- how to access the course
- refund policy
- technical requirements
- how assignments/quizzes work
- who the course is for (and who it’s not for)
When students feel supported, they stick around longer. That’s not fluff—it’s retention.
Scaling Your Course Business (Without Random Chaos)
Scaling is mostly about improving your offer and increasing distribution. Not about making 50 new videos overnight.
8.1 Gather feedback and iterate fast
After launch, ask for feedback in specific terms:
- What part helped most?
- Where did you get stuck?
- What would you change if you could?
I review feedback weekly for the first month and make small updates—like adding a missing template, clarifying a lesson intro, or rewriting a section of the course page.
8.2 Create additional courses that complement the first
Once you know what students want next, build around that.
Good “next course” angles usually fall into:
- advanced version of the same outcome
- implementation-focused follow-up
- related skills that support the main course
8.3 Partnerships and collaborations (where distribution gets easier)
Collaborations can help you reach buyers who already trust someone in your niche.
Try:
- joint webinars
- guest lessons to each other’s audiences
- bundle offers (“take both for a discount”)
Make sure the partner’s audience matches your learner profile. If it’s off, your conversion will tank.
Conclusion
Building and selling online courses from your own website is totally doable—you just need a clear process. Start with a topic that matches your expertise and real demand. Then build content with deliverables, not just videos. Set up your site so enrollment and access work smoothly, design a course page that answers objections, and price in a way you can defend.
After launch, keep improving based on feedback, and add new offers once you’ve proven what students respond to. That’s how you turn “one course” into a sustainable business.
FAQs
Start by listing your skills, experiences, and interests. Then narrow it down to topics where you can help someone complete a specific outcome—not just learn theory. After that, validate demand by checking search interest and reading reviews of existing courses in the same space.
Use social media to build trust (teach first, sell second), create content that answers buyer questions, and run an email sequence with a freebie that matches your course outcome. If you use paid ads, track enrollments and cost per enrollment so you can adjust quickly.
Consider your production costs, competitor pricing, and what’s included (templates, assignments, support, updates). If your course is a one-time transformation, a one-time fee usually fits. If you’ll publish regularly and build a library, a subscription model can work well.
Your course page should clearly explain the outcome and who it’s for, list what’s included (modules, deliverables, assignments), show testimonials or specific student feedback, and include visuals or preview content that reduces uncertainty. Make it easy to enroll with a clear call-to-action.