
Integrating Live Streaming in Courses: 7 Practical Steps
I’ll be honest: when I first tried live streaming my course sessions, I was convinced it would turn into a tech headache. The camera angle, the microphone picking up every keyboard click, the fear that students would get bored—yeah, that all crossed my mind.
But here’s what surprised me: once I treated it like a normal lesson (just with a chat window instead of a room full of faces), it got a lot easier. And the payoff was real—students participated more, and I could see exactly what they were struggling with while it was happening.
If you’re wondering whether live streaming is actually worth adding to your course, I’ll walk you through a practical, no-nonsense setup you can follow. No fluff. Just the steps I’d use again.
Key Takeaways
- Start with audio first. A decent mic beats a fancy camera every time.
- Pick your platform based on your teaching style. Zoom for structured interaction, YouTube Live for reach and playback, Twitch for ongoing community/chat energy, and course tools (like Thinkific/Teachable) when you want everything in one place.
- Set expectations early. Tell students 2–3 days ahead, send a clear joining link, and plan at least one interactive moment (poll, quiz, or Q&A) per session.
- Record and organize. Post recordings with timestamps/chapters so learners can jump to specific explanations.
- Measure what matters. Use built-in analytics (watch time, peak viewers, chat/poll activity) and pair it with student feedback to improve future sessions.
1. How to Use Live Streaming in Courses
So you want to add live streaming to your course. Cool. I’d start by making it simple enough that you can actually teach instead of babysit tech.
Step 1: Build a setup that won’t distract you. In my experience, the biggest difference is audio. If your microphone is too quiet or picks up background noise, students tune out fast—even if your content is great. A basic webcam is fine, but don’t ignore lighting. Face a light source (or use a cheap ring light) so your video doesn’t look grainy.
Step 2: Choose one platform and commit for a few sessions. Don’t try to master five tools at once. For example:
- Zoom if you want breakout rooms, easy scheduling, and built-in recording.
- YouTube Live if you care about reach and easy playback after the session.
- Twitch if you want chat-driven interaction and a more community-style vibe.
- Course platforms when you want live lessons plus quizzes/assignments in one learner flow (for options, see these online course platforms).
Step 3: Tell students early (and give them a low-friction way to join). I recommend emails or announcements two or three days ahead. Include the joining link, the time zone, and what they should have ready (notes, worksheet, quiz link, etc.). If students have to hunt for the link mid-lesson, you lose them.
Step 4: Structure the lesson like a live class, not a prerecorded video. Online attention is fragile. Plan for interaction every 10–15 minutes. That can be:
- Quick polls (“Which option would you pick?”)
- Short quizzes (even 3 questions helps)
- Chat prompts (“Drop one question you’re stuck on”)
- Guided activities (“Try example A, then we’ll compare results”)
Step 5: Record and republish with timestamps. After the stream, upload the recording and add chapters like “00:00 Overview,” “07:30 Common mistakes,” “18:10 Practice problem,” etc. Students don’t want to scrub through a 60-minute session just to find one explanation.
One practical run-of-show (60 minutes): 5 min warm-up + goals, 20 min teaching segment, 10 min guided activity with poll/quiz, 15 min Q&A, 10 min recap + next steps. If you keep it moving, the session feels alive.
2. Benefits of Live Streaming in Education
Live streaming isn’t just “another tech feature.” It changes the learning experience in a way that’s hard to replicate with prerecorded lectures.
First: interaction is easier. Chat, Q&A, and reaction buttons give students multiple ways to participate—especially the quieter ones who won’t raise their hand in a physical classroom. In my sessions, I noticed more questions when I explicitly scheduled them (like “Send questions during the next 10 minutes”).
Second: flexibility helps attendance. Students can join from anywhere, and that reduces the “I missed it because of traffic/work” problem. Even if someone can’t attend live, they still get the recording, which makes the live session feel less like a penalty.
Third: it’s easier to spot confusion in real time. If you see poll results trending the wrong way or you notice the same question popping up in chat, you can adjust immediately instead of finding out a week later during grading.
And yes—there’s broader consumer behavior behind this. For example, 76% of consumers enjoy streaming services daily (Statista). That doesn’t automatically mean “students will love live classes,” but it does suggest people are already comfortable with streaming content formats—which makes education livestreams easier to adopt.
Finally: it supports different teaching styles. You can use live streaming for structured instruction (lecture + polls), guided practice (work through examples together), or collaborative discussion. It’s not limited to one subject.
3. Key Platforms for Educational Live Streaming
Which platform should you pick? I’ll give you the shortcut I use: pick based on what you want students to do during the stream.
Zoom: best for interactive classes where you need screen sharing, breakout rooms, and easy recording. It’s also straightforward for scheduling and attendance tracking.
YouTube Live: best if you want strong video delivery and a familiar viewing environment. One thing I like: the recording often becomes a YouTube video you can publish and edit later with minimal effort.
Twitch: honestly, it can work surprisingly well for STEM and tech topics because chat is built into the experience. If your teaching style benefits from back-and-forth commentary, Twitch’s culture helps that.
Microsoft Teams / Google Meet: these can be great for schools and institutions that already live in those ecosystems. They’re also useful when you want smoother integration with existing accounts and calendars.
Thinkific / Teachable (and similar course platforms): if you’re building a longer-term course with quizzes, assignments, and structured modules, a dedicated course platform can reduce “where do I go next?” confusion for learners. You can still deliver live sessions, but keep everything organized in the same place.
My practical advice: test two platforms with a small group first. Do one run with your slides and one run with your screen share. Watch the playback afterward—if the audio is rough or the screen is hard to read, you’ll catch it before a full class.
4. Measuring Success with Analytics in Live Streaming
Here’s the part most people skip: you don’t improve live streaming by guessing. You improve it by looking at what students did.
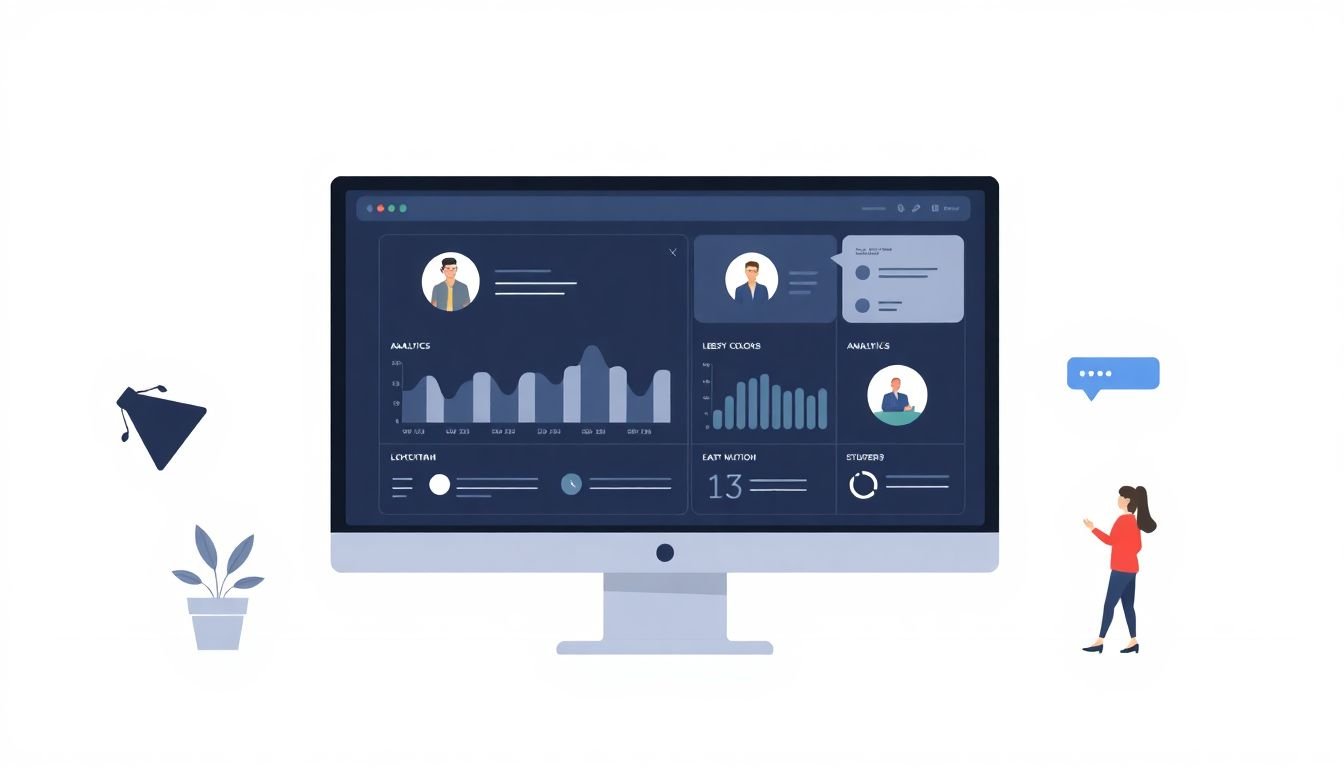
Start with built-in platform analytics. Most platforms show metrics like:
- Peak concurrent viewers
- Average watch time / average view duration
- Retention graphs (when people leave)
- Chat activity, Q&A participation, poll responses
YouTube Live: you get join/leave timing, which is great for identifying “dead zones.” If you see a drop right after a certain segment, that’s your cue to shorten it or make it more interactive.
Zoom (and similar): you can track attendance and participation patterns. If students keep leaving during one portion, you may need to break it up or add a hands-on activity.
Use engagement KPIs, not vanity numbers. Viewer count matters, but engagement tells you if learning is happening. I like to track things like:
- How many students respond to polls
- How many questions show up during the Q&A window
- Whether chat is active during explanations (and not just during the recap)
Then add your own feedback loop. After the session, ask one simple question: “What part felt most confusing?” or “Was the pace right?” You don’t need a huge survey—just enough to guide your next stream.
If you want deeper tracking: you can integrate external analytics like Google Analytics through your LMS or website. The key is to track meaningful events, not just page views. For example, you might track events such as:
- live_stream_view (when someone clicks the joining link)
- live_stream_join (when they land on the stream page)
- poll_response (when they submit a poll)
- video_watch_25 / video_watch_50 (milestones on recordings)
Implementation details depend on your platform and embedding method, but the general idea is: connect your landing pages/buttons to GA4 events, then compare click-to-join and join-to-engagement.
5. Examples of Live Streaming in Different Subjects
Live streaming isn’t one-size-fits-all, but it does work across a bunch of subjects when you design it around interaction.
Computer science: live code-alongs and debugging sessions are perfect. I’d run short “predict the output” moments, then show what happens and ask students to explain why. It turns passive watching into active learning.
Medical / clinical training: instead of broadcasting real procedures, I recommend safer alternatives like de-identified case discussions, simulation videos, and interactive walkthroughs. Students can ask questions while you review the scenario step-by-step. If you’re dealing with any patient data, you’ll need to follow compliance rules (for example HIPAA in the US or GDPR in the EU) and make sure your platform and workflow are appropriate.
Chemistry: you can livestream demonstrations, but safety matters. Use a fixed camera angle, keep hazardous steps off-camera if needed, and clearly communicate PPE expectations. For example, you can frame the shot to show the apparatus and results while keeping any messy handling within safe boundaries. If you’re using chemicals, follow your institution’s lab safety policies and never improvise.
Wildlife management / fieldwork: broadcast real-time observation sessions (or scheduled “spotlight” segments). Students can submit questions during the stream, and you can pause to explain what they’re seeing—without anyone needing special access to a field site.
And honestly? You can adapt streaming to almost anything. History teachers can host live debate sessions with guided prompts. Language tutors can run conversation circles with structured turn-taking. Fitness instructors can demonstrate workouts and correct form in real time—just be mindful of camera placement and audio clarity.
6. Future Prospects for Live Streaming in Education
Where is this headed? The short version: live streaming will keep getting more normal in education, and the tools will get less annoying to use.
Market projections support that momentum. For instance, Statista estimates the e-learning and digital education market could reach US$203.81 billion by 2025, with continued growth after that. More learners also means more instructors experimenting with live formats.
On the audience side, online learning is already massive—so it’s not hard to see why live sessions are becoming part of course delivery, not just a marketing add-on.
As for tech changes, you’ll likely see more features like better captions, smoother playback on weaker connections, and smarter analytics. VR/AR might show up more too, but I wouldn’t bet your whole course on it right away. If you want to experiment, pilot a small “bonus module” first (like an interactive 3D walkthrough) and measure whether it improves understanding, not just whether it looks cool.
If you’re curious about monetizing courses delivered via these methods, this guide on how much people usually make selling online courses can be a helpful starting point.
7. Steps to Get Started with Live Streaming in Your Courses
If you want to start live streaming but you’re not sure where to begin, here’s the exact sequence I’d follow.
Step 1: Choose topics that benefit from real-time participation. Don’t pick something just because it’s “content-friendly.” Pick topics where students can respond: problem-solving, Q&A, role-play, coding, analysis, and practice.
Step 2: Build a simple session outline. I like writing a quick agenda with time blocks and interaction points. For example: 0–5 intro, 5–20 teaching, 20–30 practice with poll, 30–45 guided review, 45–60 Q&A + recap. If you don’t plan where the “activity” happens, you’ll end up talking for too long.
Step 3: Get the basics right (audio + lighting + framing). You don’t need professional gear. You do need:
- A reliable internet connection (test upload speed if possible)
- A microphone you can hear clearly (even a headset mic helps)
- Lighting that makes your face readable
- A stable camera angle (avoid constant repositioning)
Step 4: Test your stream privately. Do one “dry run” recording. Watch it back. What I noticed the first time I tested: my voice sounded fine live, but in the recording it was quieter and my screen text was hard to read. That’s exactly the kind of issue you want to catch before students join.
Step 5: Use a consistent joining link and clear communication. Send the link ahead of time, and repeat it in a reminder message (24 hours before is great). If you can, keep the same structure each week so students don’t learn a new process every time.
Step 6: Teach naturally, but with intentional pacing. Talk like you’re teaching in person. Then add structure around that conversation. For example: “I’m going to explain this for 8 minutes, then I want you to answer a poll.” It prevents the awkward “uh… what do we do now?” moment.
Step 7: Post the recording with navigation. After the session, upload the recording and add timestamps/chapters. Also consider posting the slides or worksheet alongside it. Students shouldn’t have to hunt for materials after class ends.
That’s it. If you run one session with this approach, you’ll quickly learn what works for your audience—and you’ll be able to tighten everything for the next one.
FAQs
Start with a reliable internet connection, a web camera (or smartphone), a microphone, and decent lighting. You can upgrade to higher-quality cameras or specialized streaming software later, but audio clarity and stable framing matter most when you’re starting out.
Common options include Zoom, YouTube Live, Facebook Live, and Twitch. Zoom is great for interactive instruction and breakout activities, YouTube Live is strong for reach and easy playback, Facebook Live can help you leverage existing communities, and Twitch works well for interactive, chat-heavy formats.
Look at viewer/attendance numbers, average watch time, engagement signals (chat activity, poll participation, questions), and student feedback. Most platforms provide the core analytics, and you can layer on your own surveys or LMS data to see what actually improved learning.