
How To Outsource Editing for Course Videos in 8 Simple Steps
Honestly, when I first tried to outsource editing for my course videos, I thought it would be as simple as “send files, get back a finished video.” Spoiler: it wasn’t. The hard part wasn’t finding someone—it was figuring out what to ask for, how to approve edits without losing a week, and how to avoid that classic problem where you get a “finished” video… that doesn’t match your course style at all.
So I’m going to walk you through the exact process I use now. The goal is simple: outsource course video editing with way less back-and-forth, clearer expectations, and results you can actually ship with confidence.
Key Takeaways
- Define your editing scope in plain language (trim/cut, captions, b-roll, motion graphics, color, sound). If you can’t describe it, the editor can’t price it—or deliver it.
- Look for editors who’ve worked on educational or talking-head courses, not just random YouTube montages. Ask for a short test edit using your footage.
- Before you commit, evaluate consistency: audio levels, caption timing, pacing, and whether they stick to a style. A “cheap” editor can cost you later in revisions.
- Set up a workflow early (shared folders + clear naming + one feedback channel). I’ve found that a simple versioning system alone prevents most confusion.
- Create a real style guide (fonts, colors, lower thirds, caption rules, intro/outro templates). Include examples of videos you like and what you want copied.
- Decide revisions upfront (I recommend 2 rounds for most courses). Set a feedback deadline like 24–48 hours so the schedule doesn’t drift.
- Use a contract that covers scope, delivery dates, revision limits, payment terms, and ownership of final files. Don’t rely on “we talked about it.”
- After publishing, track retention and completion, then feed what you learn back into the next editing brief (intro length, B-roll frequency, caption timing, etc.).
Define Your Video Editing Needs
Before you hand off anything, get really clear on what you want edited. Are you looking for basic cleanup—trim dead space, remove mistakes, add captions? Or do you want a full “course-ready” package with b-roll, motion graphics, color correction, and sound cleanup?
In my experience, the fastest way to avoid headaches is to write your scope like a menu. Here’s a simple way to break it down:
- Cut + pacing: remove long pauses, tighten transitions, keep key points within the first 10–20 seconds.
- Captions: burned-in or downloadable SRT? (I usually request both if the platform supports it.)
- Visuals: lower thirds, chapter markers, callouts, zooms on screens.
- Audio: noise reduction, leveling, and consistent loudness.
- Branding: intro/outro templates, colors, logo placement.
If you’re unsure how much editing your lessons actually need, I’d start with these tips on lesson preparation. It helps you understand what you should be recording (so the editor isn’t fighting your source footage).
Also think about video length. When I went from 6–8 minute lessons to 18–25 minute lessons, the editing complexity jumped fast—especially for sound cleanup and caption QA. That’s not a “maybe.” Longer videos usually mean more sections to trim, more caption timing checks, and more chances for audio to drift.
Lastly, set your goals. Are you trying to boost engagement? Then you’ll want tighter pacing, more visual emphasis, and captions that stay readable. If your goal is brand consistency, you’ll need a style guide and templates—otherwise every episode starts to look slightly different.
One more thing: decide upfront whether you want revisions included, and how many. That single decision prevents a lot of the “wait, I thought that was extra” conversations.
Find Video Editors
Start with both freelance platforms and educational-focused communities. Places like Upwork and Fiverr can be great for volume, while dedicated educational video marketplaces often have editors who already understand course pacing and caption needs.
For editing that’s specifically geared toward educational content, you can also check createaicourse.com/how-to-create-educational-video/. Even if you don’t hire from there, it helps you understand what “good” looks like so you can screen editors properly.
About pricing: it really depends on scope. In the projects I’ve seen, freelancers might charge $50–$300 per video for trim + captions, while anything involving sound design, color correction, or motion graphics pushes the price up quickly. Agencies can be $30–$60 per hour (sometimes more), and the timeline usually depends on their queue.
Here’s how I decide who’s worth messaging:
- Portfolio fit: do they edit talking-head + slides like courses, or just random entertainment edits?
- Caption quality: do captions match speech cleanly and stay on screen long enough to read?
- Audio consistency: listen for volume spikes and “muddy” sound.
- Communication: do they ask questions about your goals and style, or do they just say “sure”?
And yes—ask for samples. Even better, ask for a test edit on a 30–60 second segment from one of your lessons. If they can’t do a quick test, you’ll learn later (the expensive way) that their style isn’t a match.
Finally, match the editor to your timeline. If you need the course out in 3–4 weeks, don’t hire someone who’s “available sometime next month.” Ask about their current workload before you fall in love with their portfolio.
Evaluate and Select Editors
Once you’ve got a shortlist, I treat it like hiring for a specific job, not choosing “the best editor.” I need the editor who can deliver my course style consistently.
First, review their past work for consistency. Look at:
- Audio: is it level across the whole video?
- Pacing: do they remove filler without deleting context?
- Captions: are they readable and timed correctly?
- Visuals: do graphics appear when they’re actually helpful?
Next, ask for references. I don’t mean “can I have a testimonial.” I mean: “Have you worked on course editing with revision rounds? What usually causes revisions?” You’ll learn a ton from how they answer.
Then test them with a small project. In one case, I hired an editor who looked great on their portfolio. The test edit revealed they trimmed too aggressively—removing transitions that made the lesson feel coherent. We fixed it by adjusting the brief (“keep at least one full sentence between points” and “don’t cut explanation steps”). If I hadn’t tested first, that mismatch would’ve cost me multiple full lessons.
Also, confirm their workflow. Are they comfortable collaborating via cloud tools like Frame.io, Google Drive, or Dropbox? How do they handle feedback—comments on timestamps, or a messy doc of notes?
Turnaround time matters, too. Ask for a delivery SLA like: “Rough cut in 3 business days, final in 2 business days after approval.” If they can’t commit to something like that, plan for delays.
And don’t ignore the math behind “cheap.” Sometimes the lowest price comes with more revisions. If you’re paying per revision, a “$80 video” can become a $200 video real fast. I’d rather pay slightly more for an editor who gets it right on round one.

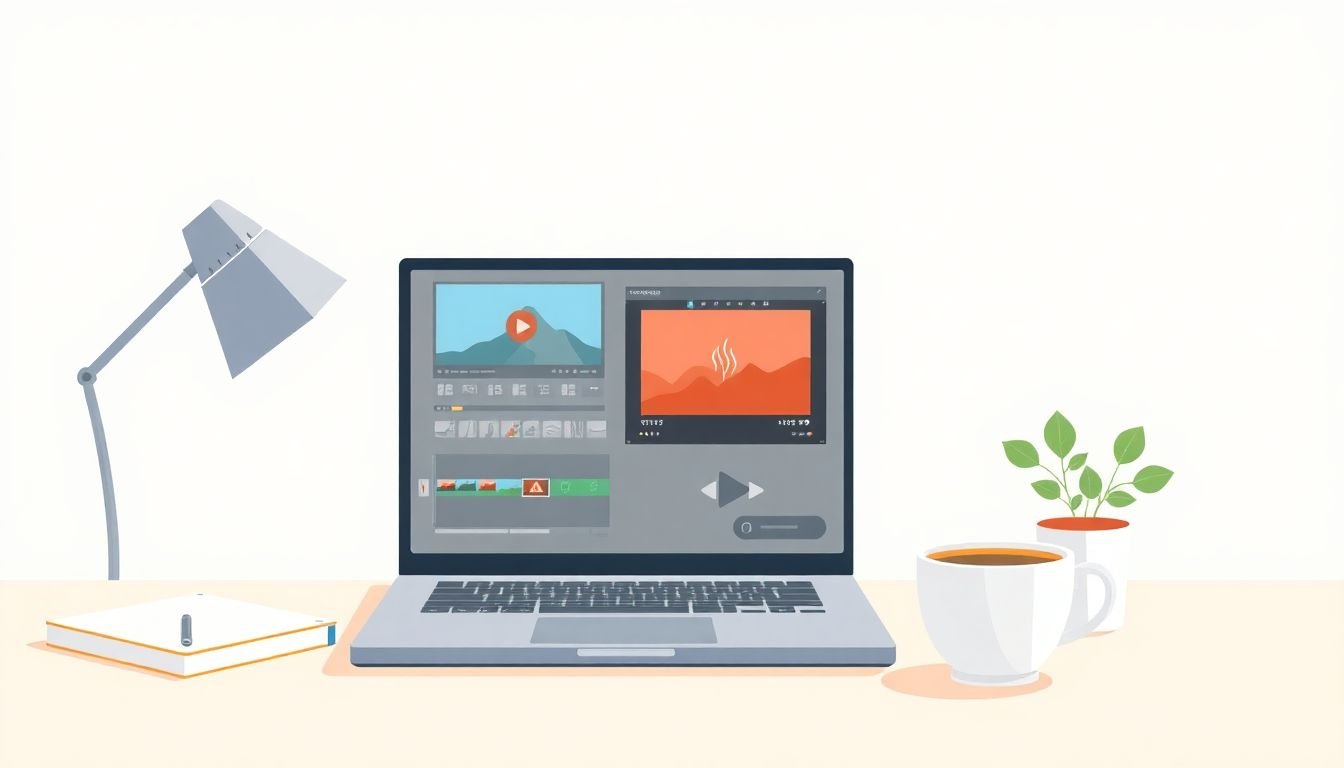
Setup Your Workflow and Communication Systems
This is where most people either save time… or create a mess.
Use cloud storage so you’re not emailing huge files. I usually keep everything in one shared structure on Frame.io, Google Drive, or Dropbox. The key is consistency.
Here’s a workflow setup that’s worked well for me:
- Folder structure: /CourseName/01_Raw/ /02_Working/ /03_Exports/ /04_Review
- Naming: Lesson03_ScreenRaw_v1, Lesson03_Edit_v2, Lesson03_Final_v3
- One feedback channel: only comments on timestamps (or only a single feedback doc—pick one)
- Deadlines: set check-in days (ex: Tue rough cut, Thu final)
For communication, I like short check-ins with a clear agenda. “Any issues? Captions on track? Audio level looks good?” That’s it. It prevents the back-and-forth where you get a message at midnight saying “by the way, I ran into a problem.”
Also, don’t send vague instructions. If you want something changed, attach proof: screenshot, timestamp, or a reference clip. The better your first brief, the fewer revision rounds you’ll need.
Provide Clear Guidelines and Style Guides
If you want consistent course videos, you need a style guide. Not a paragraph. A real checklist.
At minimum, your style guide should include:
- Brand look: fonts, hex colors, logo placement rules
- Intro/outro: what plays at the start and end of every lesson
- Lower thirds: size, position, and wording format
- Captions: font style, max line length, punctuation rules, and whether you keep speaker labels
- Transitions: cut vs. fade, how often to use zooms or emphasis
- Music/ambience: do you allow background music? If yes, volume target
Here’s a style guide template you can copy into a doc and fill in. I’m including example values so you can see what “specific” looks like:
- Captions: font: Inter SemiBold; size: 42px on 1080p; placement: bottom center; max 2 lines; line breaks follow natural sentence structure; keep punctuation; no “robot” capitalization (sentence case).
- Loudness: target -14 LUFS (or “match the reference video” if you prefer); peaks should not exceed -1 dB.
- Intro: first 3 seconds: logo + lesson title; no longer than 8 seconds total.
- Lower thirds: show speaker name only once per lesson; placement: left bottom; duration: 6 seconds.
- B-roll: add b-roll only when the point changes (about every 20–45 seconds) unless it’s a screen recording lesson.
- Color: keep skin tones natural; no heavy teal/orange grading.
And yes—include example videos. Don’t just say “use this vibe.” Tell the editor what to copy: “Use the same caption font,” “Use the same intro timing,” “Keep the same pacing for section breaks.”
One more practical tip: if you have branding assets (logo, icons, colors), package them in a single zip folder and name them clearly. “Logo_Primary.png” beats “logo2_final.png” every time.
In my experience, a solid style guide reduces revisions more than any other step. Editors don’t have to guess. You don’t have to “clarify later.”
Establish an Approval and Revision Process
This is the part that protects your sanity.
Decide how many revision rounds you’ll include. For most course editing, I recommend 2 rounds (rough cut + final polish) and then charge extra for major changes. If you’re doing heavy motion graphics or complex chaptering, you might need 3 rounds—but don’t go unlimited.
Set a feedback SLA (service-level agreement). For example:
- Rough cut delivery: within 3 business days
- Your feedback deadline: within 24–48 hours
- Final delivery: within 2 business days after feedback
Now define what counts as “approved.” Instead of “looks good,” use measurable acceptance criteria. Here are examples that work for course videos:
- Captions: no missing words for key sentences; caption timing within ~0.2–0.3 seconds of speech; no spelling errors on proper nouns.
- Audio: no clipping; dialog intelligible above background; consistent loudness across the lesson.
- Visuals: no cut-off text in lower thirds; brand colors used correctly; intro/outro matches template.
- Length/pacing: lesson duration within ±10% of target unless you approve changes.
For caption QA, I use a quick checklist:
- Check first 15 seconds: captions start on time and match speech.
- Spot-check 3 random timestamps per lesson (midpoint + two later sections).
- Verify names/technical terms once per lesson (proper nouns are where errors hide).
Also, use version naming in shared folders so you don’t lose track. “Lesson03_Final_v1” is better than “Lesson03_Final_FINAL_REAL2.”
Finally, be clear about what revisions include. A revision should mean “small improvements” (timing, caption fixes, minor visual tweaks). A new edit request—like adding full motion graphics—should be a new scope.
Secure Legal Agreements and Payment Terms
Even if you’re working with a freelancer you trust, get it in writing. I learned this the hard way after a project where the editor assumed they could keep the final project files “for their archive.” That turned into a headache when I needed to make changes later.
Your contract should cover:
- Scope: exactly what’s included (trim, captions, color, sound, graphics). If it’s not listed, it’s not included.
- Deadlines: delivery dates and what happens if they miss them.
- Revision limits: number of rounds included, and what counts as a revision.
- Payment terms: per video vs hourly vs retainer; payment schedule (ex: 50% upfront, 50% on final approval).
- Ownership: who owns the final exported videos and source files.
- Confidentiality: NDA or at least a confidentiality clause for course materials.
If you use platforms like Upwork or Fiverr, escrow can add protection because the funds are held until you approve. That’s useful, especially when you’re still building trust with an editor.
Bottom line: boundaries early = fewer surprises later.
Track Results and Gather Feedback
Once your videos are live, don’t just assume the editing worked. Track the metrics that tell you where viewers drop off.
Here’s what I look at first:
- Retention at 30/60/90 seconds: do people leave right after the intro?
- Completion rate: do lessons end strong or fade out?
- Engagement/CTR: if you’re using thumbnails or course pages, see what draws clicks.
- Timestamp drop-off patterns: do exits cluster around specific topics?
Then translate that data into editing requests. For example:
- If drop-off happens in the first 10 seconds, shorten the intro and get to the lesson promise faster.
- If viewers stall mid-lesson, add more “visual emphasis” (zoom/callout) right when you introduce a concept.
- If completion is low near complex explanations, consider breaking content into clearer segments with chapter markers.
- If captions are a problem (hard to read, too fast, missing keywords), tighten caption timing and font size.
I also like to ask students directly. One simple approach: include a question in your course community like “What part was hardest to follow?” If 8 people mention the same section, that’s your next editing target.
When you do this consistently, outsourcing stops being a one-time task and becomes an improvement loop.
FAQs
Start by listing the exact deliverables you want: trim/pacing, captions (burned-in and/or SRT), audio cleanup, color correction, b-roll/callouts, and any motion graphics or templates. Then add acceptance criteria (like caption timing accuracy and audio loudness targets) so editors know what “done” means. If you’re not sure where to begin, map your course lesson structure first, then decide what needs visual support.
Look for portfolio consistency with educational content: clear captions, stable audio levels, and pacing that supports learning. Check how they handle revisions by asking what usually causes scope changes. Finally, test a small segment so you can judge their attention to detail and whether their workflow matches how you like to give feedback.
Use a shared workflow (cloud storage + consistent naming + one feedback method). Provide a clear brief and style guide before the first edit. Set revision limits and a feedback deadline (like 24–48 hours) so the project stays on schedule. When you do this, outsourcing becomes predictable—in a good way.