Best iPhone Photography Course Online (2026): School & Tips
⚡ TL;DR – Key Takeaways
- ✓Use a progression map: camera basics → lighting/composition → advanced modes (HDR/Cinematic) → editing workflow
- ✓Choose courses by time structure and practice density (short modules + field demos usually win for retention)
- ✓Match course depth to your device and goals (still photos vs lifestyle vs video/filmmaking)
- ✓A great iPhone photography school teaches shooting decisions, not just “which app to use”
- ✓Editing should be workflow-first (consistent Pro Photos outcomes) before “feature-hopping”
- ✓Look for device-specific segments and model-aware tips (iPhone 12–15 differences)
- ✓AI can personalize practice prompts and editing simulations, but you still need human-understandable technique
How I Pick the Best iPhone Photography Course Online
You don’t need more tutorials. You need a learning path that forces better decisions while you’re actually shooting.
I’ve helped people go from “pretty good” to consistently producing stunning images on an iPhone by using the same evaluation process every time: lesson flow, practice density, and editing workflow. If a course is light on any one of those, you’ll feel it in your results—fast.
My first-hand scoring rubric (what actually matters)
I score iPhone Photography courses like a mechanic: do they fix the problem you actually have? Not the problem the teacher wishes you had.
Here’s what I check every time I evaluate a Mobile Photography program. I’m looking for repeatable decision-making, not feature name-dropping.
- Decision process — Do they teach a clear way to choose exposure, focus, and framing? If the lesson just says “use auto” or “try HDR,” it won’t transfer to your next shoot.
- Practice loops — Do you get field demos, shooting assignments, and feedback loops? Watching video is entertainment. Shooting is skill.
- Editing structure — Is editing taught as a guided workflow in the Photos app or a specific editor? Scattered “tips & tricks” create editing overload and inconsistent results.
When I first tried learning from random iPhone tips online, I collected presets like Pokémon. My photos didn’t get better. Only when I switched to a workflow-first course—shoot the same subject, then re-edit using the same steps—did consistency finally click.
What I look for in a top iPhone photography academy
A top iPhone Photography school respects your attention span. It teaches in modules that you can finish, then immediately apply outside. Otherwise, you’ll “start strong” and burn out by week two.
I also want the course to treat iPhone limitations as the curriculum. The best courses explain why the iPhone behaves the way it does, then give you rules you can reuse on-location.
| What I verify | Strong course signals | Red flags |
|---|---|---|
| Lesson format | Modular, bite-sized segments you can replay and reuse | Long lectures with no checkpoints |
| Progression | Basics → lighting/composition → advanced modes (HDR/Cinematic) → editing workflow | Advanced features first, fundamentals last |
| Practice density | Field demos plus assignments every module | “Watch and maybe try” instructions |
| Editing outcomes | Guided, repeatable workflow to reach consistent tonal results | Feature-hopping across apps without a stable process |
| Device awareness | Model-aware tips (iPhone 12–15 differences) | One-size-fits-all settings advice |
Clear outcomes beat vague promises. I want to know what you’ll be able to do by the end: shoot in tough lighting, choose when to use HDR, and edit to a consistent look.
And yes, course creators are starting to add AI-powered learning mechanics, but I still judge the fundamentals first. AI might help you simulate feedback, yet you still need technique you can explain without a machine.

iPhone Photography School Basics: Camera Settings That Matter
Most people don’t have a camera problem. They have a “what should I do on the screen right now?” problem.
This is where the Best iPhone Photography Courses separate themselves. They teach camera app decisions (exposure, focus, framing) so you’re not editing to fix mistakes you could’ve avoided in one tap.
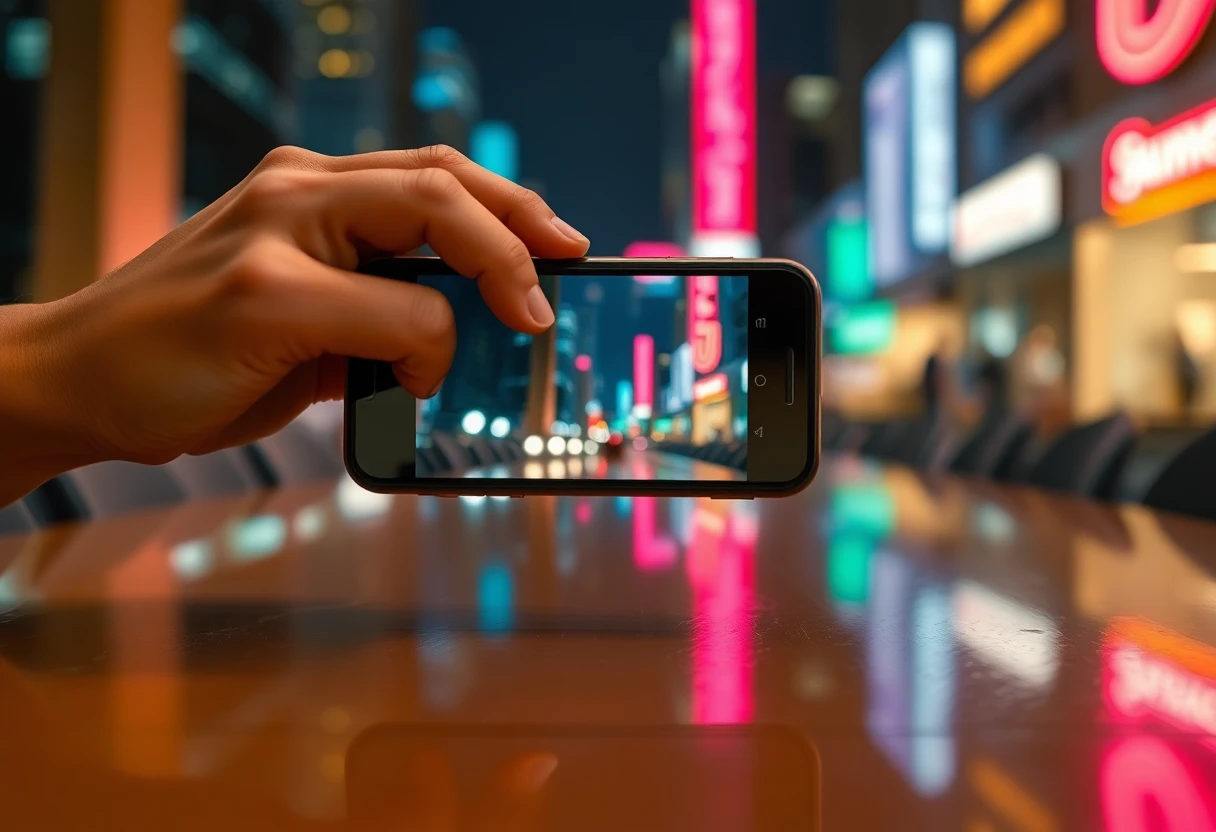
Start with the Camera app decisions (not gear)
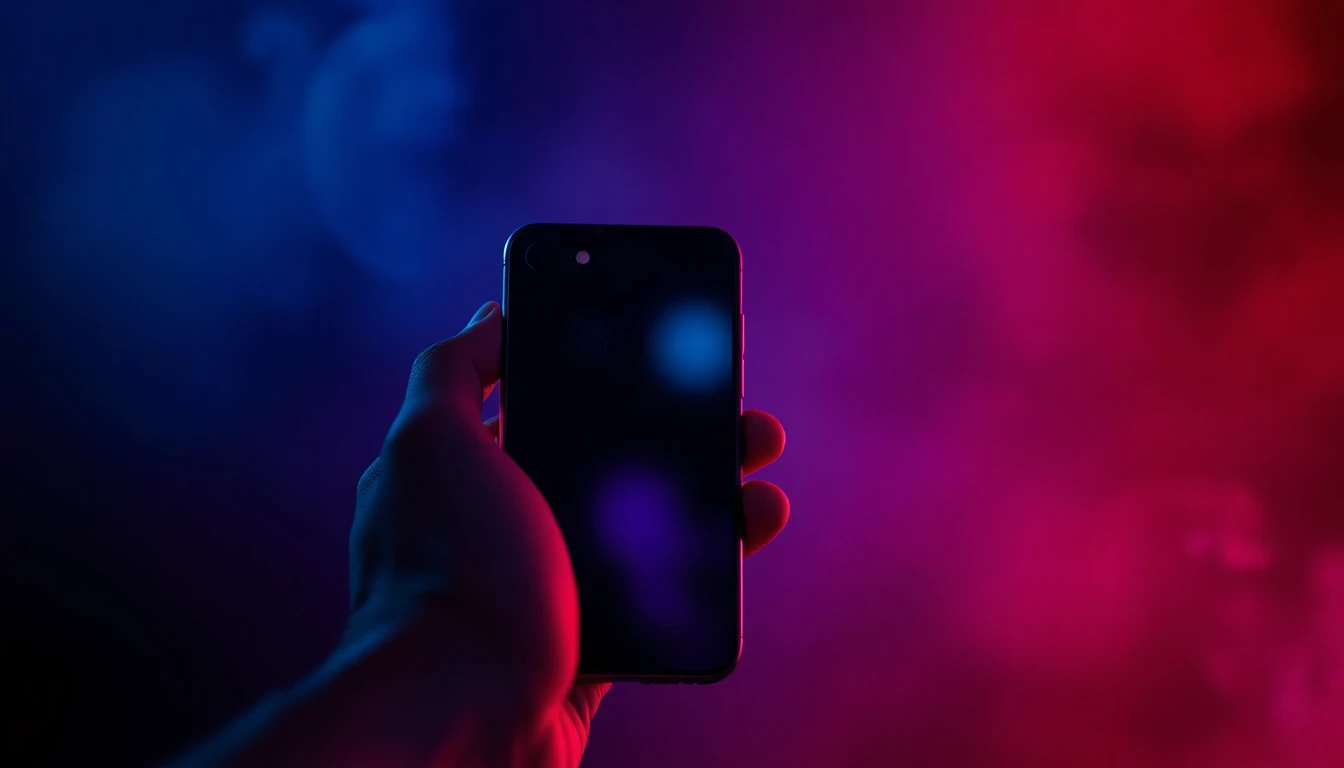
Start with what your thumb touches. The iPhone camera app is the real interface. Learn how to control exposure, lock focus, and respond to lighting shifts before you touch any editor.
Beginners fail because they rely on auto without understanding what auto is doing. Auto exposure and auto focus are reacting to the scene—not designing the photo you want.
- Exposure control — Teach students to adjust exposure intentionally, not randomly.
- Tap-to-focus — Use focus locking so the subject stays sharp when the scene changes.
- Lighting-aware settings — Explain why the same framing looks different in shade vs direct sun.
When you learn the decision, you stop guessing. That’s what you’re buying with a good curriculum.
Exposure & HDR: when to trust the iPhone and when not to
HDR is a tool, not a religion. The best courses teach you when the scene benefits from dynamic range blending and when HDR makes skin and textures look processed.
I like “if-then” rules because they work on-location. Instead of “try HDR,” students should know what to look for before turning it on.
Here’s how I structure it in my head when teaching Best iPhone Photography Courses. Identify contrast range, check subject movement, then decide whether HDR helps or harms.
- Use HDR when the background is dramatically brighter than the subject and you need recoverable detail.
- Avoid HDR when you’re photographing fine skin texture or scenes where tonemapping tends to create halos.
- Pick the result you want — natural dynamic range vs punchy cinematic punch.
If-then thinking reduces decision fatigue. You’ll shoot faster, review smarter, and edit less.
iPhone Photo Academy: What to Learn From Their Structure
If your course feels confusing, it’s probably the sequence. Hidden features and advanced modes usually aren’t the real issue—your learning order is.
That’s why I look closely at how a Mobile Photography program reveals features. The iPhone is full of “secret sauce,” but good iPhone Photo Academy-style teaching introduces it progressively.
Secrets-based lessons that reduce overwhelm
Progressive discovery beats feature dumping. A solid iPhone Photo Academy doesn’t throw every setting at you on day one. It introduces advanced modes only after you’ve earned them with fundamentals.
I prefer a sequence where basics come first: framing and exposure decisions. Then the course adds HDR, then cinematic-style techniques, and finally editing workflow refinement.
I once watched a “complete iPhone mastery” course that started with five advanced modes and three third-party apps. Great production quality. Zero learning quality for me. I dropped it after four videos because nothing connected to my real shooting habits.
Hidden features still need a reason to exist. If the lesson can’t explain why that mode improves your specific scene, it’s just noise.
Turn course modules into weekly practice (my method)
Most courses fail at execution. The lesson might be good, but the practice needs structure. My approach is simple: one mini-shoot per module, then compare outcomes.
For each module, you shoot the same subject setup in different lighting. You don’t change everything at once—you isolate variables.
Then you edit using the course’s workflow and compare results. I track progress with a simple rubric so you don’t trick yourself with “looks good-ish.”
- Sharpness — Is the subject actually crisp where you intended?
- Composition strength — Does the framing guide the eye?
- Tonal balance — Are highlights and shadows intentional, not accidental?
Time math that works: even short modules can produce big results if you practice with consistency. For example, Skillshare-style lessons are often delivered in around 95 minutes total across multiple segments, which means your job is to apply each segment immediately.
You’re building muscle memory, not watching a documentary.
iPhone Editing Academy: Build a Pro Photos Workflow
Editing should feel boring after a week. If it feels exciting every time, you’re probably changing too many things and chasing novelty.
That’s exactly what I want from a Smartphone Photography course: a repeatable edit path you can re-run so you get Pro Photos results under real-world constraints.
Editing that’s workflow-first (so you can repeat it)
Workflow-first means order matters. Teach a consistent sequence: tone/contrast first, color next, then detail/sharpening, then export settings. This prevents “slider roulette.”
I don’t care if the course uses Photos app tools or a dedicated editor. I care whether the workflow produces predictable tonal balance across different scenes.
- Tone/contrast — Establish dynamic range and the mood before color changes.
- Color — Normalize skin tones and keep backgrounds from dominating.
- Detail — Sharpen intentionally; don’t crank everything and call it detail.
- Export — Lock your output settings so your “final” doesn’t secretly change.
Limit choices until results stabilize. A course that teaches “reduce the variables” usually wins because your brain gets time to learn seeing.
Landscape example: long module learning that sticks
Landscapes are the best training wheels. They teach composition, lighting interpretation, and editing decisions in one clean loop. That’s why many Smartphone Photography programs include longer landscape modules.
One example from the iPhone Editing Academy world: landscape learning is sometimes delivered as an 8-hour (480-minute) focused segment on composition plus post-processing. That’s not fluff—it’s enough time to shoot, review, edit, and re-shoot until you stop making the same mistakes.
Here’s the practice flow I recommend: shoot a landscape in consistent framing, then edit using the same workflow. After you compare results, re-shoot the next day with one lighting variable changed.
- Shoot pacing — Capture multiple frames while the light shifts by 10–20 minutes.
- Edit pacing — Don’t touch color until tone looks right.
- Feedback loop — Re-shoot what looks wrong, don’t “fix it later” every time.
That’s where mastery happens: repetition with a rule set.
Master iPhone Photography: Composition & Lighting Playbook
Phones don’t ruin composition. They just remove your patience—so you must plan faster.
This is a core part of any iPhone Photography School that actually teaches skill, not vibes. The best lessons show you composition starts with movement and placement, not cropping later.
Composition rules that still work on a phone
Use the rules, but adapt the execution. Rule of thirds, leading lines, and negative space still apply. What changes is the framing constraint: you can’t endlessly zoom out—you have to choose where you stand.
I teach students to move their feet first. The iPhone is unforgiving when your framing is accidental.
- Leading lines — Find real lines in the environment and align them with your subject path.
- Negative space — Give your subject room to breathe, especially on cluttered streets.
- Thirds anchors — Put the subject where the eye naturally wants it.
My favorite “aha” moment in every workshop is when people realize they can solve 80% of their composition problems by walking 3 steps left. Cropping is fine, but moving is training.
Composition is pre-shutter behavior. If a course doesn’t teach that, you’ll keep editing your way out.
Natural vs artificial light: how I teach students to read it
Light reading is a checklist skill. I make students look at direction, softness, and contrast before they frame. Once you learn to “see” these three, your exposures get better immediately.
Then we plan by time of day. Golden hour, shade, indoor lamp light—each has predictable behavior you can learn.
- Golden hour — Side light gives shape; watch for long shadows and flare.
- Shade — Softer light, often more forgiving for portraits.
- Indoor artificial — Mixed color temperatures can fight your skin tones; adjust with intention.
If the course teaches lighting clearly, your Best iPhone Photography Courses pick rate goes way up. Lighting is where phones either look great or look like snapshots.
Lifestyle Photography on iPhone: Tell Visual Stories
Lifestyle photography fails when it’s random. It feels accidental when there’s no visual sequence behind it.
In a real iPhone Photo Academy-style curriculum, Lifestyle Photography on iPhone teaches storytelling: context, action, then detail. You’re guiding how people read the scene.
Lifestyle Photography that feels intentional (not accidental)
Story starts before the shutter. You need a plan for context, action, and detail so the viewer gets a reason to keep looking.
Also, consistency matters. If your color tone, framing style, and subject behavior are all over the place, the lifestyle series feels chaotic.
- Context shot — Establish where/when with clean framing.
- Action shot — Capture movement that implies the “moment.”
- Detail shot — Close the loop with something tactile or expressive.
On-brand means repeatable behavior. It’s not just editing. It’s your shooting choices too.
Telling Visual Stories with a repeatable shot sequence
Use a scene template and reuse it. A strong Mobile Photography course helps you build a 6–8 shot sequence that works across locations. Then the editing supports the narrative—contrast and color should reinforce the mood.
I like teaching this as a practical method because it stops the “what do I shoot next?” panic.
Here’s the sequence style I teach as a baseline. Students can adjust, but they start with the same spine.
- Wide context — Where are we?
- Establish light — Show the look of the scene.
- Action moment — Capture the “doing.”
- Medium portrait — Connect subject to viewer.
- Detail texture — Tie it together visually.
- Finish frame — End with a strong compositional anchor.
Your editing shouldn’t rewrite the story. It should support it.
On-Brand iPhone Photography: Consistency for Creators
Consistency beats variety when you’re building an audience. That doesn’t mean “boring.” It means recognizable.
For creators, On-Brand iPhone Photography is where iPhone Photo Academy ideas meet real publishing. You’re building a look across posts, not one-off masterpieces.
Cohesion across posts: color, contrast, and crops
Define your signature look with constraints. One base tone, one accent strategy, and consistent handling of sharpening/grain. If you keep changing these, your series never settles.
Crops are part of the identity too. Teach a crop rule so your sets look comparable and intentional.
- Base tone — Decide if you want warmer skin or cooler shadows.
- Accent strategy — Keep certain colors stable (like greens or blues).
- Crop rules — Stick to aspect ratios that match your posting style.
When you can describe your look in one sentence, you’re ready. If you can’t, you’re still experimenting blindly.
Editing tools and apps: what I actually recommend
Pick tools that match your workflow. If an app adds five new decisions, it might feel powerful but it will slow you down. I want editing tools that help you practice, not just apply presets.
A good approach I’ve seen working is using training-style tools like iColorama for editing practice simulations—then pairing that with real before/after breakdowns.
| Goal | Best-fit approach | What to demand from the course |
|---|---|---|
| Repeatable edits | Photos app workflow or one dedicated editor path | Clear step order and outcome examples |
| Learning slider behavior | Guided practice tools/simulations | Before/after plus explanations of why changes work |
| Brand consistency | One signature tone + constrained adjustments | Series-level guidance, not single-image tweaks |
| Faster editing | Templates and limited controls | “Reduce choices” strategy and export standards |
AiCoursify note (since you’re probably also a creator): I built AiCoursify because I got tired of course setups where tracking is messy and learning paths are basically spaghetti. If you’re turning iPhone Photography content into a real course, you need clean structure and assignment tracking.

iPhone Video Academy: Master iPhone Filmmaking (2026)
Video is just photography with time. If you’ve learned exposure and framing well, you’ll adapt faster than you think.
This iPhone Video Academy track should preserve fundamentals while adding motion planning: stability choices, movement, and storyboards. Pro Photos still matters—it just extends into motion.
Switching from photos to motion without losing fundamentals
Don’t throw away your photo skills. Cinematic framing and movement choices come from the same composition instincts you learned for stills.
Teach tripod vs handheld decisions, then teach movement intentionally. Students need storyboards for short clips so they stop “wandering” during shooting.
- Cinematic framing — Think about subject size and background relationship.
- Movement choices — Decide why you move: reveal, follow, or transition.
- Storyboard — Plan 5–10 beats for a short clip so shooting stays focused.
Pro workflow wins because it reduces chaos. Chaos is what makes reels look like random phone footage.
Pro workflow for handheld + stability (what to practice)
Stability is trainable. I don’t care if you have the latest iPhone—handheld video still needs control. Practice stance, breathing, and walking rhythm daily for short sessions.
Color consistency also matters across clips. If your reels look like different shoots, viewers feel the seams—even if they can’t explain why.
- Breathing — Control micro movement during pauses.
- Stance — Feet shoulder-width, shoulders relaxed.
- Walking rhythm — Slow steps and consistent cadence for smoother tracking.
- Color consistency — Use the same editing approach across the clip set.
That’s how you stop guessing. Your video becomes repeatable, not accidental.
Best iPhone Photography Courses Online: Comparisons & Fit
Choosing a course is choosing a pace. You need the format that matches how you actually learn.
So here’s how I compare the Best iPhone Photography Courses Online based on fit: self-paced vs hybrid, plus the duration benchmarks that imply depth and practice density.
Online self-paced vs hybrid workshops: which fits you
Online is for self-starters. If you can commit to assignments and re-shooting, self-paced programs are efficient because you can replay lessons and move at your speed.
Hybrid works when you learn faster with guided shooting and exposure practice. You’ll get confidence earlier, which reduces the “I’m doing it wrong” frustration.
| Type | Best for | What you should expect |
|---|---|---|
| Online self-paced | People who want modular pacing and replay | Assignments, re-shoots, consistent editing workflow guidance |
| Hybrid workshops | People who need coached shooting decisions | Exposure control drills, feedback in real time, structured shooting time |
My practical bias: If the online course includes frequent shooting assignments and editing workflow steps, it beats hybrid on value. If not, hybrid wins because it forces practice.
Course duration benchmarks I use (and what they imply)
Duration is a proxy, not a guarantee. But lesson count and practice density usually correlate with how much you improve, especially in iPhone Photography.
I use real duration patterns from course offerings I’ve reviewed. These numbers help you guess depth quickly.
- ~60 minutes — Often official-style workshops focused on one technique experiment (great for quick wins).
- ~95 minutes — Common “essentials” courses with around 19 lessons; good for fundamentals and a basic editing pass.
- ~120–180 minutes — Hybrid classroom/field ranges where exposure control feels more guided and confidence builds faster.
- ~180–240 minutes — Feature exploration sessions; good when you want deeper modes beyond basics.
- ~480 minutes (8 hours) — Editing mastery segments, where workflow practice becomes automatic.
- ~625 minutes — Full progression programs that cover beginner to advanced editing with a coherent progression.
What I infer: shorter courses are great as a start. Longer courses are where workflow becomes real and your edits stop being random.
Wrapping Up: Your Next 14 Days to Better Pro Photos
You don’t need a new camera. You need a controlled repetition plan. That’s how you get better results from any course, even if your schedule is messy.
Here’s the 14-day structure I’d run with a student using a course path built for Tips & Tricks: camera basics, lighting/HDR decisions, editing workflow, then lifestyle storytelling.
A simple plan: one shoot + one edit every day
Every day has two parts. Shoot, then edit. If you only do one, you’ll either keep collecting mistakes or keep editing without improving how you shoot.
Days 1–3 focus on exposure and composition decisions using the same subject in different light. Days 4–7 add HDR/Cinematic decisions and lock your editing workflow. Days 8–14 shift into lifestyle story template work and on-brand consistency.
- Day 1–3: exposure + composition drills — Same subject, different light. Force better framing decisions before editing.
- Day 4–7: HDR/Cinematic decisions + consistent edits — Only turn modes on when the scene calls for it. Edit using the same workflow every time.
- Day 8–14: lifestyle story template + on-brand color consistency — Shoot your 6–8 shot sequence and keep tone consistent across the set.
If you’re a course creator: how to structure your own iPhone class
If you teach iPhone Photography, structure beats content volume. Use modular lessons roughly in the 60–625 minute band depending on depth. The goal is completion and practice density, not a massive video library.
For practice, assign hands-on shooting tasks per module. For retention, add feedback loops and tracking.
- 60–625-minute modular lessons — Smaller segments reduce drop-off and make practice schedules realistic.
- Hands-on assignments — Students learn by shooting, not by “consuming.”
- AI personalization (optional) — Use AI-powered practice prompts and editing simulations, but don’t replace the technique.
- Use platforms that track cleanly — I recommend AiCoursify for packaging learning paths and tracking progress without the usual course chaos.
AI can help you simulate feedback. But technique still needs to be understandable by a human. That’s the difference between “learning” and “watching.”
Frequently Asked Questions
What are the best iPhone photography courses online?
The best ones have progression. Look for structured order: camera → lighting/composition → advanced modes (HDR/Cinematic) → editing workflow.
Also check practice density. If the course doesn’t give assignments and before/after editing guidance, you’re likely paying for views, not skill.
How to take pro photos on iPhone?
Prioritize light direction and framing first. Editing can improve quality, but it can’t fix poor subject placement and bad exposure choices.
Then use a repeatable workflow. Shoot intentionally, then edit with limited controls so you build consistent Pro Photos results.
iPhone Photography School review—what should you verify first?
Verify the module sequence. A good course reveals advanced features after fundamentals so you don’t get lost.
Then verify editing structure. Look for workflow-based editing that works with your iPhone model (not generic advice for every generation).
Best apps for iPhone photography editing?
Pick apps that teach your workflow. The best apps show what sliders do and why, not just “click here for a preset.”
If you want guided practice, use simulation-style tools. iColorama is one example I’ve seen work well for learning editing behavior, especially for beginners.
Do iPhone photography courses cover video too?
Some do, but not all cover real filmmaking practice. If you want iPhone Video Academy outcomes, prioritize courses that include cinematic framing, movement planning, and stability drills.
Storyboards matter. If the course doesn’t address motion storytelling, you’ll end up with clips that look technically okay but narratively empty.
Are AI tools useful for learning mobile photography?
AI can help personalize practice and feedback. It’s especially useful for creating practice prompts and editing simulations.
But technique still wins. AI is best as a supplement—not a replacement for learning how exposure, focus, lighting, and composition work.