Smart Home Automation DIY Classes: 6 Steps to a Smarter Home
If you’ve ever thought about making your home smarter but feel lost on where to start, you’re not alone. It’s easy to get overwhelmed with all the gadgets and tech talk out there. But don’t worry—that’s exactly what DIY smart home classes can help with.
Keep reading, and you might find out how to learn the basics, pick the right tools, and even design your own smart home step-by-step—all without breaking the bank or feeling like a tech genius.
In the end, these classes are a fun way to turn your house into a smarter, more convenient space. And I’ll show you what to expect so you can get started confidently.
Key Takeaways
- Start small by learning basic smart devices like smart bulbs, plugs, and voice assistants to build confidence without feeling overwhelmed.
- Find beginner-friendly online classes on platforms like Udemy or Coursera that provide step-by-step guidance and practical projects.
- Know the essential tools: a smartphone, stable Wi-Fi, and possibly a compatible hub; having proper equipment makes setup easier and smoother.
- Follow a simple plan: pick one room or device, install, test, and then add more gradually, ensuring each works before moving on.
- Be mindful of compatibility, keep a setup checklist, and troubleshoot early to avoid frustration; patience and testing lead to success.
- Completing a DIY smart home class saves money, boosts your tech skills, and allows you to customize automation routines for comfort and energy savings.

1. Learn the Basics of Smart Home Automation
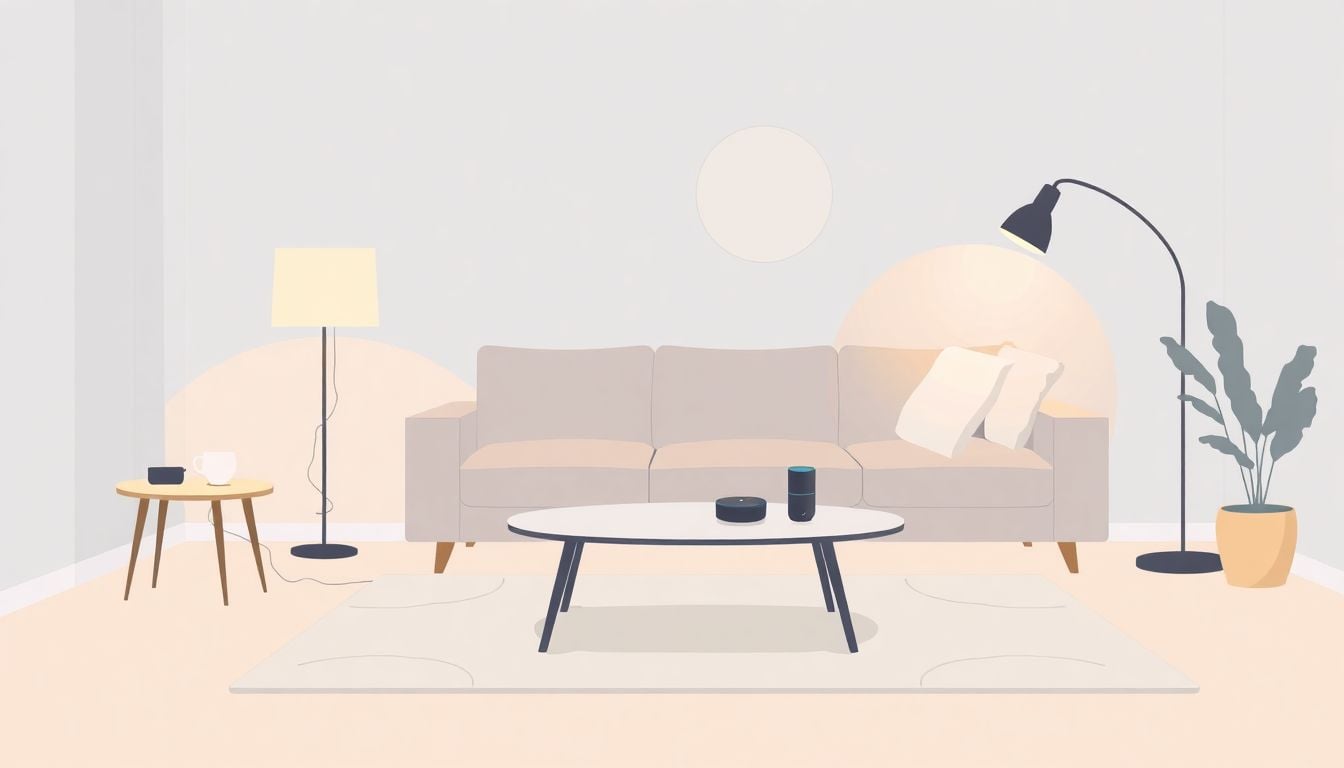
Getting started with smart home automation means understanding what it is and how it makes everyday life easier. You don’t need to be a tech genius—just a curious mind and a little patience. Familiarize yourself with common devices like smart bulbs, plugs, and voice assistants such as Amazon Echo or Google Nest. Knowing the basic functionalities, like turning lights on with an app or setting schedules, is a good first step. Try to visualize how these simple tools can work together to create a more comfortable home environment. Don’t forget, starting small can build your confidence before jumping into more complicated setups. For example, replacing traditional light bulbs with smart ones can give you immediate feedback on how automation feels. A quick tip: check out online guides or videos from companies like [SmartThings](https://www.smartthings.com/) or [Wink](https://www.wink.com/) to see how these basics come to life. Remember, each device uses a different app for setup, so getting familiar with them will help you troubleshoot later. Understanding the core concepts of Wi-Fi, Z-Wave, or Zigbee connectivity also makes installing new devices less confusing. Starting with these fundamentals helps you see the bigger picture and prepares you for DIY projects that scale up as you learn more.
2. Find Online DIY Smart Home Automation Classes
Looking for a step-by-step way to learn smart home automation? There are plenty of online courses designed for beginners that walk you through the entire process. Many classes are available via platforms like Udemy, Coursera, or specialized sites like [Create AI Course](https://createaicourse.com/), which offers courses specifically tailored for DIY learners. These classes often break down complex concepts into simple, manageable pieces, starting with setting up basic devices and progressing to creating automation routines. One of the biggest perks? They usually include video tutorials, quizzes, and downloadable resources so you can learn at your own pace. You don’t have to worry about hidden costs—most courses are affordable, and some even free. If you’re a hands-on learner, look for courses that feature practical assignments, like installing a smart plug or programming a routine. An extra tip: joining online communities related to smart home tech can give you real-time support and inspiration. Consider exploring [createaicourse.com](https://createaicourse.com/compare-online-course-platforms/) to find classes that match your skill level and interests. Making a habit of dedicating even 15 minutes a day to these lessons can steadily turn you into a DIY smart home pro.
3. Get to Know Key Tools and Equipment
Before you start wiring up your home, it helps to know what tools and gear you’ll need. Basic smart home kits usually come with everything necessary for initial setups—think smart plugs, bulbs, and voice assistants—but understanding their requirements makes the whole process smoother. For most DIY projects, you’ll want a few essentials: a smartphone or tablet for control, a Wi-Fi network with decent coverage, and a compatible smart hub if your devices need one. When it comes to installation, having a screwdriver, mounting tape, and a level can make mounting devices like cameras or sensors easier. If you’re dealing with hardwired switches, a basic multimeter and some electrical gloves could come in handy—just remember to turn off power before wiring. For connecting multiple devices, many people favor platforms like [SmartThings](https://www.smartthings.com/) or [Home Assistant](https://www.home-assistant.io/), which support a wide range of compatible equipment. Knowing your gear means fewer surprises during setup. Keep an eye out for starter kits that bundle popular devices, often costing between $150 and $200, which are great for beginners. Having the right tools and understanding their purpose helps prevent frustration and saves you money in the long run.

4. Follow a Step-by-Step Path to Your Smart Home
Creating a smart home from scratch might seem daunting, but breaking it down into simple steps makes it manageable.
Start with selecting a small area, like one room or a single device, so you don’t feel overwhelmed.
First, choose a hub or platform that supports your devices, such as [SmartThings](https://www.smartthings.com/) or [Home Assistant](https://www.home-assistant.io/), to keep everything connected.
Next, set up your initial device — for example, install a smart bulb or a smart plug using the app’s guided instructions.
Once installed, test the device to ensure it responds to your commands, like turning on/off or setting schedules.
Gradually add more devices, ensuring each works well before introducing the next to keep your setup organized.
For more advanced features, like creating routines or automations, start with simple triggers, such as “turn on lights at sunset,” and adjust as you go.
Make notes of what works and what doesn’t, so you can troubleshoot quickly and avoid repeating mistakes.
Don’t be afraid to revisit online tutorials or [step-by-step guides](https://createaicourse.com/how-do-you-write-a-lesson-plan-for-beginners/) to refine your process as you learn.
Remember, patience is key — most setups don’t need to be perfect on the first try, and small successes build confidence for bigger projects.
5. Use Tips for Successful DIY Smart Home Projects
Getting your smart home right the first time takes a bit of planning and some handy tricks.
Always check device compatibility before purchasing; sticking to one ecosystem, like Amazon or Google, can save compatibility headaches.
Set realistic goals — start with a few easy devices instead of trying to automate your entire house in one go.
Keep a list of your devices, their setup steps, and routines so you don’t forget configurations or troubleshooting tips.
Use online resources, such as [createaicourse.com](https://createaicourse.com/lesson-writing/), to find tutorials and advice tailored for beginners.
Label your Wi-Fi network and devices; a clear network reduces connection issues and simplifies device management.
When wiring hardwired switches or sensors, always cut power first to avoid shocks, and consider calling an electrician if unsure.
Test each device after installation to catch issues early, saving frustrations later on.
Stay patient; most problems can be solved with a quick online search or support forums, so don’t give up if things don’t work instantly.
Finally, have fun experimenting with automations — for example, setting your porch lights to turn on when it gets dark, or having your coffee brew automatically in the morning.
6. Understand the Benefits After Completing a DIY Class
Once you finish a DIY smart home class, you’ll notice some pretty practical perks.
Aside from saving a good chunk of money—since DIY projects cut costs by about 50-75% compared to hiring pros—you’ll also gain confidence in handling tech upgrades.
This knowledge enables you to troubleshoot issues without waiting on help and make changes yourself as your needs evolve.
Plus, knowing how to set up automation routines means you can customize your home’s comfort, security, and energy efficiency—saving energy and lowering bills.
According to recent stats, energy savings are a major reason homeowners adopt smart tech, with over half of global users citing reduced energy consumption as a key benefit.
You may even find yourself spending around $2,500 annually on smart devices and services, but many of this can be optimized by smarter automation.
If you’re curious about how to enhance your home further, consider learning from [createaicourse.com](https://createaicourse.com/), which offers courses on effective automation strategies.
In the end, developing your skills through DIY classes turns a costly or intimidating project into a manageable hobby—you get to enjoy your smarter home and save money at the same time.
FAQs
Smart home automation involves using devices and systems to control lighting, climate, security, and appliances remotely or automatically. It simplifies everyday tasks and enhances comfort through connected technology.
Yes, many online DIY classes are designed for beginners. They typically cover basic concepts, setup steps, and troubleshooting, making it easier to start your smart home project without prior experience.
You’ll need basic tools like screwdrivers, wire strippers, and a multimeter. Essential equipment includes smart hubs, sensors, switches, and compatible devices that fit your automation goals.
Plan your setup carefully, follow step-by-step instructions, ensure compatibility of devices, and test each component. Also, keep safety in mind and start with simple projects before expanding.