
Shooting Course Videos With Your Smartphone Studio: 8 Easy Steps
Trying to make course videos without a studio or a pile of gear? Same here. I’ve done plenty of lessons with just my smartphone, and honestly, it comes down to a few practical choices—lighting, stability, and audio—more than “fancy equipment.”
In this post, I’ll walk you through a simple workflow you can repeat. I’ll also point out the stuff that’s easy to get wrong (and what I changed when I noticed the problem). By the time you’re done, you’ll know how to set up your smartphone studio, shoot clearer video, and tighten up your editing so your course looks more polished.
Key Takeaways
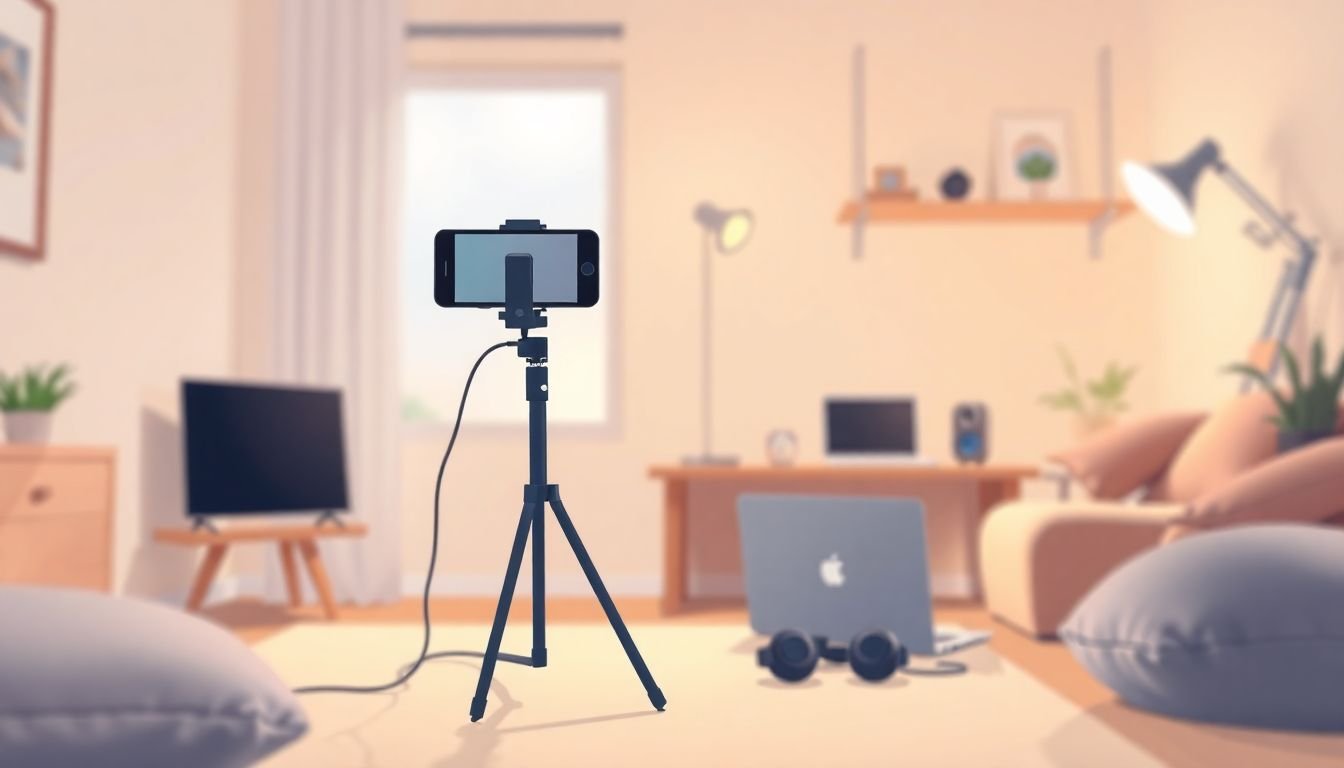
- Use your smartphone’s back camera in high resolution (4K or 1080p). Stabilize with a tripod or a DIY stand (books work). Clean the lens first—seriously, it’s one of the fastest quality upgrades you can make.
- Before you record, kill distractions: turn off notifications, pick the right orientation (horizontal for most courses, vertical for social), and manually tap to set focus/exposure so your face doesn’t randomly brighten or dim.
- Lighting matters more than camera specs. Face a window or soft light source, avoid harsh overhead bulbs, and soften light with a diffuser (or even a white sheet) to reduce shadows.
- Choose vertical vs. horizontal based on where your learners will watch. Match your recording orientation to your platform so you’re not forced into awkward cropping later.
- For background blur, use portrait mode if your phone has it, or create blur by moving closer to the camera and increasing the distance between you and the background.
- For screen recordings, keep the screen tidy, zoom into the important area, and narrate while you record (or add captions afterward so viewers can follow along).
- Record a couple takes of each section. It saves you in editing—when you stumble, you can cut cleanly or swap in a better take.
- Batch filming helps you stay consistent. Same camera position, same lighting, same mic distance—your whole course series will feel more “put together.”
- Plan shoots around daylight. Soft, even light (especially cloudy days) usually beats indoor lamps and mixed color temperatures.
Shoot High-Quality Course Videos with Your Smartphone
Let’s start with the obvious: your phone can absolutely look “course-professional” if you use it the right way. I’ve had way more success by focusing on the basics than chasing camera upgrades. Here’s what I do every time:
- Back camera + highest resolution: Use the back camera and set it to the top option available (usually 4K, otherwise 1080p). If you’re given a choice between frame rates, I usually stick with 30fps for talking-head lessons. (If you’re filming fast motion, you can consider 60fps, but it’s not necessary for most course instruction.)
- Clean the lens: I know it sounds silly, but the number of “why is my video blurry?” fixes that end up being a greasy lens is embarrassing. Wipe it with a microfiber cloth.
- Stabilize: Shaky video makes people trust you less. If you don’t have a tripod, stack a few books so the phone is at eye level and won’t wobble when you touch the desk.
- Daylight when you can: I’ll take window light over most DIY lamp setups. Daylight is balanced and reduces that “yellow-green” weirdness you get from mixed bulbs.
- Speak clearly into the mic: Even with great video, bad audio kills retention. If you’re using your phone’s built-in mic, keep your mouth roughly 6–12 inches (15–30 cm) from the phone and avoid talking sideways.
And quick reality check: “good enough” doesn’t mean “low effort.” Clear video + clear audio + a tidy background will beat most “fancy” setups with mediocre sound.
Set Up Your Smartphone for Video Recording
This is where you prevent problems before they happen. When I skip these steps, it’s usually the same issues: notifications, weird focus changes, and framing that looks fine until you watch it back.
Here’s my setup checklist (fast, repeatable):
- Turn off notifications: Put your phone on Do Not Disturb. If you’re on iPhone or Android, disable pop-up banners for the camera app too.
- Pick your orientation: For most course videos, I record horizontal (landscape). If your learners are mainly watching on social platforms, then vertical can make sense. Just don’t mix orientations randomly—your editing will suffer.
- Use the grid + align yourself: Turn on the camera grid. Place your eyes around the upper third line. It’s a small thing, but it makes your video look intentional.
- Lock focus/exposure if your phone allows it: Tap your face to set focus, then adjust brightness (some phones let you drag a slider). If the camera “breathes” (keeps refocusing or changing exposure), look for a lock option like AE/AF lock or Focus/Exposure lock.
- Do a 10-second test recording: Hit record for 10 seconds, then watch it immediately. Check three things: exposure (is your face too bright/dim?), sharpness (is your face in focus?), and framing (do you look centered?).
- Power plan: If you’re filming longer lessons, plug in power when possible or keep a power bank nearby. I’ve had phones overheat or die mid-record—and it’s the worst kind of “oops.”
Choose Effective Lighting for Your Video
Lighting is the difference between “nice” and “wow, this looks legit.” I learned that the hard way: I once filmed with overhead lights and the shadows under my eyes made me look tired the whole time. Never again.
What works (and why):
- Face the light: If you’re using a window, sit so the window is in front of you at about a 30–60° angle. That gives you even light without harsh flatness.
- Avoid direct overhead: Overhead lights create strong shadows and can make skin look uneven. If you must use indoor lights, bounce them off a wall or use a diffuser.
- Diffuse it: A cheap white shower curtain, a bedsheet, or a translucent diffuser placed between the light and your face can soften everything dramatically.
- Keep your background from overpowering you: If the background is brighter than your face, the camera will expose for the background and your face will go dim.
If you’re buying a light, I’d rather you spend on something you can soften than on “the brightest thing.” A ring light can work, but I’ve noticed it can create that shiny, flat look if it’s too close. If you use one, try placing it slightly above eye level and a bit off to the side.
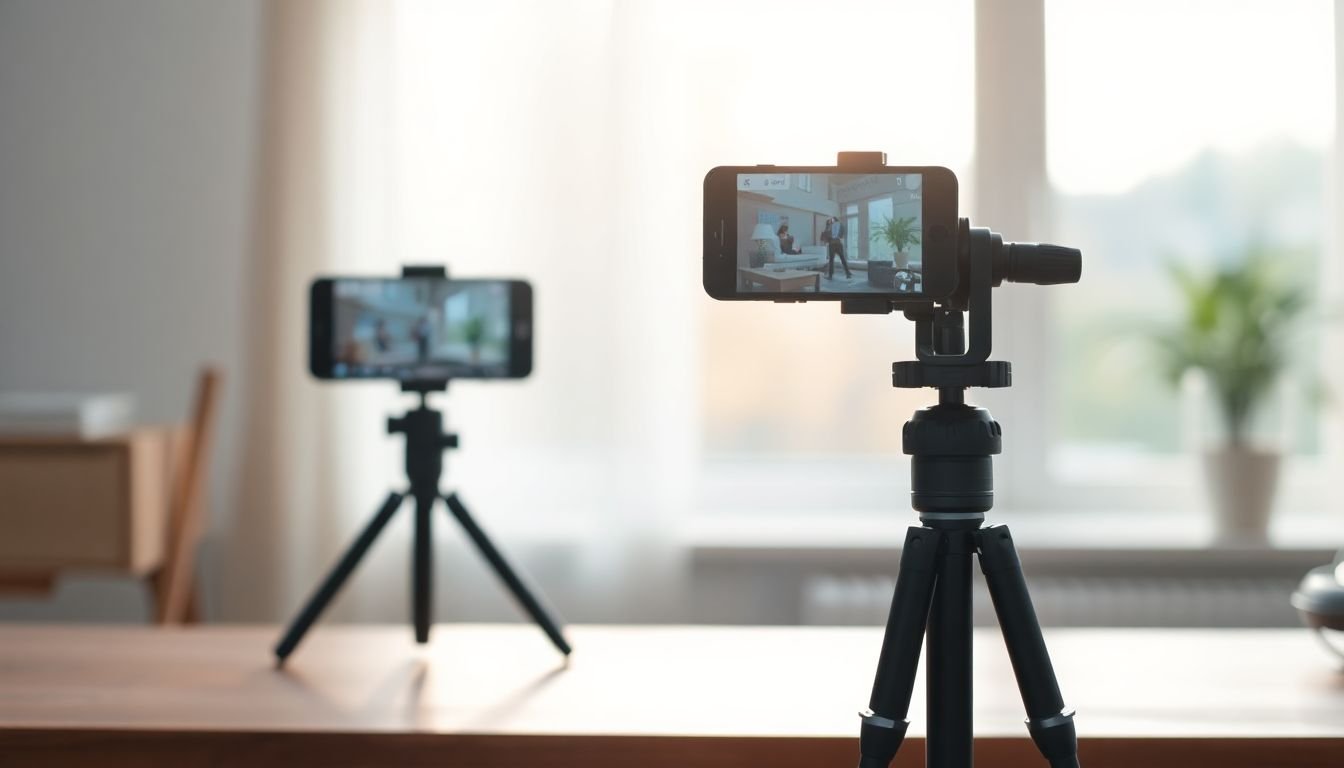
Record in Vertical or Horizontal Mode Based on Platform
This is one of those “save yourself pain later” steps. If you record in the wrong orientation, you’ll end up cropping heads, losing subtitles, or making viewers squint.
My rule:
- Vertical (portrait): Best for TikTok, Reels, and Stories. Most people hold their phones upright.
- Horizontal (landscape): Best for course platforms, YouTube, and website embeds where a wider frame is expected.
Quick practical tip: if you’re switching between vertical and horizontal, get a tripod or phone mount that lets you rotate the device without moving the position too much. I’ve used adjustable mounts for this exact reason—otherwise you spend half your session re-framing.
Focus on Bokeh and Background Blurring
Background blur (bokeh) helps viewers focus on you. But you don’t need to chase “cinematic” blur—just make sure your background isn’t distracting.
Two ways to get it:
- Portrait mode: If your phone has it, use it. I’ve noticed it works best when you’re well-lit and your subject fills a decent portion of the frame.
- Physical distance trick: Move closer to the camera and push yourself away from the background. A rough starting point is 1–2 feet (30–60 cm) from the phone and 6–10 feet (2–3 m) from the background if you can. The more separation, the more blur you’ll get.
Troubleshooting I’ve seen: If the blur looks “smudgy” or your edges look weird, try turning portrait mode off and simply tidy the background. A clean background often looks more professional than fake-looking blur.
Capture Screen Recordings for Demonstrations
Screen recordings can make your course feel way more useful—because learners can follow exactly what you’re doing. I use them for anything that involves steps: settings changes, dashboards, app navigation, even simple web workflows.
Here’s how to make screen recordings clearer:
- Record with a steady setup: Put your phone/tablet on a stand if you’re filming the screen physically, or use screen recording if you’re capturing directly.
- Zoom in on what matters: Don’t leave tiny buttons on screen. Zoom so key controls are readable.
- Keep the desktop clean: Hide notifications, close extra tabs, and remove anything that looks like a “surprise” notification might pop up.
- Narrate while recording: Say what you’re doing in plain language (“Click Settings,” “Toggle this option,” “Now we’ll confirm”).
- Add captions if needed: Captions are especially helpful for accents, fast speech, or technical terms.
If you’re on Android: you can use AZ Screen Recorder. If you’re on iOS, you can use the built-in screen recording feature (Settings > Control Center > add Screen Recording). The main thing is: test audio first and make sure your app notifications are off.
Record Multiple Takes to Get the Best Shot
I used to think recording “one perfect take” was the goal. Then I started doing two or three takes per section—and my final videos got smoother instantly.
Here’s how I do it:
- Record your first take at a natural pace.
- Immediately do a second take with the same setup (don’t move the phone or lighting).
- If there’s a specific sentence that always trips you up, do a focused third take just for that part.
What you should listen for in editing: awkward pauses, repeated words, and moments where you glance away. You can cut those cleanly if you have alternatives. And no, this doesn’t mean you need to “perform.” It just means you’re giving yourself options.
Batch Record to Save Time and Stay Consistent
Batching is the secret weapon for consistency. When I record one lesson at a time, my lighting changes slightly and my audio level drifts. Viewers notice that—even if they can’t explain why.
My batch workflow:
- Set up once: tripod, phone position, light direction, and mic distance.
- Write a quick outline per video: 5–8 bullet points max. You’re recording course lessons, not a novel.
- Record back-to-back: do Video 1, then Video 2, then Video 3 while everything still feels natural.
- Do quick checks every video: skim 10–20 seconds of what you recorded. If something’s off, fix it before you move on.
Think of it like batch cooking: you’re not just saving time—you’re keeping your “ingredients” (lighting and audio) consistent.
Use Natural Light for Better Colors and Clarity
Natural light is the easiest way to get flattering colors without fiddling with settings. Here’s what I look for:
- Daytime near windows: Sit facing the window so your face is evenly lit.
- Cloudy days are your friend: Cloud cover acts like a giant diffuser. You get softer light and fewer harsh shadows.
- Avoid direct sun hitting the lens: It can cause overexposure and glare. If the sun is too strong, reposition or use a sheer curtain.
- Don’t mix light sources: If you have daylight coming in and you also have warm indoor lamps on, your video can look like it’s shifting colors. Turn off the extra lights if you can.
If you’ve ever watched your video and thought, “Why do I look orange?”—this is usually why.
FAQs
Use an external microphone (even a basic one) and record in a quieter space. Also try headphones while recording so you can hear background noise and adjust your mic distance. If your room echoes, add soft stuff nearby—blankets, rugs, or curtains help more than you’d think.
Face a window or a soft diffused light source. Avoid harsh overhead lights and try to light your face from the front (or front/side) so shadows don’t pool under your eyes. If you’re using artificial lights, soften them with a diffuser or bounce them off a wall.
Use a tripod or mount if you can. If you’re holding the phone, brace it with both hands, keep your elbows close to your body, and avoid quick movements. Also try recording at a slightly higher distance (zooming can magnify shake).