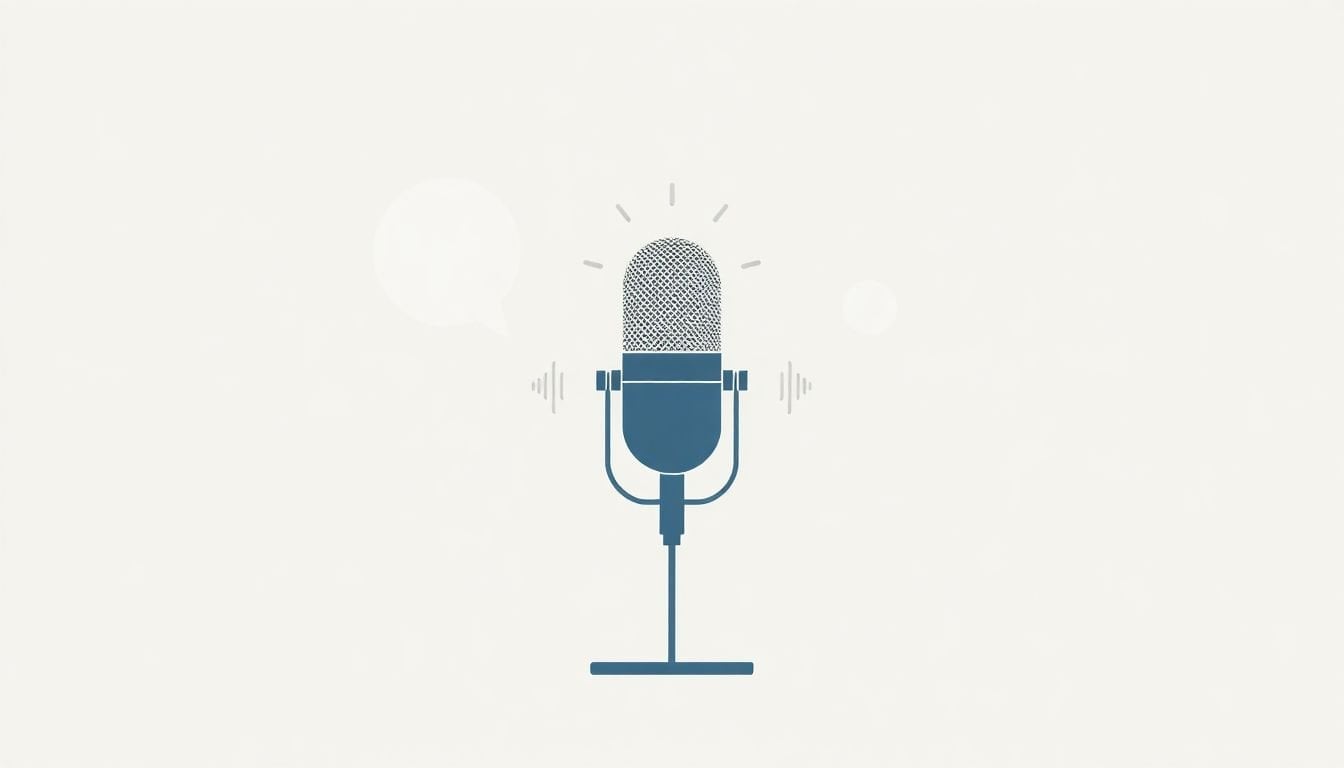
Optimizing Microphone Setups in 6 Easy Steps for Clear Audio
Honestly, I’ve been there. You think you’re speaking clearly, you’re right on top of the mic, and then you listen back and it’s like… where did all the intelligibility go? The worst part is how quickly “good enough” turns into muffled, noisy audio.
The good news? Most of the time, it’s not your voice. It’s the setup. A few small changes to distance, height, angle, and pattern can make your recording sound noticeably cleaner—fast.
In this post, I’ll walk you through six practical steps I use to get clear audio for podcasts, meetings, video calls, and even casual voice notes. No fluff. Just stuff you can set up today and hear the difference right away.
Key Takeaways
Key Takeaways
- Start at 6–12 inches (15–30 cm) from your mouth. If you’re clipping on vowels or hearing “P/B” pops, back off to ~8–10 inches and use a pop filter.
- Set the mic at mouth level (or slightly below) and aim the capsule at you. If you’re seated, match the mic to your mouth height—don’t “eyeball it” from the desk.
- For cardioid mics, keep the mic roughly 0–20° toward your mouth. Off-axis by more than ~30° often gets you thinner audio and more room tone.
- Pick the pattern based on the noise around you: cardioid for typical voice-in-a-room, hypercardioid if the room is loud, omni for roundtables when you actually want the room.
- If you’re using multiple mics, follow the 3:1 rule (secondary mic at least 3x farther from the source than the primary) to reduce phase weirdness.
- Noise reduction works best after you get gain staging right: gain → HPF → de-ess → noise reduction. If you reverse that order, you often end up “denoising” the wrong stuff.
Step 1: Find the Right Microphone Distance
Distance is one of those things that sounds too simple… until you hear it. I usually start at 6–12 inches (15–30 cm) from my mouth. That’s the “sweet spot” where your voice sounds present without getting boomy or distorted.
Here’s what I’ve noticed in real recordings:
- Too close (around <3 inches / <8 cm): you can get more bass from proximity effect, plus plosives (“p” and “b”) get aggressive. If you’re using a dynamic mic, you might also hit the input harder and clip faster.
- Too far (around >12 inches / >30 cm): your voice loses punch. Background noise and room reflections start to compete.
Quick test I actually use: record the same 20–30 seconds at 6 inches, 10 inches, and 14 inches. Then listen for which one keeps your consonants clear without turning your “S” and “T” sounds into harsh spikes.
One more practical tip: if you’re getting pops, don’t just move the mic—use a pop filter. It helps because it interrupts the direct airflow right at the capsule. If you’re too close, even a pop filter can’t fully save you.
If you want a simple “rule of thumb” without overthinking it: keep the mic roughly within arm’s reach and adjust from there based on your room.
Step 2: Set the Correct Microphone Height and Alignment
Height and alignment matter more than people think. When the mic is even slightly off, you can end up with uneven tone—like your voice sounds thin on one side of the stereo image or just “off” compared to what you hear in the room.
I aim for mouth level (or slightly below) so the capsule “sees” your voice consistently. If you’re sitting, match the mic to your mouth height. If you’re standing, keep it around the same height as your mouth—don’t angle it down from way above unless you’re deliberately trying to tame something.
For tabletop setups, stability is huge. I’ve learned this the hard way: when the mic wobbles or the desk vibrates, you’ll hear handling noise and low-frequency rumble. If possible, use a shock mount and tighten everything. Even a small looseness can show up as a faint thump every time you move.
Also, align the microphone toward your mouth. If it’s off to the side or pointed above your forehead, you often lose high-frequency clarity (especially with cardioid mics). Some mics have an intentional built-in angle—use it so the capsule points at you naturally.
And here’s a simple method to confirm you didn’t miss: do a 10-second recording, then replay it with headphones. If your voice sounds “muffled” compared to your expectation, check whether the mic is aimed at your mouth or drifting above/below it.
Step 3: Angle the Microphone for Best Sound
Angling can be the difference between “clear” and “why does this sound dull?” Most cardioid mics do their best work when the capsule is facing you.
Baseline approach: point the microphone roughly straight at your mouth. If you’re using a cardioid, that helps reject noise from behind and keeps the frequency response more consistent.
When I adjust: I’ll experiment with small changes—usually 10–20°—toward my mouth if I’m getting too much room tone, or slightly back if I’m overloading the mic or getting plosives.
One thing I don’t do: I don’t point the mic straight up or straight down. That can change how your mouth-to-capsule distance behaves for different parts of your speech (vowels vs consonants), and it can make the tonal balance feel “weird.”
Concrete scenario (my desk fan problem): In my setup, I had a small desk fan running at about 1–2 feet (30–60 cm) to the side. It wasn’t constant “roar” noise—it was a steady airflow hum that sat in the low-mid range. Before I changed anything, my mic was facing me directly, and the fan noise was clearly audible in quiet moments.
What I changed: I rotated the mic so the fan was more off-axis—still aimed at my mouth, but the fan ended up about 60–90° off the mic’s front axis (cardioid-style rejection helps here). I also kept my distance around 9 inches and made sure the pop filter was between me and the capsule.
Result: the fan noise dropped enough that my voice stayed the dominant sound. It wasn’t “silent room” level, but in playback the difference was obvious—quiet breaths and pauses sounded cleaner, and I didn’t have to crank noise reduction as hard.
Want a quick test? Record at 0°, 10°, and 20° off-axis (same distance). Listen for clarity and consonant detail. If your voice gets thinner as you tilt, you’ve gone too far.
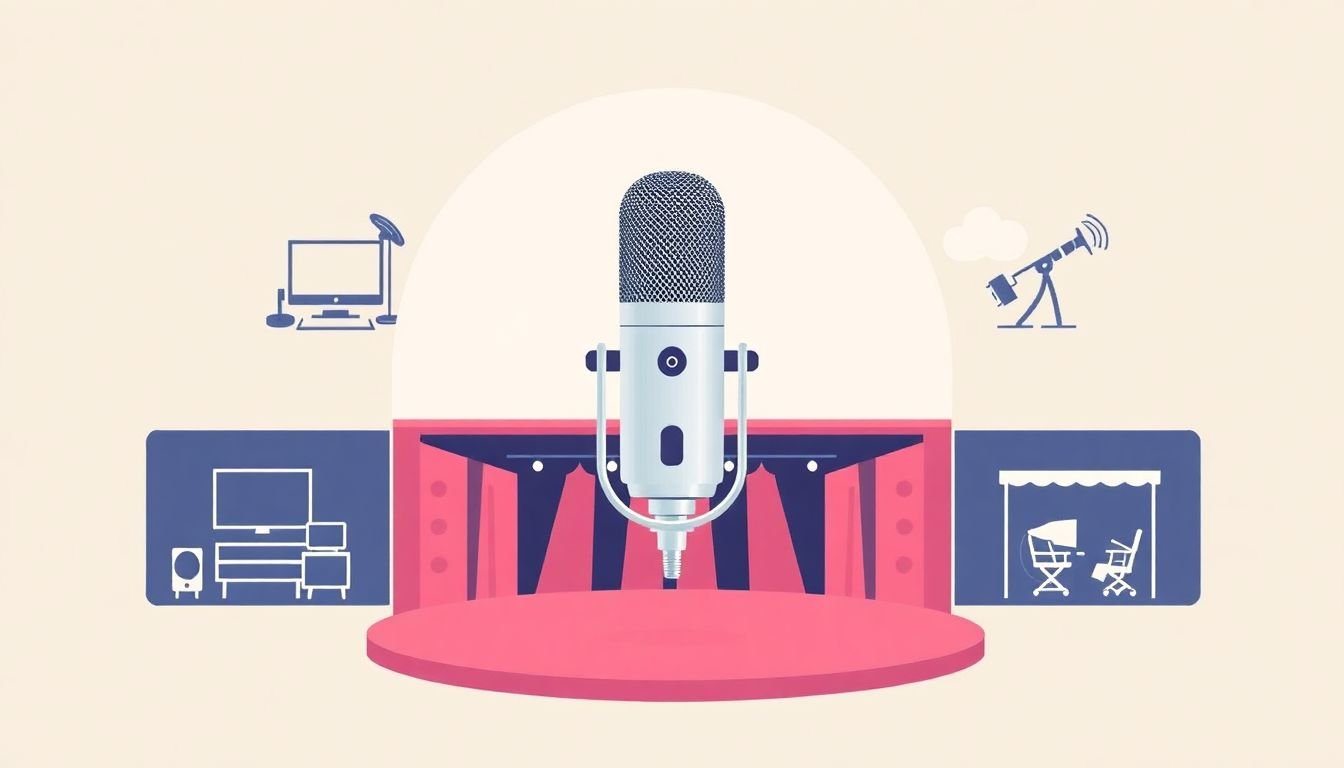
Step 4: Pick the right microphone type and pattern
Mic type and polar pattern are basically “what the mic listens to.” If you pick the wrong one, you end up fighting your room instead of your voice.
Common mic types (quick take):
- Condenser: great detail and sensitivity. In quieter rooms, they sound fantastic. In loud rooms, they can also pick up every tiny sound around you.
- Dynamic: tougher, usually more forgiving with noise. If you’re recording in a less-than-perfect space, I often prefer dynamics.
- Lavalier: convenient when you move. Just keep it consistent and watch for clothing rustle.
Polar patterns:
- Cardioid: the go-to for solo voice. Most of the rejection is behind you, which works well for typical home setups.
- Hypercardioid: even more focused. If your room is noisy, it can help keep the fan/TV/keyboard sounds down.
- Omnidirectional: captures all around. Great for roundtables and when you actually want the ambience.
One pattern note that matters: cardioid doesn’t mean “no noise.” It means “less noise from the sides and back,” depending on how off-axis the noise source is. So placement still wins.
Step 5: Use multiple microphones for better sound (Advanced)
Using multiple mics can sound amazing—when you avoid phase problems. If you don’t, you’ll hear that hollow, comb-filter-ish mess where voices sound like they’re “in a tunnel.”
The rule I rely on most is the 3:1 rule: each secondary mic should be at least three times farther from the sound source than the primary mic. Example: if your main vocal mic is 6 inches away, the other mic should be at least 18 inches from that same source.
How to place them (practical examples):
- Podcast with a guest: use one primary mic per speaker, and keep the mics angled so each one favors its own mouth and the other mic is more off-axis.
- Vocals + room mic: keep the room mic farther back for ambience, but don’t bring it so close that it starts fighting the vocal mic.
- Stereo mic setups: be careful. Stereo doesn’t automatically mean “better”—it just means more capture. You still need good distance and consistent levels.
Also, monitor while you record. If you have headphones and can watch a simple level meter, you can catch issues immediately—before you’re stuck re-recording later.
For wireless mics, interference is real. If your system supports it, do a quick scan/channel check before you start. Wireless spectrum management tools can help, but even basic frequency coordination goes a long way.
Step 6: Use extra tips and tricks for clearer audio
This is where you polish. And yeah, sometimes it’s the difference between “fine” and “sounds pro.”
1) Pop control & wind: pop filters for studio/indoor. Windscreens for outdoor. If you hear “puffs” on plosives, don’t jump straight to filters—fix placement first.
2) Cable discipline: secure cables. Loose cables and power adapters can introduce hum or crackle. I’ve had “mystery noise” vanish just by rerouting a cable away from a power brick.
3) Gain staging first: don’t start with heavy noise reduction. Get your recording levels right so your voice is healthy and the noise is just noise.
Recommended order of operations (what I’ve found works):
- Gain staging: aim so your voice peaks are in a reasonable range (avoid clipping; don’t record so low that you amplify noise later).
- HPF (high-pass filter): often around 70–120 Hz for voice to reduce rumble and handling noise.
- De-ess: tame harsh “S” sounds before you denoise.
- Noise reduction / denoise: tools like RNNoise, Krisp, Adobe Enhance, or OBS Studio filters (when using a noise suppression filter) can help—especially for steady hums.
- EQ/compression (light touch): only after the voice is clean enough. Over-EQ and over-compression can create artifacts that are worse than the original noise.
4) Off-axis placement (the “don’t mess up your angle” rule): If you’re using a cardioid mic, don’t angle it away so much that your voice slips toward the mic’s side/rear pickup. That can make you sound muffled and increase room tone. Instead, keep your mic aimed at your mouth and move the noise source off-axis.
A simple, testable target: try to get the loud source at least 30–45° off-axis. More is better, as long as your voice stays on-axis. Again—record 20 seconds and compare.
5) Treat the room you’re stuck with: if the room is echoey, use soft furnishings (blankets, curtains) or move your mic closer to reduce the amount of room you capture. Echo is harder to fix later than placement noise.
At the end of the day, the best “filter” is still good positioning. Everything else is just support.
FAQs
I usually start at 6 to 12 inches from your mouth. If you’re getting plosives or distortion, back off toward 8–10 inches. If your voice sounds thin or lost in the room, move closer—but don’t go so close that bass and “P/B” pops explode.
Put the mic at mouth level and aim the capsule at your mouth. For most cardioid mics, keep the angle close to straight-on. If you need to reduce harshness or plosives, try small angle changes (10–20°) and use a pop filter—don’t swing the mic wildly away from your face.
Cardioid: front-focused vocals; rejects noise behind you.
Omnidirectional: captures evenly around—useful for groups and roundtables.
Figure-8 (bidirectional): picks up from the front and back, and rejects the sides. If you’re doing stereo with figure-8, it usually takes a specific technique (like Mid-Side or crossed figure-8), not just “one mic placed somewhere.”