
Implementing Mastery Learning Paths: 10 Essential Steps
Implementing mastery learning paths can sound intimidating at first. I’ve been there—when you’re staring at a blank course shell, thinking, “Okay, but how do I actually tailor this so students don’t just guess their way through?” And then there’s the planning side: assessments, content sequencing, retakes, reporting… it adds up fast.
In my experience, it gets a lot easier once you treat mastery paths like a system you’re building, not a one-time “feature toggle.” This post walks through a practical setup you can use in K-12, higher ed, or corporate training. I’ll also reference the kind of LMS workflow where you enable mastery paths in course settings and then use assessment scores and conditional rules to route students to the right module.
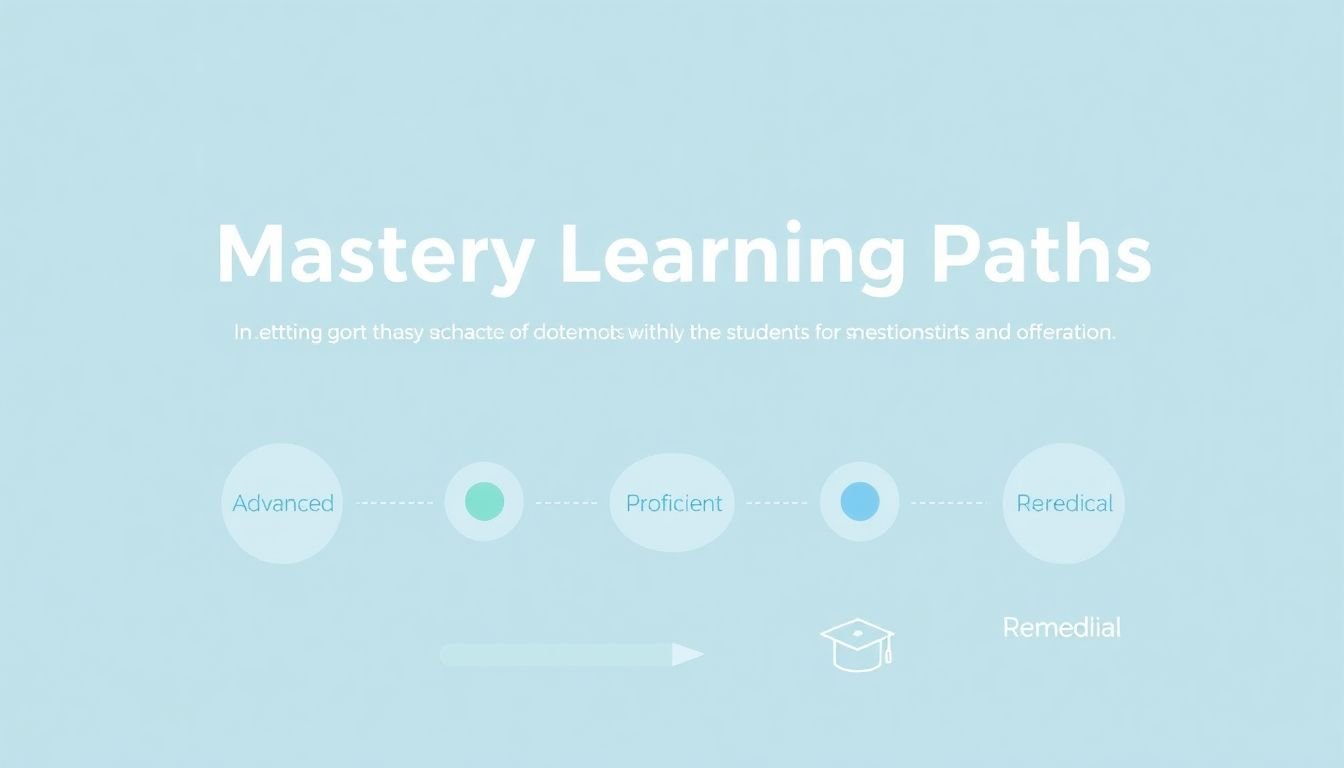
To make it concrete, imagine you’re teaching a 6-week unit with 3 mastery tiers (On Track, Near Mastery, Needs Support). Students take a diagnostic, complete the tiered module, retest, and either move forward or loop through targeted remediation. That’s the mindset we’re using for the steps below.
Key Takeaways
- Enable mastery paths in your course settings so the LMS can route students based on performance.
- Plan around measurable learning objectives and break them into short, testable units.
- Run a real diagnostic (not just a “warm-up”) so you can group students using data.
- Set mastery thresholds (often 80%+) and decide how cut scores map to each tier.
- Use conditional content rules so students automatically get remediation or extension resources.
- Create a mastery map (nodes + branches) so you can manage paths without losing your mind.
- Monitor pass rates and time-to-mastery, then adjust content and assessments when needed.
- Keep objectives clear and include multiple content types (video, practice, quiz) for each tier.
- Avoid common pitfalls like unclear expectations, too many branches, and no retake policy.
- Communicate the process to students and celebrate progress so the system feels supportive, not punitive.

Step 1: Enable Mastery Paths in Your Course
Before you build anything, enable the feature in your course settings. That sounds obvious, but I’ve seen teams spend hours building conditional logic only to realize mastery routing wasn’t actually turned on.
Here’s what I recommend checking in your LMS:
- Course settings → Learning Paths / Mastery Paths toggle (turn it on).
- Assessment settings for retakes (can students retry? how many times?).
- Scoring behavior (is it highest attempt, average, or latest attempt?).
- Progress reporting (does the LMS show “attempts” and “mastery status” per objective?).
Once it’s enabled, you’ll be able to start structuring content around mastery rather than “complete lesson X by Friday.” And honestly, that’s where the whole experience changes for learners.
Step 2: Plan Your Course Content
Planning is where mastery learning either works smoothly… or turns into a tangled mess. I like to start with learning objectives that are specific enough to test.
Instead of “Understand fractions,” use something like:
- “Solve word problems that require adding and subtracting fractions with unlike denominators.”
- “Convert improper fractions to mixed numbers with correct simplification.”
Then break each objective into small units that can be taught and assessed. For a 6-week unit, I usually aim for:
- 1 diagnostic (start of unit)
- 3 objective checkpoints (end of weeks 2, 4, 6)
- 1 remediation module per objective (short, targeted practice)
- 1 extension module per objective (challenge + enrichment)
Mix your content types too. A simple formula I’ve used: explain (video/reading) → practice (interactive) → check (quiz). Students don’t need 40 minutes of reading if the quiz is only testing one skill.
Step 3: Conduct Initial Assessments
Initial assessments do more than “place” students—they tell you where your teaching needs to be different. So don’t make this a vague survey. Make it diagnostic.
In practice, I like to build a diagnostic that covers prerequisite skills and objective-related misconceptions. Example for a calculus unit:
- Algebra fluency (factorization, solving linear equations)
- Function basics (domain/range, graph reading)
- Pre-calc concepts that cause common errors
Then score it and group learners. You can do it tier-style. For example, in my 3-tier model:
- On Track: 80%+ diagnostic
- Near Mastery: 60–79%
- Needs Support: below 60%
Once you’ve got the groups, students don’t just “start the course.” They start with the right level of practice from day one.
Step 4: Define Scoring Ranges and Learning Paths
This is the part people hand-wave, but it’s the backbone of mastery learning. If your “mastery threshold” is random, your paths will feel random too.
Here’s a practical way to set it:
- Pick a mastery threshold that matches your assessment design. In many mastery learning approaches, 80% is used as a common proficiency cut score (you’ll see this in various mastery learning implementations and many standards-aligned course designs).
- Decide what “counts” toward the score (total points? weighted sections? only specific question types?).
- Set cut scores for each tier. Example: 0–59 = Needs Support, 60–79 = Near Mastery, 80–100 = On Track.
Then define what each tier actually means in the course. Don’t just label them—attach actions:
- On Track: move to the extension module + harder practice set
- Near Mastery: complete a focused review + one targeted practice set
- Needs Support: remediation module + step-by-step scaffolded practice
One more thing I learned the hard way: validate your threshold. Run a pilot with a small group (even 10–20 learners) and check whether too many students are stuck in remediation or zipping through without learning. If 70% are below 80% on every objective, your assessment might be too tough or misaligned.
Step 5: Assign Conditional Content Based on Performance
Now you turn your scores into routes. Conditional content is where mastery learning becomes genuinely personalized—students don’t wait for you to manually assign materials.
Here’s a clear example of conditional rules you can implement:
- If Objective A quiz score >= 80% → assign Objective A Extension module + “challenge practice” activity
- If Objective A quiz score 60–79% → assign Objective A Review module + “guided practice”
- If Objective A quiz score < 60% → assign Objective A Remediation module + “worked examples” set
Also decide what happens after remediation. In my setups, I prefer a simple loop:
- Students get remediation
- They retry the same objective check (or a parallel version)
- If they still miss the threshold, they either (a) get an alternate remediation set or (b) get instructor review
That keeps the system from becoming an endless retry treadmill. And yes—make sure your LMS supports retakes and that it records attempts the way you want (highest attempt vs average matters for routing).
Once conditional rules are in place, learners move at their own pace without you having to babysit the workflow.
Step 6: Manage and Organize Mastery Paths
Here’s the truth: mastery paths can get messy fast if you don’t organize them like a project. The fix is a mastery map and consistent naming.
Build a visual map. Think nodes and branches. For example:
- Objective A
- Branch 1: score >= 80% → Extension A
- Branch 2: score 60–79% → Review A
- Branch 3: score < 60% → Remediation A → retest A
- Objective B
- Branch 1: score >= 80% → Extension B
- Branch 2: score < 80% → Remediation B → retest B
Naming convention I recommend: [Unit]-[Objective]-[Tier]-[ModuleType]. Example: U1_ObjA_Tier2_Review or U1_ObjA_Tier3_Remediation. Sounds nerdy, but it saves you when you’re troubleshooting conditional logic at 11:30 PM.
Then manage it operationally:
- Regularly check which paths are most used
- Look for “dead ends” (a branch that doesn’t lead anywhere after retest)
- Adjust if a tier is too short (students can’t recover) or too long (students feel trapped)
And yes, student feedback matters. I’ve seen learners tell us “the remediation felt repetitive” long before the analytics caught it. If you can, add one quick reflection prompt after the retest: “What helped you most?”
That feedback loop is gold.
Step 7: View and Adjust Learning Paths as Necessary
Monitoring isn’t just checking whether students “passed.” It’s figuring out why they did or didn’t.
When I review mastery paths, I look at three things first:
- Pass rate per objective (not just overall course completion)
- Time-to-mastery (how many days/attempts it takes to hit 80%)
- Retry distribution (are students stuck in Tier 3 repeatedly?)
If many students miss the threshold on one objective, it usually points to one of these:
- The assessment is misaligned (testing something you didn’t teach clearly)
- The remediation doesn’t target the misconception (it’s “more content,” not “better practice”)
- The retest is too similar/different (too hard or too easy)
For example, if 65% of students are below 80% on Objective A after remediation, I’d revisit the remediation module. Maybe the worked examples need to be more step-by-step, or the practice set needs more item types that match the quiz.
Be flexible, but keep changes controlled. Update one objective at a time so you can tell what actually improved outcomes.
Step 8: Follow Best Practices for Effective Path Design
If you want mastery paths to feel fair (and not like a punishment for struggling), the design has to be consistent and transparent.
Here are best practices that hold up in real courses:
- Make objectives measurable so the quiz actually reflects mastery.
- Use short, targeted content per tier (review and remediation should be focused, not a second full lesson).
- Include practice in every tier. Reading alone rarely fixes misconceptions.
- Provide timely feedback after quizzes—at least “why” answers were wrong, not only the score.
- Keep the number of branches reasonable. If you have 12 tiers for one unit, students will get lost.
One engagement trick I like: add lightweight gamification. Badges for “first mastery” or “improvement streak” can help students feel progress even if they’re not perfect on the first attempt.
If you’re still tightening your course structure, you may also find it helpful to review effective teaching strategies and translate them into objective-based practice.
Step 9: Avoid Common Mistakes in Implementation
Mastery paths fail in predictable ways. Here are the mistakes I’d avoid if I were building this again from scratch.
- Unclear expectations: students need to know what mastery means (and that retakes are part of the process). If they think “one and done,” they won’t engage.
- No retake policy: if students fail and then get stuck, the system stops being supportive.
- Over-complicated path logic: too many conditions, too many tiers, and no clear routing order.
- Assessing the wrong thing: your quiz must match the objective. Otherwise, mastery thresholds become meaningless.
- Not monitoring: if you never check pass rates by objective, you won’t notice which content needs revision.
My rule of thumb: if you can’t explain a student’s path in under 30 seconds, it’s probably too complex.
Step 10: Ensure Successful Implementation of Mastery Paths
This is where you make sure the setup actually runs smoothly for everyone—teachers, admins, and learners.
First, train your team with a short, practical agenda. For example:
- How to view mastery status and attempt history
- How conditional rules are triggered (what score range maps to which tier)
- What to do when a student gets stuck in remediation (manual override? alternate module?)
- How to update content without breaking routing
Second, communicate to students. I like to include a simple “How mastery works” message on the first page of the unit:
- Take the diagnostic
- Complete the assigned tier module
- Retest the objective
- Move forward when you hit the mastery threshold
Finally, build a supportive culture. Celebrate progress, not just outcomes. If a student goes from 45% to 80%, that’s a win—even if they weren’t perfect on attempt one.
For extra help turning your mastery approach into a structured lesson sequence, you can also check out how to create a lesson plan that supports objective-based practice and assessment.
FAQs
Go to your course settings and find the Mastery Paths (or Learning Paths) option. Toggle it on, then double-check assessment settings for retakes and scoring behavior so your conditional rules can route students correctly.
Start with a diagnostic aligned to your objectives (not just a general survey). Use quizzes or short diagnostic tests to identify where students are struggling, then use those results to set your scoring ranges and decide which students start in which tier.
The big ones are unclear objectives, too many branches, and no progress monitoring. Keep it simple: align quizzes to objectives, make remediation targeted, and review objective-level results regularly.
Check performance by objective (pass rates, attempt counts, and time-to-mastery). If students miss the threshold repeatedly, update the assessment alignment or improve the remediation practice. Then re-run a pilot or compare cohorts to confirm the change actually helps.