
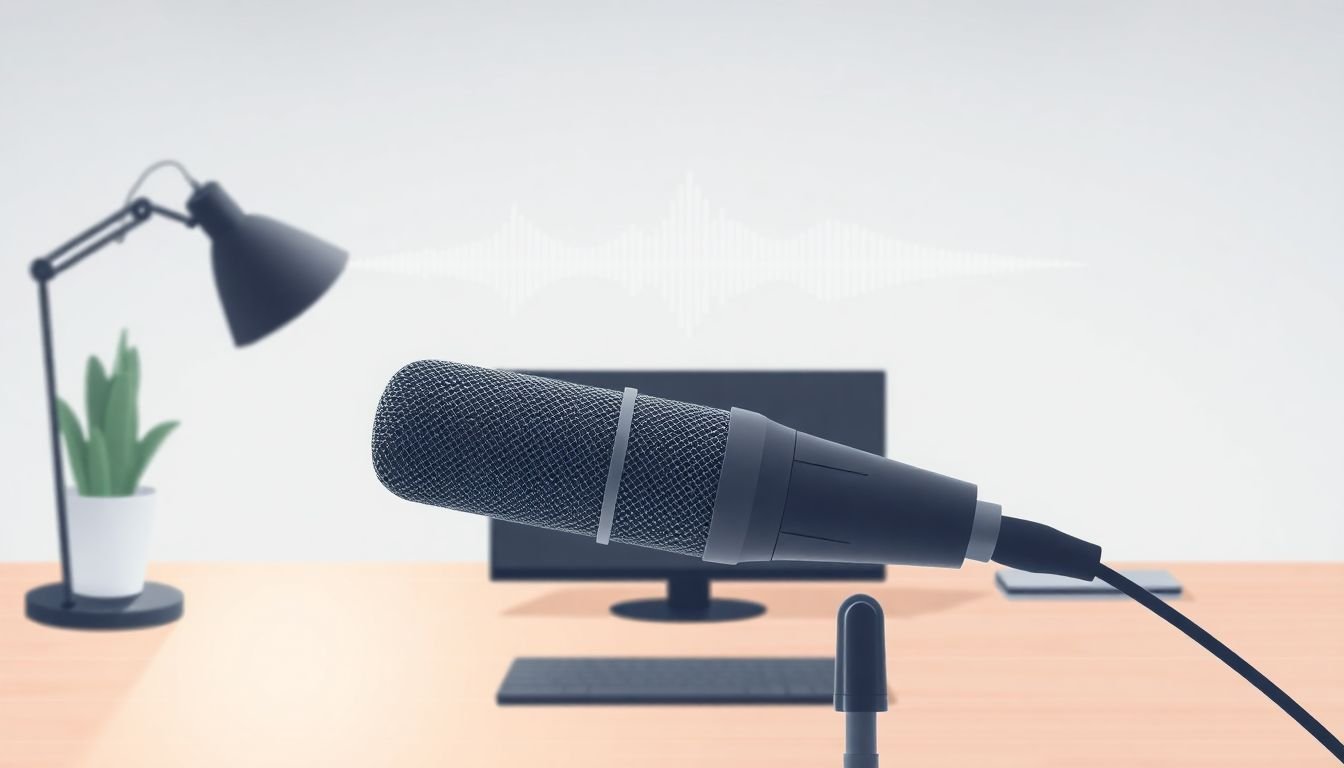
How To Remove Background Noise From Course Videos In 6 Easy Steps
Background noise is the fastest way to make a course feel “amateur,” even when your teaching is solid. I’ve watched videos where the voice is technically loud enough, but the hum, hiss, or room tone is fighting it the whole time. Viewers don’t consciously think “noise reduction,” they just feel distracted.
The good news? You don’t need to become an audio engineer to get noticeably cleaner sound. In my experience, a few targeted steps—some at recording time and some in post—make the difference between “hard to listen to” and “easy to follow.”
Below are the 6 steps I use when I’m cleaning up course voiceovers, whether I’m dealing with a steady fan hum, random clicks from a keyboard, or that annoying room reverb that makes everything sound far away.
Key Takeaways
Key Takeaways
- For quick fixes, online tools like Kapwing and AudioDenoise are great for removing obvious hum/static—often a second pass improves results.
- For more control, use DaVinci Resolve, Premiere Pro, or iMovie to learn a noise profile and apply EQ alongside noise reduction.
- Reduce noise at the source: a quiet room, mic close to your mouth, and blocking HVAC/traffic sounds beats any “magic” filter later.
- Advanced AI tools (like DeepFilterNet and Resemble Enhance) work especially well for complex noise, but you still need to dial sensitivity to avoid muffling.
- Record with a quick test: listen for hum/hiss, do a 10–20 second sample, and adjust your setup before you record the whole lesson.
- Always review on multiple devices and export in a consistent format (WAV/FLAC for archive, MP3 for sharing) so you don’t accidentally reintroduce problems.
Step 1: Start With Online Noise Removal (Fast, Low Effort)
If your background noise is obvious—like a steady hum, light static, or that “someone’s TV is on in another room” vibe—online tools are the quickest way to make progress. I usually start here because it tells me what the audio problem actually is.
Kapwing and AudioDenoise are good examples of tools that let you upload audio/video and apply noise reduction without installs. The workflow is simple: upload → pick noise reduction → preview → download.
Here’s the part people skip: don’t assume one pass is enough. In my tests, a second processing pass often reduces what the first pass missed (especially if the noise is consistent across the whole clip). Just avoid stacking passes too many times—at some point your voice starts sounding “watery” or slightly muffled.
Mini troubleshooting tip: if the noise is a steady electrical hum, online tools often do a partial job. You’ll still get better results by pairing this with a manual notch filter later (I’ll cover that in Step 2).
My quick checklist for online tools:
- Listen to the first 5–10 seconds (before you speak) to judge how consistent the noise is.
- Preview the tool’s output at normal speaking volume—not max volume.
- If the voice sounds slightly “underwater,” back off and do a lighter pass.
- Save your cleaned file with a new name like lesson1_clean_v2 so you can revert instantly.
Also, about that noise removal market growth you’ll see mentioned online—demand is real because more people are recording at home and shipping courses remotely. But for your decision-making, the takeaway is simpler: you want a tool that matches your noise type. If your issue is wind/traffic, choose tools that explicitly advertise better suppression for complex noise.
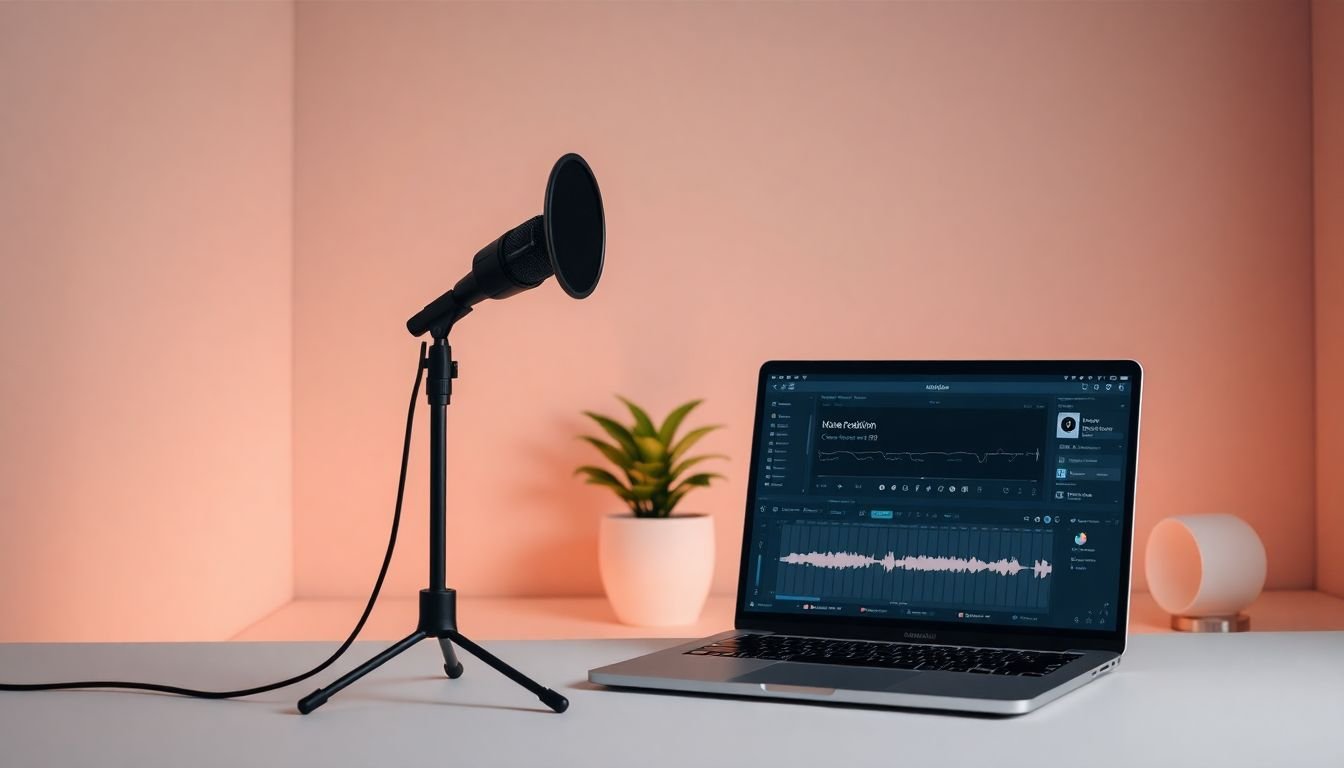
Step 2: Get Cleaner Results With Manual Editing (Noise Profile + EQ)
Online tools are great for speed, but when the audio needs to sound really professional, I switch to manual editing. That’s where DaVinci Resolve, Premiere Pro, or iMovie can help.
In most editors, the basic idea is the same: you isolate a segment that contains only background noise, then use that as a noise profile for reduction. After that, you can apply EQ to restore clarity.
What to listen for first (so you don’t treat the wrong problem)
- Hum (50/60 Hz): a low, steady “bzzzz” or “eeee” tone.
- Hiss: high-frequency “shhh” that never really stops.
- Reverb/room tone: your voice sounds like it’s in a hallway.
- Clicks: keyboard/mouse taps that happen at random moments.
Concrete workflow I use (works in most setups)
- Step A: Find a noise-only section (10–20 seconds is plenty). Ideally, it’s a moment when you’re not speaking.
- Step B: Create/learn the noise profile in your noise reduction effect.
- Step C: Reduce gently first (don’t max it). I usually start around a “medium” setting, then adjust.
- Step D: EQ after noise reduction so your voice doesn’t lose presence.
EQ starting points (quick, practical numbers)
- Low hum cleanup: try a high-pass filter around 80–100 Hz for voiceovers. If your voice is thin, start closer to 80 Hz.
- Hiss control: if you hear harsh “s” and “shhh,” gently reduce 6–10 kHz (small moves only, like -2 dB to -4 dB).
- Notch filter for electrical hum: if you suspect 50 Hz vs 60 Hz, try a band-stop (notch) at 50 Hz (and often 100 Hz as a harmonic). If you’re in a 60 Hz region, use 60 Hz and 120 Hz.
Mini case study: HVAC hum
On one course recording, my mic picked up a steady HVAC hum. The voice was understandable, but the “low electrical tone” was there constantly. I created a noise profile from a 15-second breath/quiet section, reduced noise at a medium setting, then added a notch filter at the likely hum frequency (in my case it lined up with 60 Hz + 120 Hz). The hum dropped enough that listeners stopped noticing it—even though the voice itself didn’t change much.
Mini case study: keyboard clicks
Another time, the problem wasn’t a constant noise—it was random clicks from my keyboard. Noise reduction effects sometimes smear those artifacts, making speech sound slightly “grainy.” For that, I zoomed into the waveform, removed/attenuated the click moments, and used a lighter noise reduction pass afterward. Cleaner clicks beat heavy broad suppression.
One last thing: break your audio into chunks. If your lesson has long pauses, apply noise reduction more aggressively on the paused sections and less on the spoken sections. That keeps your voice natural instead of overly processed.
Step 3: Fix the Problem Before You Press Record (Source Control)
I’m going to say the obvious thing, but it’s still true: the cleanest audio is the audio you didn’t have to clean. If you can reduce noise at the source, you’ll save a ton of time in editing—and your voice will sound more natural.
Here’s what I actually do:
- Pick a quiet room. If you can hear traffic outside, don’t pretend EQ will “solve it.”
- Turn off fans and HVAC if possible. Those steady low sounds are the hardest to remove cleanly.
- Close windows and pull blinds if it helps block external noise.
- Use soft materials (blankets, rugs, even moving a chair helps). It reduces reverb so your voice doesn’t bounce.
- Mic placement matters: keep the mic close—roughly 4–8 inches for most setups—then speak consistently.
- Aim the mic away from noisy appliances (laptop fans are sneaky).
If you’re recording in a less-than-ideal space, use whatever built-in noise suppression you can. Some mics and apps have “noise cancellation” modes that target steady background sounds. Just don’t crank it so high that it starts distorting your voice.
And yes, AI noise reduction keeps getting better. The reason it matters for you is simple: if your recording environment isn’t perfect, you have more options in post now. But even the best tools can’t fully replace a good source.
Step 4: Use Advanced AI Tools (But Dial Them In)
When the noise is messy—wind, traffic, overlapping voices, or that “open mic in a busy room” problem—AI tools can be a lifesaver. They don’t just remove a static noise profile; they actually try to separate speech from the rest.
Two tools people commonly use are DeepFilterNet and Resemble Enhance. In my experience, they’re strongest when the noise changes over time, not when it’s only a single steady hum.
Here’s how I approach AI noise suppression so it doesn’t mess with your voice:
- Preview first. If the tool offers a before/after preview, use it.
- Start with lower sensitivity and increase only if you still hear the noise clearly.
- Watch for muffling. If your voice loses crisp consonants (like “t,” “k,” “s”), you went too far.
- Do a second pass only if needed. Two light passes often sound better than one heavy one.
Also, be realistic about what “AI enhancement” can do. If your mic was far away and the room is super reverb-y, you might still need EQ and/or reverb reduction afterward. The AI can help, but it won’t magically teleport you into a studio.
And about the noise removal market numbers you’ll see floating around—yes, demand is growing. For example, forecasts often cite billions in market size by 2025, which basically means more tools and better models are competing for the same “make my voice sound clean” problem you’re solving.
Step 5: Recording Habits That Make Noise Reduction Easier (Not Harder)
You can’t always control your environment, but you can control your setup. And small changes add up fast.
- Do a 10–20 second test recording. Listen immediately. If you hear hum/hiss now, it’ll still be there after you clean.
- Use a pop filter (or at least position the mic so plosives don’t slam the capsule).
- Speak at a consistent distance. If you move closer/farther, noise reduction algorithms can start reacting to volume changes.
- Minimize reflections. A closet full of clothes can actually work better than a bare room.
- Avoid “mystery noise” sources: phone notifications, laptop fan, AC cycling, even a ticking clock.
- If your recording software has noise suppression, enable it—but don’t treat it like a free pass. For example, some setups in recording software can catch steady background sounds early.
Here’s the part I think most creators underestimate: if you record cleanly, you don’t just reduce editing time—you reduce the risk of artifacts. That’s the stuff that makes processed audio feel “off” to attentive listeners.
Also, AI tools are improving year over year, which is great. But I still treat source quality as the foundation. It’s the difference between “clean enough” and “sounds like a pro.”
Step 6: Review on Real Devices + Export the Right Way
Once you’ve cleaned the audio, don’t rush. I always do a quick quality pass because noise reduction can introduce artifacts you won’t catch at first.
My review routine:
- Listen on headphones to catch hiss, pumping, or weird artifacts.
- Check on laptop speakers (or a cheap pair of earbuds). If it sounds fine here, it’ll usually be fine for most learners.
- Do a quick pass on your phone. Mobile playback exaggerates certain problems.
- Compare original vs cleaned side by side, especially in silent gaps between sentences.
If you still hear background noise, tweak settings or do a second pass—just keep it controlled. If the voice starts sounding muffled, you’ve likely removed too much.
When you’re satisfied, export appropriately:
- WAV or FLAC for archiving and editing later.
- MP3 if you need smaller files for quick sharing (just know it can slightly affect perceived clarity depending on bitrate).
Finally, name your files clearly. Something like lesson1_clean_notch60Hz.wav is way easier than “final2.wav” when you’re revisiting later.
And yeah—noise removal tools keep expanding, so it’s tempting to skip review. Don’t. A good export and a solid listen-through are what make the final product feel trustworthy.
FAQs
Tools like Audacity (desktop), Online Audio Cleaner, and K.IO are popular options. They’re generally straightforward for beginners—upload, apply reduction, preview, and download.
Use video/audio editors like Adobe Premiere or DaVinci Resolve to isolate the audio track, learn a noise profile from a quiet section, and apply noise reduction. Then use EQ to restore clarity (like high-pass for low hum, gentle cuts for hiss).
Record in a quieter space, close windows, and turn off fans if you can. Use a microphone close to your mouth, add a pop filter, and reduce reflections (even soft furnishings help). Those steps reduce how much you need to fix later.
Common options include Adobe Enhance Speech, iZotope RX, and Krisp. These can reduce background noise and improve speech clarity, especially when the noise changes throughout the clip. Just don’t overdo sensitivity—listen for muffling.