How To Improve Video Quality Without New Equipment in 7 Simple Steps
I get it—zooming in and recording video without fancy new gear can feel like you’re stuck with whatever your camera gives you. But here’s the good news: you can noticeably improve video quality with things you already have (your phone, a window, free editing tools) and a few very specific tweaks. I’ve used this exact “no new equipment” setup on real clips that were too soft, too dark, or just… kind of noisy. The difference was obvious after the first pass.
This is a straightforward 7-step workflow you can follow in order. Each step is meant to fix one common problem: blur, bad exposure, harsh lighting, shaky footage, flat color, weak pacing, and discoverability. No fluff—just practical moves you can test today.
Key Takeaways
- Start with free AI tools (when they’re a good fit) to reduce noise, improve sharpness, and balance color—then do manual fixes for best results.
- Before you record, adjust focus, exposure, ISO (if available), and white balance so you’re not trying to “fix” a bad image later.
- Use window light as your key light and fill shadows with household lamps. Diffuse when needed (white sheet/shower curtain works).
- In editing, use a simple order: denoise → sharpen (lightly) → color correction → stabilize. This avoids common artifacts like halos.
- Boost engagement with captions, clear pacing, and a structure that keeps people watching past the first 10–20 seconds.
- Pick the right aspect ratio (vertical for Instagram/TikTok, horizontal for YouTube) and plan a script that matches the platform’s attention span.
- Optimize SEO with titles, descriptions, transcripts, and metadata—so your video gets found, not just watched by accident.

Improve Video Quality with Free AI Tools
If you want a quick win, AI can help—especially when your footage is soft, a bit noisy, or looks flat. But I don’t treat AI as magic. It’s more like a strong starting point that you still need to guide.
Start with tools like AI-powered video enhancers and workflows that focus on one problem at a time: denoise first, then sharpen lightly, then color correction. That order matters. If you sharpen before denoising, you often end up with crunchy details and weird edge halos.
For a concrete example, I’ve used Topaz Video AI (and similar tools) on clips that looked “muddy” in low light. What I noticed: noise reduction made skin tones smoother, but the best-looking results came when I kept sharpening conservative—just enough to recover clarity in eyes and text, not enough to make everything look over-processed.
Here’s a simple rule I follow:
- Denoise: reduce noise until the image looks clean, but stop before fine textures turn waxy.
- Sharpen: use low-to-medium strength. If you see halos around hair/edges, back it off.
- Color: correct exposure and white balance after the image looks stable.
One more thing: AI enhancement is best on short clips and talking-head footage. If you have fast motion (sports, shaky handheld), you may see artifacts—so test on 5–10 seconds first.
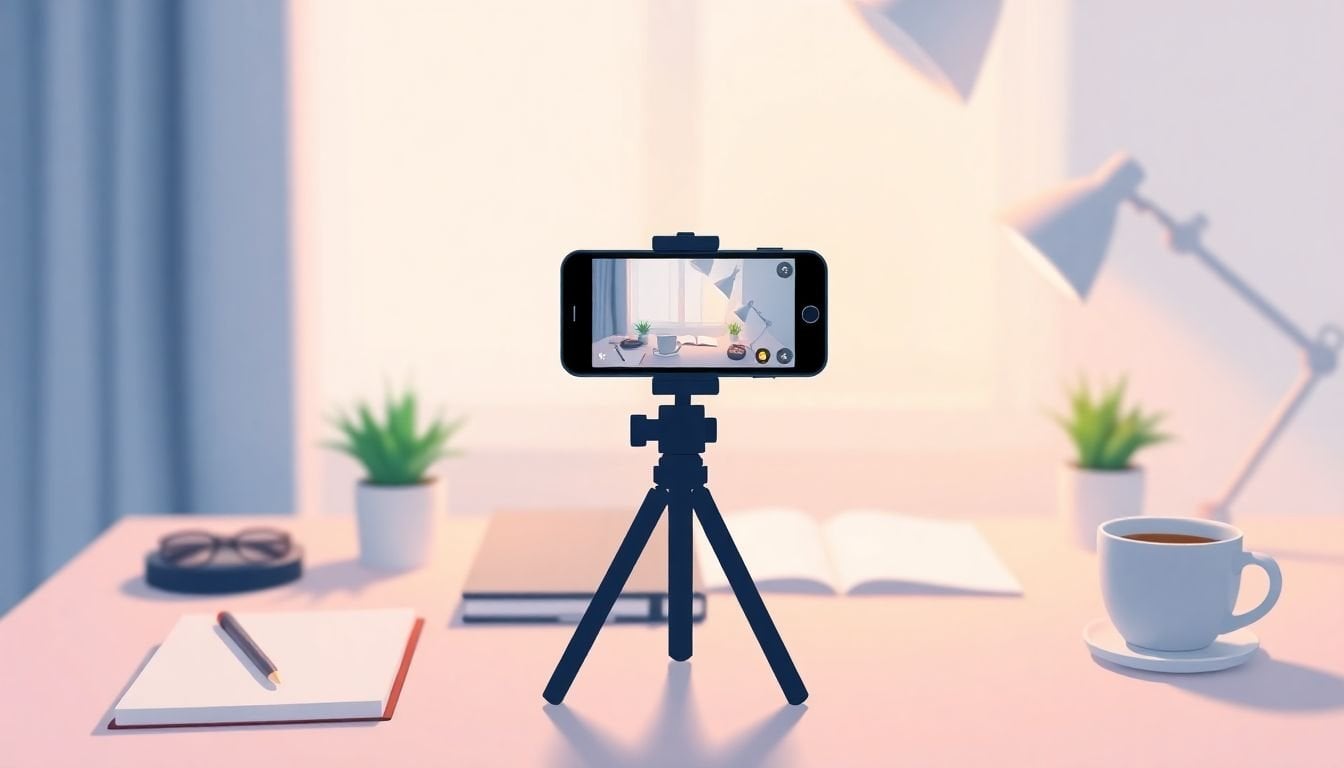
Adjust Camera Settings for Better Clarity
This is the part people skip—and then they wonder why editing can’t save the footage. If you get the basics right before you hit record, your video quality improves even if your editing is simple.
On most phones, you can’t manually set every parameter, but you can still control a few things:
- Focus: tap on your face (or the subject) to lock focus. If your phone keeps hunting, try a brighter scene or step closer.
- Exposure: if your phone supports exposure control, lower it slightly if your face looks blown out. If you’re too dark, increase exposure a touch—don’t let the image go muddy.
- White balance: this is the “blue/orange skin” problem. If you can’t set WB manually, use a consistent light source and avoid mixing warm and cool lamps.
If you’re using a camera with more control, focus on ISO and shutter/exposure first. Higher ISO usually means more grain. In my experience, I’d rather slightly brighten the scene with lighting than crank ISO and then try to clean it up later.
Quick white balance calibration you can do in 30 seconds: hold a white sheet of paper (or a neutral gray card if you have one) in the same light where you’ll shoot. Point the camera/phone at it and use the “white balance” or “set WB” option (many apps have something like this). Then record your clip and compare skin tone to a reference you trust (like your face in normal lighting).
And yes—shooting near a window helps. Even if you do everything else right, bad lighting will still make your footage look flat.
Maximize Natural and Household Lighting
Lighting is the magic ingredient. Not the “someday when you buy a ring light” kind. The real kind you can set up in 5 minutes.
Natural light setup (my go-to): stand facing a big window so the light hits your face. Don’t shoot with the window behind you—unless you like looking like a silhouette. If the window is too harsh, diffuse it with a white sheet or shower curtain between you and the light.
Indoor night setup: turn on multiple lamps to fill shadows. One overhead bulb can create dramatic shadows under your eyes. Two lamps at different angles (even cheap ones) tends to look more natural.
Here’s a quick positioning test I do:
- Record a 10-second clip from your usual spot.
- Move 1–2 feet closer to the window (or closer to your lamps).
- Record again.
Then compare on your phone. If your face looks brighter and skin tones look less splotchy, you found the sweet spot. No new equipment required.
Leverage AI for Better Video Editing and Post-Production
Once you’ve got decent source footage, editing is where “good enough” becomes “pretty professional.” AI can help a lot here—especially with stabilization, noise reduction, and quick color corrections.
When I use AI-powered editing, I follow the same order every time:
- Stabilize first (if needed): fix the camera shake before you do anything else.
- Denoise: clean up grain and low-light noise.
- Sharpen gently: recover detail without making edges look crunchy.
- Color correction: adjust exposure, contrast, and white balance.
Tools like AI-powered video editors can automate a lot of that. The tradeoff is that too much enhancement can create artifacts—like halos around text, smeared skin textures, or “oversharpened” edges. If you’re seeing those, reduce the strength by one step and re-check.
Also, don’t forget audio. A video can look great and still feel low quality if the audio is muffled. If your editing tool has audio cleanup (noise reduction, leveling), try it—but keep it subtle so voices don’t sound robotic.
Use Effective Content Strategies to Boost Engagement
Here’s the truth: video quality isn’t just pixels. If people stop watching, your “quality” doesn’t matter much. So I focus on pacing and clarity right after the visuals.
Try this simple structure:
- 0–10 seconds: hook. Say what the viewer will get and why it matters.
- 10–45 seconds: deliver the main point with quick segments (don’t ramble).
- 45–end: recap + next step (what to do, what to try, what to watch next).
Captions help here because they keep comprehension high even when people are watching muted. I don’t rely on one magic number for retention—what I can say from watching analytics across platforms is that captions usually improve clarity and reduce drop-off when viewers can’t hear well.
And yes, ask a question. Not a generic “what do you think?” every time. Something specific like: “Do you want the window-light setup or the lamp-light setup?” Then put the answer prompt on screen for a few seconds so people know what to comment.
Optimize Video Length and Format for Better Performance
Length and format aren’t “marketing”—they directly affect how your video performs.
Format: vertical for Instagram/TikTok, horizontal for YouTube. If you upload a horizontal video to a vertical feed, you’ll lose valuable screen space (and viewers tend to scroll).
Length: don’t pad. If your topic is short, keep it short. If it needs steps, break it into parts. In my experience, a 60–120 second video that’s tightly edited usually beats a 6-minute ramble—even if the ramble has better production.
Quick practical tip: plan your shots so you can edit without long dead space. Record with enough “coverage” (a few angles or b-roll shots). Then your editing can stay snappy, which makes the video feel higher quality instantly.
Enhance Viewer Accessibility and Reach with Captions and Subtitles
Captions are one of the highest-impact improvements you can make without buying anything. They help accessibility, they help viewers who watch with sound off, and they make your message easier to scan.
Use free tools like automatic caption generators, then clean up errors. Automatic captions are great for speed, but I always recommend a quick pass for accuracy—especially with names, brand terms, and technical words.
My caption checklist (takes 2–3 minutes):
- Are key terms spelled correctly?
- Do captions appear at the right time (not too early/late)?
- Are lines broken cleanly so they’re readable on mobile?
- Does the font/size stay legible against your background?
If you want to go further, translating captions can help you reach more viewers globally. Even basic translation can make a difference—just make sure the timing still matches the speech.
Boost Video Discoverability through SEO and Metadata
Good editing won’t help if nobody finds your video. SEO is the boring part—but it’s how views happen.
Here’s a mini keyword strategy I actually use:
- Title formula: Primary keyword + clear benefit. Example: “How to Improve Video Quality (No New Equipment)”
- Description template: 1–2 sentence summary + key steps + links/resources.
- Transcript: include a full transcript (or at least a substantial portion) so search engines have text to index.
For tags/metadata, don’t spam. Use a small set of relevant terms that match what people search (main keyword + 5–10 variations). If your video is about “video quality,” variations might include “reduce noise,” “fix shaky video,” “improve lighting,” and “captions for videos.”
Also, don’t underestimate thumbnails and first lines of your description. If your thumbnail is unclear, your best video won’t get clicked.
Implement Interactive Elements to Hold Attention
Interactive elements are a sneaky way to increase watch time and engagement. People don’t just “consume” your video—they respond to it.
Try this simple approach:
- YouTube: use end screens and cards to point viewers to your next video.
- In-video prompt: pause for 2 seconds and ask a question or give a choice.
- Quiz idea: “Which step should you do first—lighting, camera settings, or editing?” Then answer in the next segment.
If you’re using free tools to add a quick quiz, place it where it interrupts the viewer at a natural moment—right after you explain the first key step. Then watch what happens to engagement. If clicks drop, move the quiz earlier or simplify the question.
FAQs
Use AI tools that reduce noise and improve sharpness. I like the workflow of denoise first, then sharpen lightly, and only then adjust color. That order helps avoid the “crispy edges/halo” look that can happen when you overdo sharpening.
Focus and exposure are the biggest wins. If you can control ISO, keep it as low as possible for cleaner footage. Also set white balance to match your lighting (or use a quick white-paper/gray-card method) so skin tones don’t shift blue or orange.
Use window light as your key light and face the window. If the light is too harsh, diffuse it with a white sheet or curtain. Indoors, use multiple lamps to fill shadows and avoid a single overhead bulb.
Use stabilization features in your editor (many free tools have one). Stabilize early in the workflow, before denoise/sharpen, so the rest of your edits apply cleanly to a steadier image.