How to Film Overhead Videos in 8 Simple Steps
Want overhead videos that look sharp and actually professional? I get it—filming from above sounds simple until you’re dealing with glare, focus hunting, and shaky footage you didn’t notice until you hit “export.”
In my own workflow, the difference between “meh” and “clean tutorial” comes down to a few repeatable choices: a stable overhead setup, controlled lighting, and camera settings you can trust. I’ll walk you through exactly how I set mine up (and what I tweak when something goes wrong) so your demonstrations look crisp from the start.
Key Takeaways
– Use a rigid overhead mount (or a DIY rig that doesn’t flex) to avoid micro-jitters that show up fast in 4K. Lightweight cameras/phones are fine, as long as the mount is solid.
– Add diffused lighting from above (and usually slightly to the sides). In my tests, two diffused lights beats one harsh light every time for reducing shadows.
– Pick a matte, uncluttered filming surface (wood/silicone mat, or neutral paper). It minimizes reflections and makes objects easier to see.
– Shoot straight down, keep the camera level, and use manual focus so it doesn’t “hunt” when you move items into frame.
– Set resolution to 4K when possible, and plan your shots so you don’t waste time re-filming because you missed a step.
– Use clear on-screen labels and captions when needed, and prioritize audio quality—viewers will forgive imperfect video, but not confusing sound.
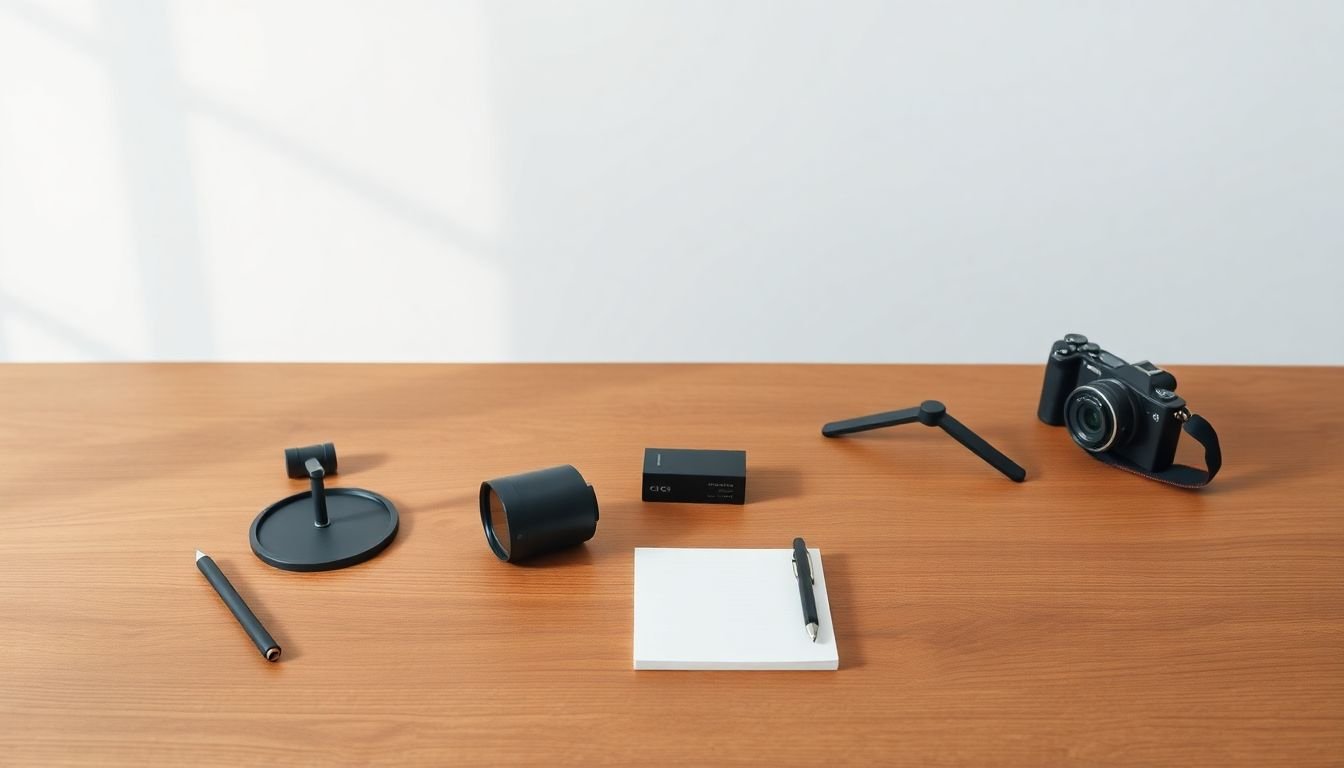
Step 1: Choose the Right Equipment for Overhead Filming
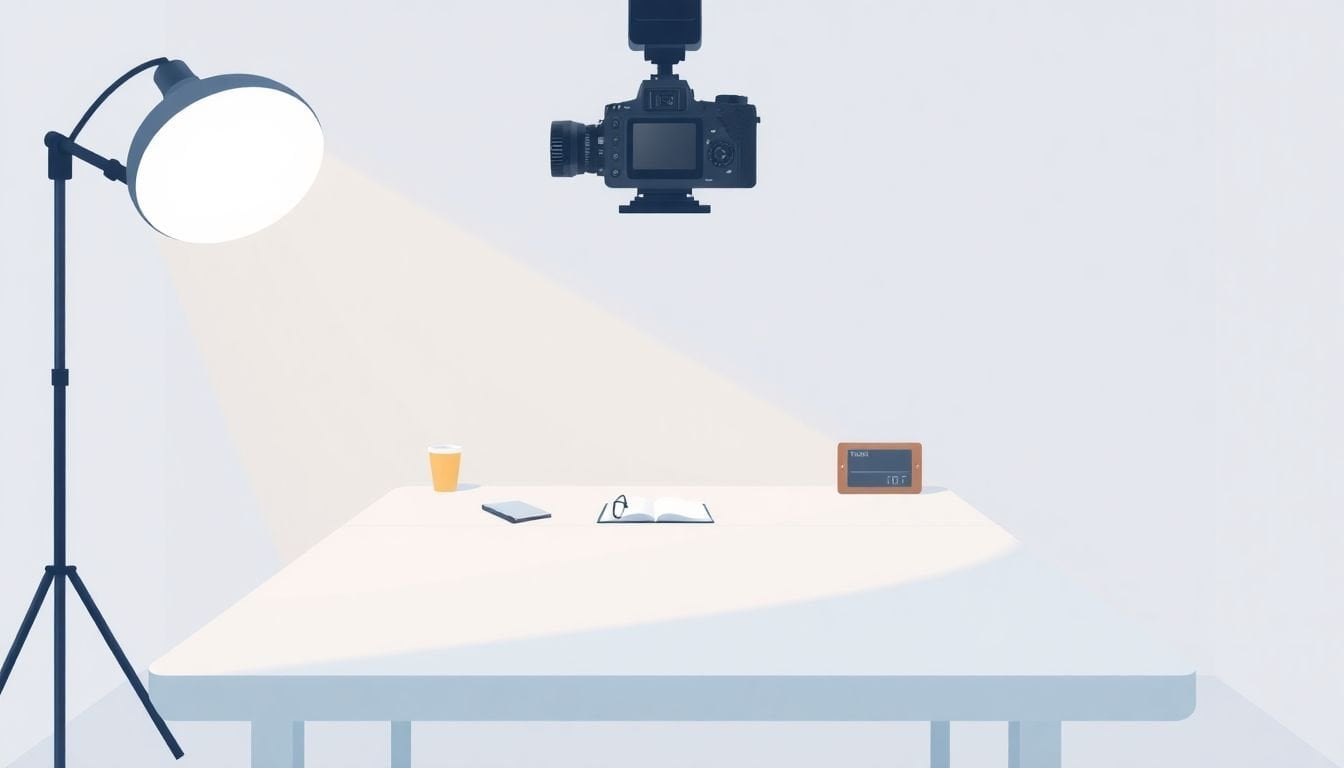
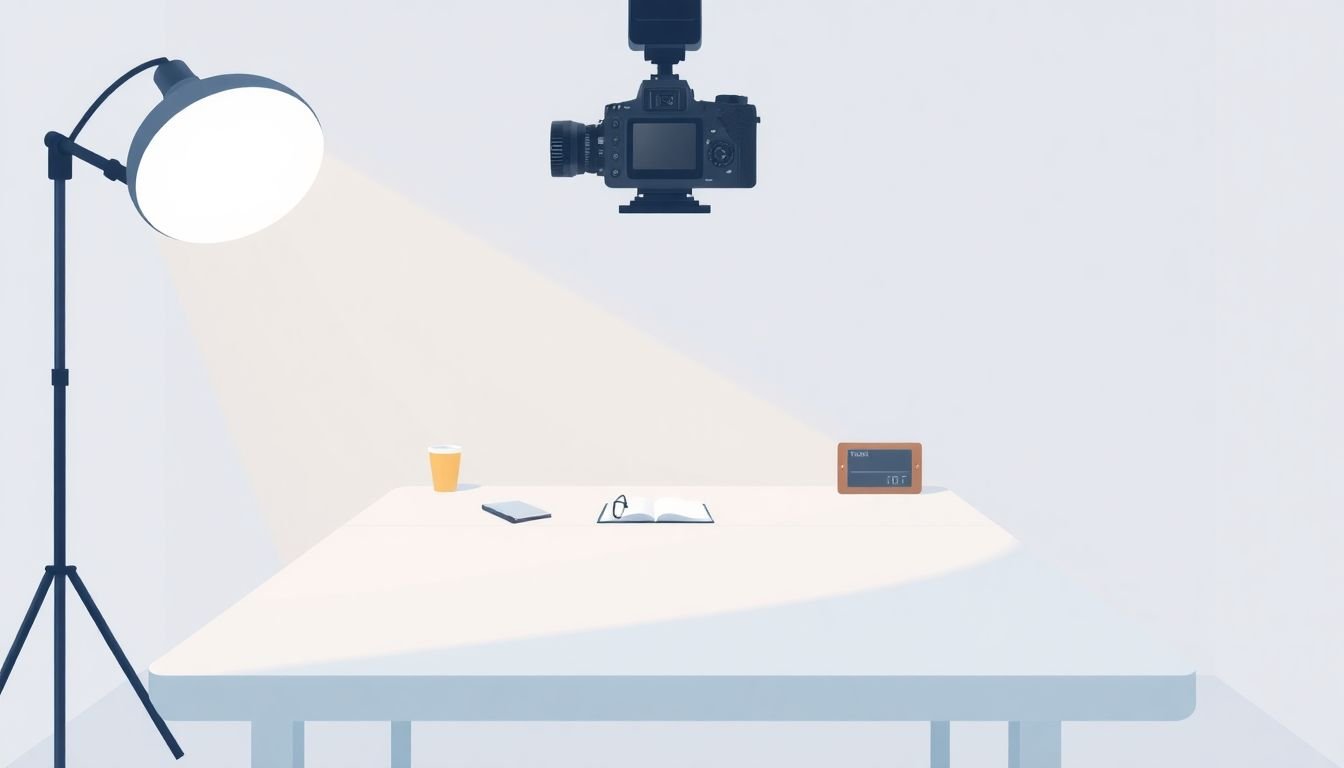
Overhead filming is one of those genres where “good enough” gear can still look great—if your setup is stable. I’ve seen people spend on a fancy camera and still end up with wobbly footage because the mount flexed just a little.
Here’s what I recommend:
- Go stable first. A specialized overhead rig (like the Glide Gear OH100 platform) is designed to hold camera and lighting without the usual tripod wobble.
- DIY is fine. If you’re starting out, a clamp + boom arm or a sturdy overhead stand can work. Just test it by gently pushing the rig sideways—if it keeps moving, it’s going to show up on camera.
- Use a camera that’s easy to focus. Mirrorless/compact cameras are great because you can mount them firmly and control focus. Smartphones can work too, especially with manual focus options.
- Lens attachments (smartphone). If you need more detail, a macro clip can help. If you want a wider view of your whole workspace, use a wide-angle attachment—but keep an eye on edge distortion.
- Lighting gear. Don’t rely on room lights. A ring light or LED panels are helpful, but you’ll get cleaner results with diffused LEDs positioned above your work area.
My rule of thumb: if your gear is unstable, don’t buy “better settings” yet. Fix the physical setup first.
Step 2: Set Up Your Camera for Overhead Shots
Getting the camera placement right is where overhead videos either look “pro” or look like a phone pointed at a desk.
- Center it. Position your camera directly above the action and keep it centered. If your camera is off to one side, your framing will drift as you move objects.
- Level the shot. Use a spirit level app (or a physical level) so the view isn’t tilted. I can’t tell you how often a tiny tilt makes the workspace look “off.”
- Shoot straight down. Unless you’re intentionally going for a creative angle, keep the lens facing 90° to the surface.
- Resolution: choose 4K if you can. In my experience, 4K gives you room to crop if your framing isn’t perfect. It’s a lifesaver for tutorials.
- Manual focus beats auto. Auto-focus can hunt when something moves into the focal plane. If your camera supports it, lock focus before you start.
- Do a quick wobble check. Watch the live view for 10 seconds. If you see micro-movement, tighten clamps, add weight to the base, or lower the boom arm.
Then record a 10–15 second test clip. Don’t skip this. It’s the fastest way to catch shadows, blur, or framing issues before you commit to the real take.
Step 3: Adjust Lighting for Clear Demonstrations
Lighting is the difference between “I can see what you did” and “Why is this so dark?” Overhead demos need even illumination—especially if you’re showing small objects or writing.
- Start diffuse. Softboxes, diffusers, or a ring light with diffusion will reduce harsh hotspots.
- Use two lights when possible. When I switched from one light to two diffused sources, shadows dropped dramatically. A common setup is placing lights slightly left and right of the camera axis, angled toward the workspace.
- Control glare. If you see glare on glass, glossy tools, or laminated surfaces, move the lights farther out and angle them so reflections don’t bounce straight into the lens.
- Watch exposure. Check your footage on a tablet/monitor. If the highlights are blown out (bright white areas with no detail), lower brightness or adjust exposure.
- Don’t rely on sunlight. It changes minute to minute. Controlled lighting keeps your demo consistent across takes.
If your overhead setup has a “sweet spot,” it usually comes from small light moves—not big camera moves. Make micro adjustments (like 5–10° or a few inches) and re-check.
Step 4: Control Glare and Reflections
This is one of the most common overhead video problems, and it’s usually fixable without buying anything new.
- Glare on glass or glossy tools? Angle your lights so the reflection moves off the lens. Even a small reposition (a few inches left/right) can make glare disappear.
- Fingerprints on “clean” surfaces? Wipe with a microfiber cloth right before recording. I keep mine next to the setup because it’s always something.
- Overhead reflections on paper? Switch to matte paper or add a matte cover (even a matte craft sheet works). Glossy paper will look great for photos, but it’s a nightmare overhead.
- Too much contrast? If the highlights are too bright, diffuse the light more (add a diffuser sheet or move lights farther away and zoom in with the camera framing instead).
Quick test: place your most reflective item in the center and record 5 seconds. If you see hotspots, adjust the lights before you touch camera settings again.
Step 5: Get Your Overhead Frame Right
Framing sounds basic, but it’s where overhead videos often fail. You want viewers to feel like they’re “watching from above,” not “watching through a camera that’s slightly off.”
- Leave a margin. I usually keep ~10–15% extra space around the work area. It gives you room for hands and tools without cutting off key actions.
- Match the framing to the action. If you’re writing, keep the writing area centered and don’t crop too tight. If you’re assembling parts, frame slightly wider so parts don’t get cut off when you move them.
- Keep hands in mind. Overhead is hand-heavy. If your hands are constantly entering/exiting frame, widen the shot or raise the camera slightly.
- Check for distortion. Wide-angle phone lenses can stretch edges. If the distortion bothers you, move the camera a bit farther back and zoom (or switch to a less wide lens attachment).
Step 6: Choose the Right Lens and Magnification
Magnification is what decides whether viewers can see details—or whether they’re guessing.
- For small parts (electronics, crafts, tools): Get closer carefully, but watch depth of field. The closer you are, the more likely focus will fall off when you move.
- For writing or board-style demos: A wider view helps. You can still show details with good lighting and sharp focus.
- Smartphone note: Macro attachments can be awesome, but they often reduce working distance (you’ll be very close to your desk). That can block your light and make shadows worse.
- Don’t crank digital zoom. If you zoom in with software, you’ll lose detail. Prefer optical zoom or physically adjust distance.
In my tests, the “best” magnification is the one where your hands can move naturally without the camera needing constant refocusing.
Step 7: Test Settings with a Quick Clip
Before recording your real demo, I always do a quick settings check. It saves time later.
- Record 10–20 seconds. Do the same motions you’ll do in the real take (move the object, write a line, pick up and place something).
- Check focus behavior. If focus shifts when you move, lock focus again or switch to manual focus mode.
- Check exposure. Look at the brightest area (often near the center of the light). If it’s clipping, lower exposure/brightness or add diffusion.
- Check motion blur. If your hands look smeary, you may need more light (faster shutter speed) or reduce how fast you move.
- Verify framing and shadows. If your hand creates a big shadow, raise the lights or reposition them so they come from different angles.
Once the test clip looks right, only then hit record for the full lesson.
Step 8: Keep Audio Consistent
People don’t always say “the audio is bad,” but they do stop watching when they can’t understand you. Overhead videos often have quieter sound because the camera is focused on the table—not your voice.
- Pick one main audio source. If you’re doing voiceover, use a mic close to your mouth (but out of frame).
- Reduce room noise. Turn off fans/AC if you can. Even a low hum is distracting over multiple minutes.
- Do a quick level check. If your audio clips (peaks in red), lower mic gain or move the mic slightly farther away.
- Use captions when needed. If your accent, jargon, or fast instructions are part of the demo, captions help retention.
Get audio consistent first. Editing a noisy voice later is painful.
Step 9: Choose the Best Filming Surface and Background
Your surface and background don’t just affect aesthetics—they affect clarity. If the surface reflects light or blends with your subject, viewers will struggle.
- Use matte and uncluttered. In my experience, a matte wooden or silicone mat reduces glare and makes tools pop.
- Avoid busy patterns. If your background has busy texture, it competes with the action. Keep it simple.
- Neutral backdrops work for product demos. White, black, or grey is a safe choice. It also makes color grading easier later.
- Poster board can work—if it’s smooth. Wrinkles show up. If you use colored board, flatten it and make sure it’s clean.
- Glass can look great, but only if it’s clean. If you go glass, wipe fingerprints obsessively and manage reflections with your light angles.
When the background is clean, your demo becomes the only thing people look at. That’s the goal.
Step 10: Use Proper Camera Settings for Quality Output
Here’s where “good overhead” becomes “watchable overhead.” Settings matter, but so does knowing the tradeoffs.
- Resolution: Aim for 4K if available. It gives you cropping flexibility without turning your video into mush.
- Frame rate choice (120 fps vs 60/30):
- Use 120 fps if you’re showing fast hand movements or want smooth slow-motion for fine details.
- Use 60 fps or 30 fps if you want cleaner low-light performance and simpler editing. Higher frame rates often require more light to keep ISO down.
- ISO: Keep it as low as you can. If you’re in a well-lit setup, don’t let ISO creep up—noise becomes obvious on flat surfaces.
- Aperture / depth of field: A smaller aperture (higher f-stop) can increase depth of field, but it may also reduce sharpness due to diffraction on some lenses. If your camera allows it, test one value and stick with what stays crisp.
- Focus: Disable auto-focus during recording. Lock focus on the plane where your action happens (like the center of your workspace).
- Test first. Run a short clip and confirm exposure and focus stability before the full recording.
My quick decision rule: if you need slow-motion, go 120 fps and make sure you have enough light. If you don’t, 60/30 fps usually looks cleaner and easier.
Step 11: Record in 3-Point or Multi-Source Audio for Clear Sound
Overhead videos aren’t just “visual tutorials.” They’re instructions. Clear sound makes your instructions feel confident.
- Use a dedicated microphone. A shotgun mic or lavalier works depending on how you record. The key is getting voice detail without capturing too much room echo.
- Place the mic close. Keep it near your mouth, but out of the camera’s frame.
- Record in a quiet space. If you hear background noise in your test clip, fix the room before you fix the settings.
- Multi-source audio helps. If you can, record voice on one device and ambient sound on another (or use a second mic). It gives you flexibility in editing.
- Check levels. Avoid clipping and avoid super-low peaks. If your voice barely registers, you’ll boost noise later.
- Add captions if needed. Captions improve comprehension, especially for viewers watching on mute.
Step 12: Keep Your Workspace Tidy and Organized
A messy workspace is more distracting than you think. Your viewers are already trying to track hands, tools, and steps. Don’t add extra clutter.
- Prep before you press record. Lay out tools in the order you’ll use them.
- Use labeled containers. Small bins with labels prevent “where is that part?” moments mid-take.
- Clean the surface. Dust, crumbs, and smudges show up fast overhead. Wipe with a microfiber cloth right before recording.
- Designate a filming spot. If you film often, keep one consistent setup so you don’t rebuild the whole rig every time.
- Fix the distraction problem. A clean, organized scene helps viewers focus on the demo instead of hunting for context.
In my experience, this also speeds up filming because you’re not constantly pausing to search or reset.
Step 13: Plan Your Shots and Script to Stay on Track
Overhead demos are easy to “ramble” in. Planning keeps you from redoing takes because you forgot a step.
- Write a simple script or bullet points. Keep it short: what you’re doing, why you’re doing it, and what to look for.
- Decide the order. The demo should flow naturally. If step 3 depends on step 1, don’t jump around.
- Practice the tricky moves. If you have one part that always gets messy (like aligning parts or writing small text), do a run-through first.
- Break long demos into sections. If it’s more than a few minutes, consider splitting into multiple videos or adding chapter-style titles.
- Time it. If you’re dragging, tighten your narration and reduce pauses.
A plan doesn’t kill creativity—it just prevents chaos.
Step 14: Add Text Overlays, Labels, and Annotations
Text overlays can make overhead videos way easier to follow. Use them like a guide, not like a billboard.
- Add step numbers. “Step 1,” “Step 2,” etc. helps viewers jump back to what they need.
- Label tools and parts. If you use multiple components, label them when they appear.
- Use readable fonts. Large, high-contrast text works best. If you can’t read it on a phone, it’s too small.
- Place text carefully. Don’t cover the exact area where the action happens. Move it to a clear corner.
- Keep it minimal. One clear label beats five tiny lines.
- Edit tools make this easy. Adobe Premiere Pro, Final Cut, and even mobile editing apps can handle overlays without much hassle.
Step 15: Publish and Promote Your Videos Effectively
Once the video is edited, publishing is where you get the payoff.
- Pick the right platform. YouTube is great for broad discovery. For targeted audiences, social platforms can work better.
- Optimize titles and descriptions. Include your primary keyword naturally (like “overhead video tutorial” or “overhead filming setup”).
- Create a thumbnail that matches the promise. Don’t use vague images. Show what the viewer will learn.
- Embed on your site or blog. If you have a page that supports the tutorial, embedding helps SEO and keeps traffic warm.
- Turn it into a series. Overhead demos often pair well as “Part 1, Part 2, Part 3.” People binge series.
- Encourage engagement. Ask a specific question in your video (“Which step do you struggle with?”). Comments are easier when the prompt is clear.
Promoting consistently beats one big push. Small wins add up.
FAQs
You’ll need a stable overhead camera mount (or tripod with a flexible overhead arm), a camera suited for high-angle shots, and basic lighting—usually at least one diffused light above your workspace. If you’re filming small details, lens choice or a smartphone lens attachment can also make a big difference.
Center the camera directly above the work area, keep it level, and aim straight down. Lock focus (manual focus if possible) so the shot doesn’t shift while you move objects. Then do a short test clip to check blur, glare, and shadows.
Use soft, diffused lighting. If you can, use two light sources from slightly different angles to reduce shadows. If you get glare, change light angles first (not the camera), and make sure your surface is clean and matte.
If your footage is shaky, tighten the mount and avoid flexible arms. If it’s blurry, lock focus and increase light so you can keep ISO lower. If you see glare, reposition and diffuse the lights until the reflections move off the lens. Always troubleshoot with a quick 10-second test clip.