
Developing A Unique Teaching Style In 6 Simple Steps
Finding your “teaching style” can feel like that moment you realize you left your keys in the other coat. You’re stressed, you’re guessing, and you just want something that works without you having to reinvent yourself every day.
And honestly? It’s not that there’s one perfect method. It’s that most teachers end up with a mix—what they learned in training, what they picked up from great mentors, and what they’ve tested with real students in real rooms (with real interruptions).
So yeah, you don’t need to lose your voice halfway through class. You need a repeatable approach you can actually sustain. Let me show you how I’ve built a style that feels like me, not like a script—using six steps.
Key Takeaways
- Blend traditional strengths (clear explanations, storytelling, modeling) with modern supports (microlearning, quick checks for understanding, interactive practice).
- Build participation into the lesson structure—open-ended questions, pair shares, short debates, and peer teaching—so students have to think, not just listen.
- Personalize without overcomplicating it: use quick check-ins, targeted re-teaching, and simple goal-setting so students feel seen.
- Use collaboration on purpose: group tasks with roles, clear criteria, and a product students can share (not just “work together quietly”).
- Bring in technology for a reason—short quizzes, video responses, and collaborative documents—then pair it with offline activities so it doesn’t become all-screen.
- Adjust based on feedback you can actually collect: quick surveys, exit tickets, and observation notes—then revise tomorrow’s plan.

Step 1: Blend Traditional and Modern Teaching Methods
Here’s the thing: “traditional” doesn’t mean boring. It usually means you’re doing the fundamentals well—explaining clearly, modeling how to think, and using stories or examples students can remember.
In my experience, the best lessons aren’t either/or. They’re both. I’ll start with a short, direct explanation (the kind you can deliver confidently), then I’ll switch into something more modern and interactive so students stay switched on.
My simple lesson template (works for most subjects)
- 2–5 minutes: Hook + goal (“Today you’ll be able to…”)
- 8–10 minutes: Mini-lesson with modeling (think-aloud)
- 5 minutes: Micro-practice (students do something small right away)
- 3–4 minutes: Quick check (exit question or 4–6 item quiz)
- 7–10 minutes: Application task (problem set, discussion prompt, or short project)
How I use microlearning without turning it into “tiny homework”
I keep microlearning to short bursts inside class, not just videos. For example, I’ll show one concept clip (or read a short text excerpt), then immediately ask students to do one of these:
- Write a 2-sentence summary: “This means…”
- Answer one scenario question: “What would change if…?”
- Sort examples into categories (with a quick explanation)
And yes, interactive quizzes help. I don’t use them constantly—just often enough that students know there’s a “check” coming. If you do it right, it feels like feedback, not judgment.
If you want a starting point, try a 6-question in-class quiz:
- Q1–Q2: recall or definition (easy)
- Q3–Q4: application to a new example (medium)
- Q5–Q6: reasoning (harder)
Then review the results fast: “Most of you missed #4—here’s why, and here’s the correct way to think about it.” That one move can save an entire week of confusion.
Step 2: Encourage Active Participation Among Students
If you’ve ever talked for 30 minutes and watched half the room go glassy-eyed, you already know the answer: students can’t participate by accident.
You have to design participation into the lesson. Not just “ask if anyone has questions.” I mean planned moments where every student has a job.
Quick participation moves I actually rely on
- Cold-open questions (but not “gotcha”): “What’s your opinion on…?” or “Which option would you pick and why?”
- Think–Pair–Share: 30 seconds thinking, 60 seconds pair talk, then 1–2 shares from the class.
- Role prompts: assign one student as “explainer,” one as “skeptic,” and one as “connector.” Rotate roles next time.
- Mini whiteboards / scrap paper checks: show answers simultaneously so shy students can participate without speaking first.
- Peer teaching: “Teach your partner how you got #2.” It’s amazing what students can explain once they have to.
One thing I’ve learned the hard way: debates work best when you give a structure. I’ll often use a simple format like:
- Claim (one sentence)
- Evidence (from text, notes, or example)
- Reasoning (how the evidence supports the claim)
That keeps the debate from turning into “I feel like…” for 15 minutes.
Step 3: Personalize Learning Experiences for Each Student
Personalization sounds fancy, but it doesn’t have to be complicated. You don’t need a different lesson for every kid. You need a way to respond when students are at different starting points.
In my classroom, I use personalization like a thermostat: I don’t constantly change everything—I adjust based on what I’m seeing.
What personalization looks like in real life
- Quick check-ins: one question at the start (“Which part is hardest so far?”)
- Targeted re-teach: small group instruction for 5–7 minutes while others do a practice task
- Choice within the same goal: same learning objective, different pathway (e.g., article vs. diagram vs. short video)
- Individual targets: “This week your goal is to use evidence in your answers”
Tools can help too. For example, Khan Academy’s AI tutor is useful for students who need extra practice or a different explanation path. I like that it can keep students moving without me having to reteach the same thing 12 different ways in one period.
And you don’t have to go high-tech. I’ve had a lot of success with simple documentation—like individualized course syllabus formats that clearly state learning goals and what “success” looks like. When students can see the target, they stop guessing.
A quick personalization routine (10 minutes total)
- Step 1 (2 min): Exit ticket: “What’s one thing you understand + one thing you’re unsure about?”
- Step 2 (5 min): Group students by need (no more than 3 groups).
- Step 3 (3 min): Give each group a different practice set (same objective, different supports).
One more honest note: personalization takes time at first. But after a couple weeks, you start reusing templates and it gets way easier.
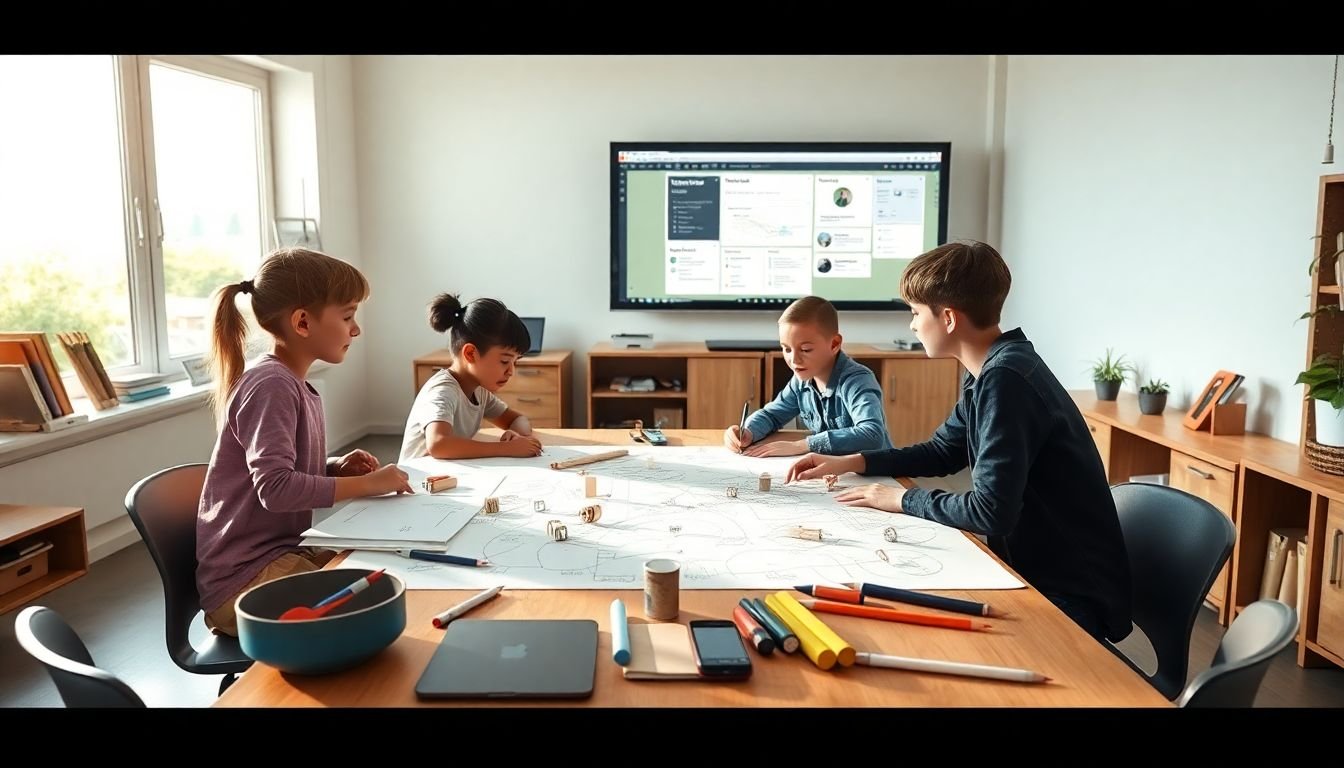
Step 4: Foster Collaboration and Creativity in the Classroom
Collaboration doesn’t happen just because you put students in groups. If the task is vague, you get one student doing everything and the rest waiting.
What works is a clear challenge plus a product. Students need to know what they’re building and how you’ll judge it.
A hands-on group activity template (copy/paste friendly)
- Goal: the learning objective (one sentence)
- Challenge: what the group must create
- Constraints: time limit, materials, or rules
- Roles: facilitator, materials manager, recorder, presenter
- Deliverable: a poster, model, presentation slide, or short written explanation
- Rubric: 3–4 criteria (clarity, accuracy, reasoning, teamwork)
Mini-activity example: Biology cell model (with real details)
If you’re teaching biology, here’s a version I’ve used (and students actually enjoy it):
- Materials: construction paper, markers, scissors, glue sticks, printed cell diagram (optional), and any “found” craft items (pipe cleaners, cotton balls, small beads).
- Grouping: 3–4 students per group.
- Time: 20 minutes build + 5 minutes gallery walk.
- Instructions: Each group builds a simple cell model and labels key parts (nucleus, cell membrane, mitochondria, etc.).
- Assessment criteria:
- Labels are accurate (0–2 points)
- At least 2 parts include a “function” note (0–2 points)
- Model is understandable from 1–2 feet away (0–1 point)
- Group roles were used (0–1 point)
- Deliverable: a single poster-board model + a 60-second presenter script.
Then I do peer review with a simple prompt: “Give one thing you learned and one question you’d ask.” It keeps feedback specific and prevents the generic “looks good!” comments.
And if you want online collaboration, tools like Google Docs (or shared slides) are great for group planning drafts. Just make sure students submit a single final product, not 6 different versions that confuse you.
If you’re looking for more structured ways to build group tasks, you can start with these proven student engagement techniques.
Step 5: Integrate Technology and Engagement Tools
Let’s be honest: students are already on devices. So instead of fighting it, I try to steer it.
Technology works best when it has a job. If it’s just there to look modern, it won’t help. If it supports practice, feedback, or collaboration? Then it’s worth using.
Tech ideas that don’t feel gimmicky
- Interactive quizzes: Kahoot or Quizlet for quick checks (I use them for review and retrieval practice).
- Video responses: Flipgrid-style prompts where students explain an idea in their own words.
- Collaborative notes: shared documents or digital whiteboards for group thinking.
For example, I’ll run a 8-question practice quiz at the end of a lesson:
- 3 questions: straightforward
- 3 questions: application
- 2 questions: “choose the best explanation”
Then I sort responses into “ready,” “almost,” and “not yet” so I know what to reteach tomorrow.
About tech literacy: I’m not going to throw out random numbers without a source. But the direction is pretty clear—students will need to work with digital tools. So the real question is: are you teaching them to use tech productively?
If you want a practical starting point, here’s a helpful guide on how to make a quiz for students.
One limitation I’ll say out loud: technology can’t replace relationships. If you rely on screens but never talk to students or check understanding, engagement will drop. Use tech as support, not the whole plan.
Step 6: Adapt Flexibly to Student Needs and Feedback
You can have the best lesson plan in the world and still get derailed. A class can be off that day. A topic can land differently than you expected. Sometimes the “problem” is the lesson.
Flexibility is what keeps you from repeating the same mistake all week.
What I do when students don’t get it
- Pause and diagnose: “Which part is confusing—vocabulary, steps, or the big idea?”
- Re-teach in a different format: diagram instead of explanation, example instead of definition.
- Shorten the task: reduce the number of problems and increase feedback.
- Offer a bridge: one solved example, then students try a similar one.
Fast feedback tools (that don’t take forever)
I like short surveys because students will tell you what you need to know—if you ask the right way. Google Forms is handy for this. I’ll ask things like:
- “Rate how confident you feel (1–5) with today’s concept.”
- “What’s one question you still have?”
- “Which part was easiest: example, practice, or discussion?”
And if you’re noticing a pattern like confusion around the same concept, it’s time to adjust. Not “someday.” Tomorrow, if possible.
Also, don’t make everything digital. If you’ve got a heavy tech day, balance it with offline discussion, quick paper practice, or a simple movement game. Variety helps attention and reduces fatigue.
The best part? When you adapt, students feel it. They start trusting you—and trust makes learning easier.
FAQs
Use traditional methods for clarity—modeling, clear explanations, and structured practice—then add modern supports like short interactive videos, in-class micro-quizzes, and quick retrieval activities. The key is timing: introduce a concept, practice immediately, then check understanding before moving on.
Plan participation moments instead of hoping it happens. Use think–pair–share, open-ended questions with structure, peer teaching (“teach your partner how you solved it”), and small-group Q&A. When students know what to do and how to respond, participation becomes easier—especially for quieter learners.
Personalization helps students at different levels feel supported without being singled out. It lets you provide the right next step—extra practice, a different example, or a clearer target—so students can build confidence and understanding instead of falling behind.
Use technology to make collaboration easier and creativity more visible. Shared documents, digital whiteboards, and video/slide responses help students contribute ideas in different formats. Just keep expectations clear (roles, deadlines, and a final deliverable) so tech supports the work instead of distracting from it.