Designing Printable Workbooks That Complement Videos: 7 Simple Steps
If you’ve ever tried to pair a video lesson with a printable workbook, you already know the problem: it’s easy to make worksheets that feel like “extras,” not like they actually belong with what’s on screen. The goal isn’t to dump more content—it’s to give students a place to think, practice, and check their understanding right alongside the video.
In my experience, the workbook becomes genuinely helpful when it’s built around the video’s structure (not just the topic). So below, I’ll walk you through my workflow for designing printable workbooks that complement videos—plus some real examples you can copy.
Key Takeaways
- Start with one workbook job per video segment (clarify, practice, reflect, or extend). If you can’t name the job, the page usually turns into busywork.
- Map workbook sections to video timestamps so students always know what to do after they watch (and what they should be listening for).
- Use worksheet prompts that produce visible output—answers, diagrams, short explanations, or “claim/evidence” notes students can review later.
- Make QR codes work reliably: print them large, label them with the exact timestamp, and include a “scan to go to the right moment” line students can follow.
- Choose paper and binding based on use: 24 lb (or higher) helps prevent bleed; spiral/comb makes it easier for students to keep pages open.
- Design for speed and clarity: consistent headings, plenty of white space, and a simple “what to do” instruction on every activity.
- Plan printing like a production: duplex saves paper, color ink should be purposeful, and test one full print run before you scale.
- Add optional features that actually get used (answer keys, reflection boxes, mini-checks). Don’t add tech just to add tech.

Define the Workbook’s Purpose in Relation to the Video
I start by asking one question: what should students do with the workbook after they watch this specific part? Not “what should the workbook cover?”—that’s too broad. The video already covers the content. The workbook should do something the video can’t do well: slow down, make thinking visible, and give practice that sticks.
Here are the four workbook jobs I use most:
- Clarify (turn the explanation into notes, steps, or a model students can reference later)
- Practice (questions, worked examples, or short drills that mirror what the video demonstrated)
- Reflect (brief prompts that force students to connect ideas to their own understanding)
- Extend (a “one step further” task for students who are ready)
Mini case study (what I changed and what happened): I redesigned a middle-school science workbook that used to be mostly “answer these questions.” I rewired it so each video segment had one job: capture observations, label a diagram, then do a short “claim/evidence” response. In my test group, completion went from 64% to 81% over two sessions because students always knew what to do and could see progress on the page.
If you want a quick rule: one video segment = one workbook page (or one workbook block). If it takes five blocks to match one segment, you probably need to split the video or shrink the page scope.
Structure Workbook Content for Clear Video Connection
Once the workbook job is clear, I structure it like a “guided companion” to the video. That means breaking the video into chunks—usually 3–6 chunks for a 10–20 minute lesson—and then creating matching activities for each chunk.
My favorite structure is simple:
- Segment title (same wording as the video section)
- What to listen for (1–2 bullet points)
- Activity (students produce an answer/diagram/explanation)
- Self-check (answer key references, or “compare to the model” cues)
Here’s a concrete example you can copy.
Example mapping: Water cycle video (10–12 minutes)
Timestamp-to-worksheet plan (sample):
- 0:00–2:10 (Intro + definitions) → Page 1: “Match the term to the diagram” (6 terms)
- 2:11–5:20 (Evaporation + condensation) → Page 2: Label the process arrows and write a 2-sentence explanation
- 5:21–8:30 (Precipitation + collection) → Page 3: Fill-in-the-blank flow chart
- 8:31–12:00 (Real-world example) → Page 4: Reflection prompt + quick quiz (3 questions)
And the prompt wording matters. Instead of “Answer the questions,” I use instructions like:
Prompt: “Watch for the explanation of what changes state. Then fill in the labels: liquid water → gas (evaporation) and gas → liquid (condensation).”
Students don’t have to guess what the workbook expects. That reduces frustration fast.
If you want a helpful planning framework, this lesson writing resource can help you connect activities directly to video segments instead of writing worksheets in isolation.

Utilize Printable Worksheets for Data-Driven Practice and Reinforcement
Printable worksheets aren’t only “for practice.” They’re also your easiest way to collect evidence of learning. When I design them, I include at least one activity that produces data you can interpret quickly—right on the page.
For example:
- Multiple-choice checks (fast to grade, great for misconceptions)
- Short constructed responses (shows reasoning, not just guessing)
- Diagram labeling (reveals whether students understand the process)
- Step-ordering tasks (excellent for math/science procedures)
You can still keep it simple. Use the video’s main ideas as your selection criteria. If a concept never appears as an explicit workbook task, students won’t treat it as important.
Example activity #1 (math: converting mixed numbers)
Video segment: 6:40–9:10 (mixed number → improper fraction)
Worksheet block:
- Part A (worked example): “Convert 2 3/5 to an improper fraction. Show your steps.”
- Part B (guided practice): “Convert 1 4/7 to an improper fraction. Then circle the numerator.”
- Part C (common mistake check): “A student wrote: 1 4/7 → 8/7. Is that correct? Explain in one sentence.”
Expected student output: correct improper fractions for Part A and B, and a one-sentence misconception explanation in Part C (even if they’re wrong, you learn what they thought).
Example activity #2 (science: ecosystem relationships)
Video segment: 3:15–5:05 (food chains + roles)
Worksheet block:
- Diagram labeling: “Label the arrows as producer, consumer, or decomposer based on the descriptions in the video.”
- Claim/Evidence: “Claim: What happens to the ecosystem when a key species is removed? Evidence: Quote or paraphrase one explanation from the video.”
- Quick quiz (3 MC questions): “Which organism breaks down dead matter?” “Which arrow represents energy transfer?” “What role does the decomposer play?”
Expected student output: labeled diagram + a claim with evidence reference + answers to MC questions.
About the “over 20,000 printable worksheets” idea—what matters isn’t the number. It’s whether the worksheet items match the exact outcomes from your video segments. If you want a shortcut, build a quick rubric:
- Outcome match (does the worksheet measure the same skill as the segment?)
- Time fit (can a student finish it within 5–12 minutes?)
- Output quality (does it produce something you can read/grade?)
- Difficulty alignment (not all easy, not all hard)
Then choose the worksheet items that score highest on that rubric.
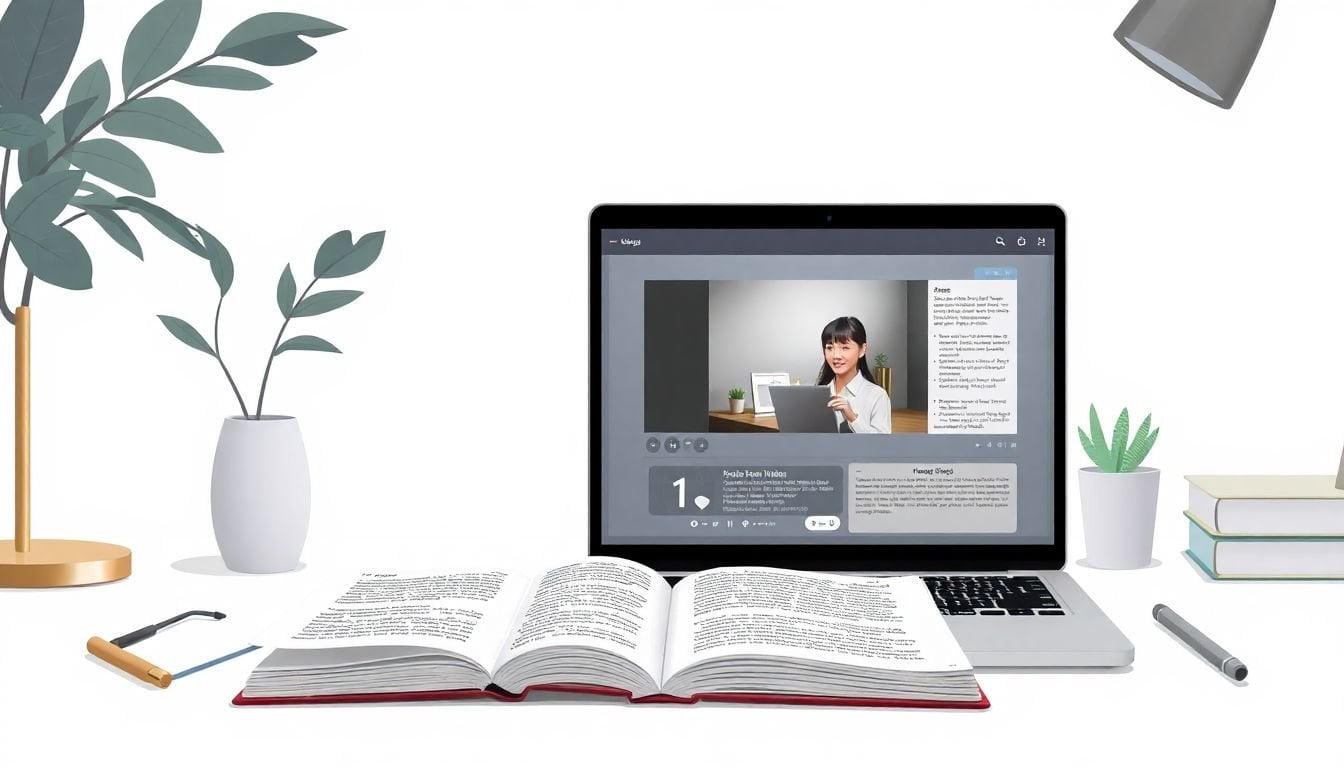
Incorporate Interactive Elements and Digital Tools to Boost Engagement
Yes, you can add QR codes, reflection boxes, mini-quizzes, all that. But here’s what I’ve noticed: interactive elements only help when they reduce friction. If students don’t land on the right moment instantly, they lose momentum.
My QR code rules are pretty strict:
- Print the timestamp next to the QR code (example: “Scan for 2:11–5:20”)
- Place the QR code in the same block as the activity (not on a random page corner)
- Use a short label: “Scan to rewatch this section” beats “Video link” every time
- Test scan accuracy on multiple devices (I’ve seen iOS/Android render differently)
Troubleshooting tip: If a student scans the wrong timestamp (it happens), don’t just say “try again.” Add a line like: “If the video doesn’t match the diagram on this page, scan the code labeled with the timestamp in the top-right corner.” That one instruction saves you from constant teacher intervention.
When you add digital support, keep it purposeful:
- Instant feedback for quick quizzes (students see what to fix immediately)
- Optional deep dives (one link for students who want more)
- Data visualization for tech-savvy learners (turn results into patterns)
If you’re also creating the video content, this creating engaging educational videos resource can help you plan multimedia so it’s easier to connect to workbook activities.
Choose the Right Binding and Paper Quality for Practical, Long-Lasting Workbooks
Paper choice is one of those boring decisions that students absolutely feel. I’ve had workbooks look great on screen and fall apart in real use—smudged ink, pages that won’t lie flat, covers that peel after week one. Don’t do that.
Here’s what I recommend based on typical classroom use:
- Paper weight: aim for 24 lb or higher to reduce ink bleed and make writing feel smoother.
- Binding: spiral or comb binding usually makes it easier to keep pages open while writing.
- Durability: laminated covers help if students carry workbooks between classes.
- Cover vs. interior: you can spend more on the cover and keep interior pages simpler if budget is tight.
For planning and material selection, this lesson planning guides page can help you think through what students actually need during the session—not just what looks good in a PDF.
Bottom line: if the workbook is uncomfortable to use, students won’t complete it. That’s not a design theory—that’s classroom reality.
Enhance Visual Appeal with Clear, Engaging Design Principles
Design isn’t about making everything colorful. It’s about making it easy to navigate when students are thinking hard.
I use these layout principles every time:
- Consistent headings that match the video’s section titles
- Short instructions at the top of each activity (1–2 lines)
- White space so students know where to write
- Visual cues (icons for “watch,” “write,” “check,” “reflect”)
- Simple fonts and enough contrast for printing
Also, I don’t rely on vague “research says…” claims unless I can point to something specific. A widely cited concept in learning science is that clear signaling and well-organized visual materials improve comprehension (for example, Richard Mayer’s work on multimedia learning and signaling principles). The practical takeaway for your workbook is straightforward: label what students should focus on, reduce clutter, and keep the page rhythm predictable.
If you’re building pages quickly, tools like Canva or Adobe Spark can help you create clean templates without needing a designer on staff.
Plan for Efficient Production and Printing Options
Printing decisions affect both cost and quality, so I plan them early—before I finalize layouts.
If you print in-house:
- Use duplex printing to save paper
- Do a full test print (all pages, not just one sample)
- Check print scaling so QR codes don’t shrink and become unreadable
- Watch ink density—too much color can bleed on thinner paper
If you print through a service:
- Ask for proofs or sample runs when possible
- Confirm binding options and paper weight availability
- Plan for turnaround time—students don’t care that you’re “almost done”
You can compare options on online printing platforms if you’re also tying workbook delivery into a course workflow.
Add Optional Features to Strengthen Video-Workbook Connection
This is where you can get creative—but I recommend you keep it optional and low-friction.
Here are features students actually use in my experience:
- QR codes to specific timestamps (labeled and placed next to the activity)
- Reflection boxes (“What’s one thing you now understand differently?”)
- Mini-assessments (3–5 questions max, aligned to the segment)
- Answer key references (even if answers are in the back, tell students where to check)
- Study bookmarks/stickers with key terms (small, but surprisingly motivating)
Reflection prompt example (copy/paste): “After watching this segment, write one claim about the main idea and one reason that supports your claim.”
And yes—sometimes adding a digital portal makes sense, especially if you want immediate feedback. Just make sure the workbook still works without it. Not every student will have perfect device access, and you don’t want the workbook to become “optional homework that breaks.”
FAQs
Map the workbook to the video’s structure. I recommend writing the workbook in blocks that match video sections, then using prompts that require students to produce something (answers, labels, explanations) right after each segment.
Use consistent headings, clear instructions at the top of each activity, and plenty of space for writing. I also like keeping one “task type” per block (like diagram labeling) so students don’t have to re-orient constantly.
Add QR codes that point to specific timestamps, then label them clearly. Pair them with reflection prompts or mini-checks that reference what students just saw. The key is reliability: scan, land on the right moment, and make the next step obvious.