Designing Choice Boards for Learner Autonomy: 7 Easy Steps
I’ll be honest—when I first started using choice boards, I kept overthinking the whole thing. How many options is “too many”? What if students pick the easiest one every time? And how do I make sure it still lines up with what I’m supposed to teach?
After a few tries (and a couple messy boards I quickly scrapped), I found that choice boards don’t have to be complicated. You just need clear goals, a manageable set of options (usually 4–6), and a little structure so students know how to choose and how to reflect afterward.
In this post, I’m going to walk you through 7 easy steps I actually use to design choice boards for learner autonomy—without turning your planning time into a second job. I’ll also include a fully worked example you can copy, plus a couple quick “what I noticed” classroom moments from my own teaching.
Key Takeaways
Key Takeaways
- Use 4–6 options per choice board, and make sure each one connects to the same learning goals so students aren’t “choosing randomness.”
- Start with the purpose and the learning outcomes first—then build options that hit the same standards in different ways.
- Keep the layout clean: headings, icons, and short descriptions help students find tasks quickly (and reduce “I don’t know what to do” time).
- Include time/effort estimates and simple scaffolds (checklists, sentence starters, guiding questions) so students can plan independently.
- Teach how to use the board: model choosing, set expectations, and build in reflection so autonomy grows over time.
- Adjust based on real feedback—if students skip options, it’s usually a clarity, difficulty, or relevance problem you can fix.
- Pair choice with goal-setting, self-assessment, and time management so students learn autonomy, not just “freedom.”

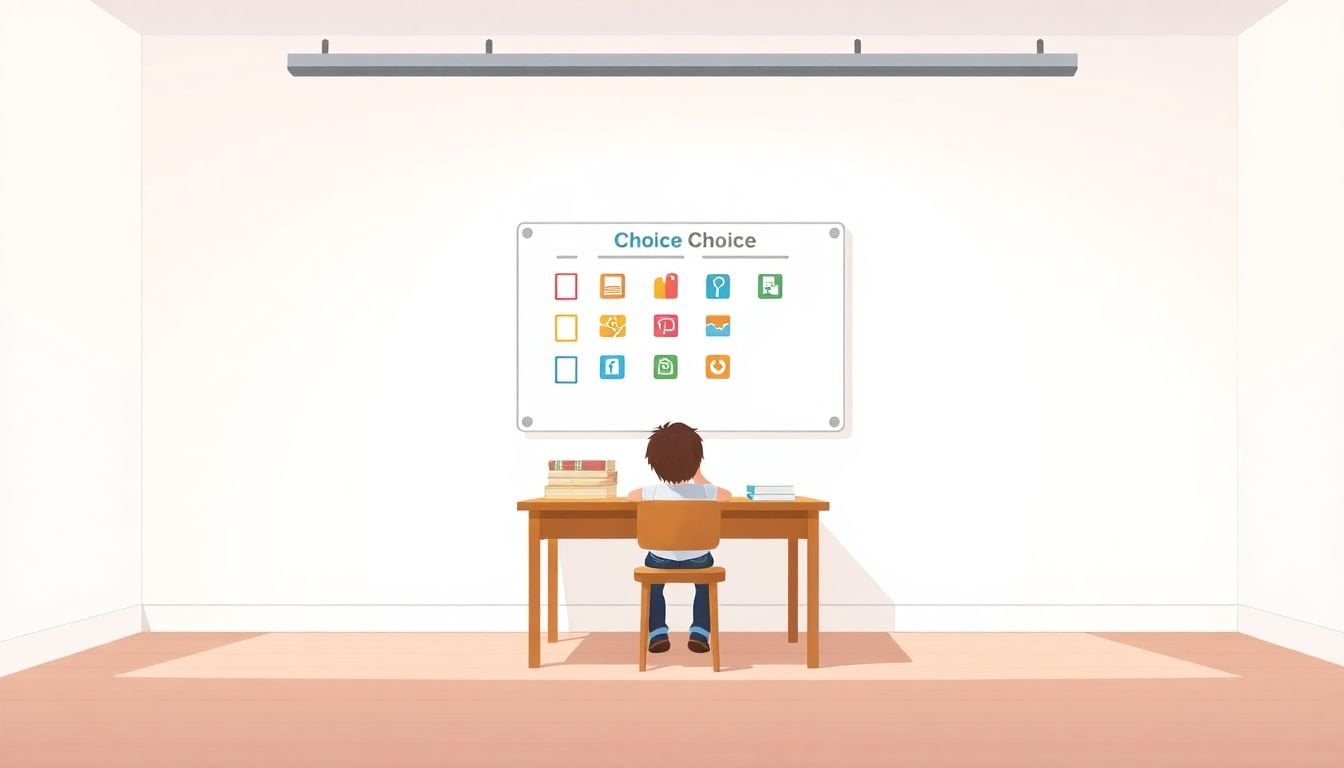
1. Create Choice Boards to Support Learner Autonomy
Start by designing choice boards that let students pick activities based on their interests and strengths. But here’s the part people skip: the options should still lead to the same learning outcome.
Use a mix of task types—think projects, quizzes, short writing, visual responses, or “show your thinking” formats—so students aren’t forced into one way of demonstrating understanding.
For example, instead of assigning one standard homework, offer a choice between creating a short video, writing a story, or designing a poster. Same concept. Different expression.
In my experience, 4–6 choices is the sweet spot. More than that and students freeze. Fewer than that and it starts to feel like you didn’t really give them options.
And no, choice doesn’t mean “do whatever you want.” Students still need to work toward your goals. The autonomy comes from how they approach the task, not from whether they learn the target.
Also—this is one of those research-backed ideas that actually shows up in classrooms. Students who choose their assessment tasks often put more effort into the work, and some studies report they’re more likely to stick with homework over time [3]. The big caveat? Choice only helps when the tasks are comparable in difficulty and clearly connected to the same standards.
Mini case (what I noticed): In 7th grade science, I gave a choice board for a unit on ecosystems. Most students chose the “diagram + explanation” option or the “mini-podcast” option. Engagement wasn’t just higher—it was more consistent. The students who usually avoided writing still completed the written reflection because it was short, structured, and part of every option.
Finally, build in reflection right after the choice. Ask: what helped you succeed, what was challenging, and what you’d pick next time. That reflection is where autonomy turns into growth.
2. Define the Purpose and Learning Goals
Before you design anything, get clear on what you want students to learn and how you’ll know they got there. If your goals are fuzzy, your choices will be fuzzy too—and students will feel it.
I like to write learning goals in “student language” and then translate them into tasks. For example:
- Goal: Understand ecosystems and how organisms interact.
- Evidence: Students explain relationships using correct vocabulary and a clear model.
Then you build options that all produce that evidence—even if the product looks different.
Here’s a practical example from my own planning: If the goal is ecosystems, one option might be a research mini-project, another could be a diagram creation, and another could be a short presentation. The content differs, but the target skills stay the same.
You can put the goal right on the board (short and clear), or you can review it verbally before students choose. Either way, students should be able to answer: “What am I working toward?”
Also, set expectations that help students self-check. When students can evaluate their progress, independence grows naturally.
And just to be clear: this step isn’t about restricting. It’s about giving students a roadmap so their choices actually matter.
3. Apply Effective Design Principles
Choice boards work best when the design is simple and easy to scan. Students shouldn’t have to “decode” your directions.
Here’s what I focus on:
- Layout clarity: headings, icons, and color-coding so students can quickly find an option.
- Plain language: short descriptions that tell students what they’ll do and what they’ll submit.
- Scaffolds: checklists, guiding questions, or sentence starters—especially for writing-heavy tasks.
- Balance: include different kinds of tasks (creative + analytical + reflection) so students don’t burn out on one format.
- Planning support: time estimates and effort levels (like “30–40 minutes, moderate effort”).
One design test I do every time: I imagine I’m a student walking in with 5 minutes left. Could I figure out what to do without asking anyone?
If you’re using digital tools, platforms like Google Slides or Canvas can make choice boards interactive and easier to update [5]. But honestly, even a printed board works—what matters is readability and consistency.

4. Organize the Choice Board Layout
Making your choice board easy to navigate is what keeps students from wasting time. If they can’t find the option they want, autonomy doesn’t matter—you’re just creating more confusion.
Here’s a layout approach that’s worked well for me:
- Group options by category (Creative Projects, Research Tasks, Thinking/Reflection).
- Use visual cues (icons for each category, color for difficulty or time).
- Keep it clean—no giant blocks of text, and don’t cram too many options into one corner.
For example, use a paintbrush icon for art-based tasks and a magnifying glass for research tasks. Small things like that help students decide faster.
Also, include a brief description and an estimated time commitment right next to each activity. That single detail reduces “How long is this?” questions dramatically.
Fully worked example (copy/paste style):
Unit: 7th Grade Science — Ecosystems & Organism Interactions (2 weeks)
Learning goals (what stays the same for all options):
- Students explain how organisms interact using correct vocabulary (producer/consumer/decomposer, food chain/web, competition/predation/symbiosis).
- Students support their explanation with an accurate model or evidence from research/class notes.
Choice board task: Choose 1 option to complete by end of Week 2, then complete the reflection prompt (same for everyone).
Estimated time: 2 class periods (about 60–90 minutes total) + 10 minutes reflection.
Options (4–6):
- Option A — Diagram + Explanation (40–60 min) Moderate
Create a food web diagram for one ecosystem (teacher-approved list). Add labels and write a 1-paragraph explanation of two interactions you included.
Scaffold: sentence starters: “One interaction I noticed is…” “This happens because…” - Option B — Mini-Video (60–90 sec) (30–50 min) Moderate
Record a short explanation of how energy moves through the ecosystem using 3 vocabulary terms.
Scaffold: storyboard box with 3 prompts (Hook, Explain, Wrap-up). - Option C — Research Brief + Claim (45–70 min) Moderate
Find 2 credible sources (links provided in LMS). Write a short brief with one claim about ecosystem interactions and cite evidence.
Scaffold: checklist for “claim, evidence, explanation.” - Option D — “Ecosystem Court” Argument (35–60 min) Creative
Write a short argument: “Predators are essential to ecosystem balance.” Include 2 pieces of evidence and a counterargument.
Scaffold: organizer with sections for claim, evidence, counterclaim, rebuttal. - Option E — Interactive Slides (40–75 min) Creative
Make 4 slides: (1) ecosystem overview, (2) food chain example, (3) two interactions, (4) reflection on what surprised you.
Scaffold: slide template with headings.
Reflection prompt (required for every option):
- Which option did you choose and why?
- What part of the task helped you show your understanding the most?
- What will you do differently next time to improve (one actionable step)?
Simple rubric (same criteria for all options):
- Understanding (0–2): Uses key vocabulary accurately and explains interactions clearly.
- Evidence/Model (0–2): Includes an accurate model or evidence from sources/class notes.
- Communication (0–2): Product is organized and easy to follow (not perfect—just clear).
- Reflection (0–1): Reflection shows thought about choice and improvement.
What I learned the hard way: early on, I made one option “easier” than the others. Students who chose that option got great grades fast, and the rest felt like they were doing extra work. After that, I made sure every option had a comparable evidence requirement and the same rubric criteria.
Once you’ve got your options and scaffolds, test the layout with a couple students or colleagues. If someone can’t find where to start in under a minute, the board needs tightening.
5. Introduce Choice Boards in the Classroom
Don’t just hand students a choice board and hope for the best. How you introduce it matters.
Here’s how I do it:
- Explain the purpose: “You’ll choose how you show your learning, but you’ll still meet the same goals.”
- Model the process: I pick an option “out loud” and show my thinking: why it fits my strengths, how I’ll use the scaffold, and what I’ll submit.
- Start low-stakes: use one quick demo or a short option for the first round so students build confidence.
- Set expectations: deadlines, what “done” looks like, and how reflection fits in.
- Use check-ins: during work time, I ask, “Which option are you using and what step are you on?”
One thing I like: include 1–2 guiding questions on the board so students don’t treat choosing like a random click. Questions like “What evidence will you include?” help them stay aligned with the goal.
As students get used to the board, you’ll notice fewer questions and more planning. That’s the autonomy piece kicking in.
6. Collaborate on Design and Adjust for Improvement
A choice board isn’t a “set it and forget it” document. It’s more like a lesson resource that improves with feedback.
Invite students to tell you what they enjoyed and what didn’t work. I usually ask two quick prompts:
- Which option felt easiest to start?
- Which option felt confusing or too time-consuming?
Then adjust based on patterns. If students consistently avoid one option, it’s often because the instructions are unclear, the scaffold is missing, or the time estimate is way off.
Collaborate with colleagues too. If you share templates, rubric language, or even the same option descriptions across classes, you’ll save time—and students benefit from consistent expectations.
Mini case (what I noticed): In another unit, I added an “interactive” option that required too many steps in the LMS. Students liked the idea, but they got stuck. After I simplified it to a 4-slide template with pre-set headings, participation jumped and the quality improved. Same concept—better scaffolding.
Keep updating your choice board so it stays aligned with student interests and your learning goals. Autonomy grows when students feel the choices are doable and meaningful.
7. Tips for Enhancing Learner Independence
Choice boards support independence, but they don’t replace teaching independence. You still have to build those habits.
Here are the parts that made the biggest difference for me:
- Goal setting: before choosing, have students write one goal (“I want to show I can explain interactions using vocabulary”).
- Reflection that’s specific: ask what they learned from the option they picked and what they’ll try differently next time.
- Mini lessons: teach time management and self-assessment in short bursts (5–10 minutes). Students don’t magically know how to plan.
- Rubrics students can use: keep criteria clear and short so students can self-check before submitting.
- Peer feedback: allow quick “check with a partner” moments using one rubric question (“Does your model show evidence?”).
- Real-world connections: frame tasks like planning a project, preparing a presentation, or explaining a concept to a real audience.
And yes, celebrate effort. If students see that trying, reflecting, and improving matters, the whole autonomy piece feels safer—and they take smarter risks.
FAQs
Choice boards are visual tools that give students different activity options. They support independence by letting learners choose tasks that match their interests and strengths, while still working toward the same learning goals.
Start with clear learning goals, then design 4–6 options that all provide evidence of the same target skills. Keep instructions simple, add scaffolds (checklists, sentence starters, guiding questions), and include time/effort estimates so students can plan. After that, revise based on what students actually say and do.
Explain the purpose (same goals, different ways to show learning), then model how you choose. Start with a small, low-stakes round so students learn the routine. Provide examples, set clear deadlines, and use a consistent reflection prompt so students build autonomy over time.