
Creating Courses On Personal Finance: 5 Practical Steps
I get it—money stuff can feel like homework you didn’t sign up for. If you’re brand new to personal finance, or you’ve been avoiding it for years, a course that actually helps people make better decisions is more than “nice to have.” It’s needed.
When I started building my first personal finance course, I thought the hard part would be the content. Turns out the harder part is figuring out what learners really struggle with—and then turning that into lessons they can complete without quitting halfway through. That’s what I’m focusing on here.
Below are 5 practical steps I’ve used (and iterated) to create personal finance courses that feel clear, useful, and doable.
Key Takeaways
- Define your audience and outcomes up front (teens, families, retirees) so your examples and assignments actually match their reality.
- Build a realistic syllabus that covers budgeting, debt management, savings, investing basics, taxes, insurance, and money mindset—without drowning learners in theory.
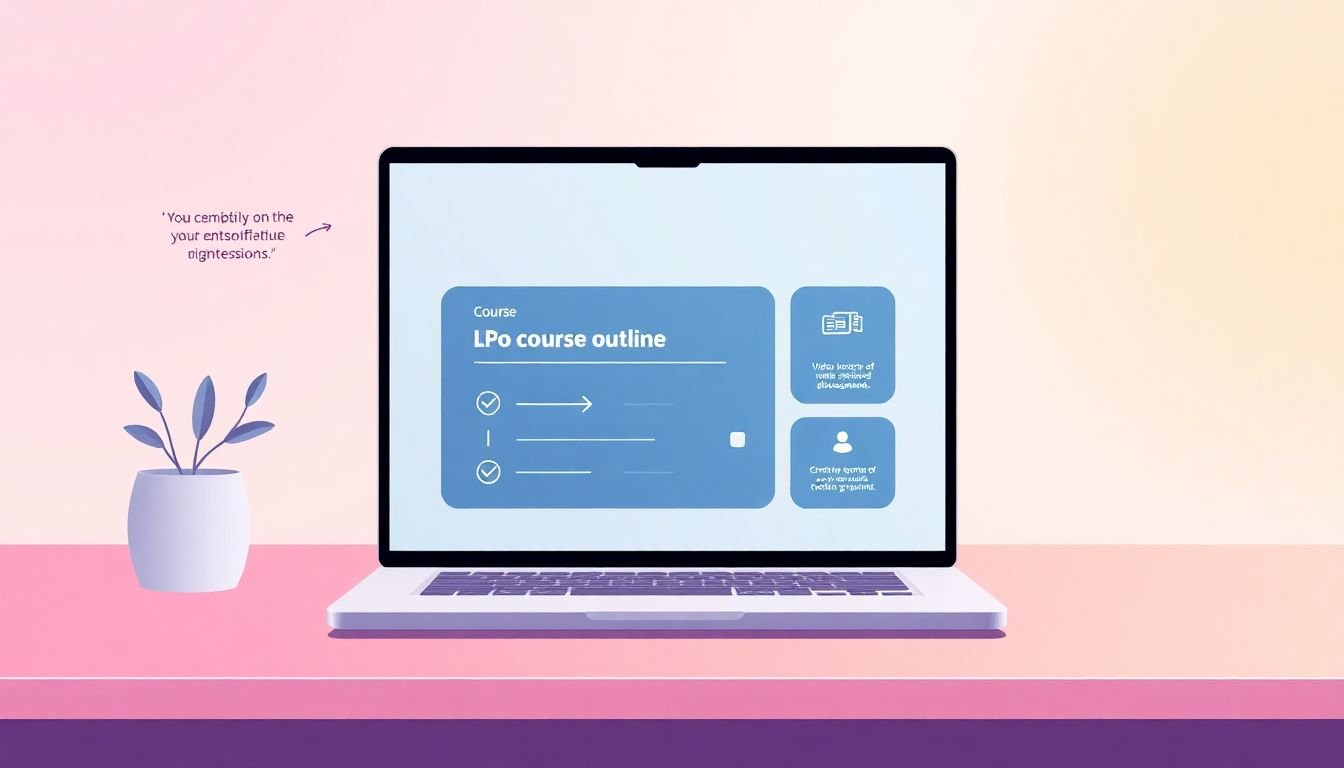
- Use short lesson blocks (5–12 minutes), visuals, quizzes, and practice assignments so students can apply what they learned the same day.
- Pick a platform based on your course style (evergreen vs cohort), grading needs, and how much control you want over learner experience.
- Track completion, quiz item performance, and feedback. Then update lessons based on where people get stuck—not based on guesswork.

Steps to Create Personal Finance Courses
Step one is simple but it’s where most courses get messy: define who you’re teaching and what they’ll be able to do after the course.
Here’s what I mean by “define.” I don’t just say “help people budget.” I write outcomes like:
- By the end of Week 1, learners can build a basic monthly budget using their last 30 days of spending.
- By the end of Week 2, learners can choose a debt payoff method (avalanche vs snowball) and calculate an estimated payoff timeline.
- By the end of Week 3, learners can set a $1,000 emergency fund target and build an automatic savings plan (even if their budget is tight).
In my experience, once you write those outcomes, your course outline basically builds itself.
Quick checklist I use before writing lessons:
- Audience: teens / young professionals / families / retirees
- Primary pain: overspending, credit card debt, no savings, confusing retirement accounts, tax anxiety
- Time commitment: “2 hours per week” or “30 minutes per day”
- Format preference: self-paced, cohort, or live Q&A
- Skill goal: budgeting accuracy, debt payoff math, investing basics, etc.
After that, decide your format. For example, if you’re targeting people who hate reading, you’ll lean harder on video and short worksheets. If your audience is detail-oriented (like pre-retirees), text-based modules plus worked examples might work better.
One practical thing: plan your course like a journey. Each lesson should unlock the next one.
Example lesson flow (what that looks like in real life):
- Lesson 1 (Budgeting): 8-minute video + “find your last 30 days” worksheet + 5-question quiz
- Lesson 2 (Spending categories): 6-minute video + category mapping activity + quiz (scenario-based)
- Lesson 3 (Budget fixes): 10-minute video + “what to cut” decision tree + assignment: adjust budget 1 time
If you’re new to this, platforms like Udemy can make setup easier, especially if you want a simple path to publishing. Still, I always recommend you test your course structure (even privately) before you scale it.
And don’t skip bonus materials. They’re not just “extra.” For finance, practice is the product. Include things like:
- Budget template (Google Sheets or downloadable PDF)
- Debt payoff calculator worksheet (with blank fields)
- Emergency fund tracker (weekly or biweekly)
- Glossary sheet (APR, compound interest, tax bracket, deductible, premium)
Finally, set a realistic timeline. For a course that’s ~6–8 hours of learning content, I usually plan:
- 1–2 weeks for outline + learning outcomes
- 2–4 weeks for scripts + worksheets
- 2–3 weeks for recording + editing
- 1 week for quizzes + platform setup + testing
Pro tip: I’ve had the “I’ll record later” trap happen twice. If you don’t schedule recording days early, it won’t magically happen on its own.
Identify the Need for Personal Finance Education
Here’s the reality: people don’t need motivation. They need clarity and a plan. And the numbers show why.
For example, about 65% of Americans living paycheck to paycheck and 28% having no savings set aside means a lot of learners are one surprise expense away from stress.
Even more, more than 39% aren’t putting money into any retirement accounts. That’s not a “someday problem”—it compounds (literally) over time.
And the policy side matters too. This need is backed by the fact that 27 states now require financial literacy education for high school graduation. When governments are pushing it, you know it’s not a niche issue.
So how do you identify the need for your course specifically? Don’t rely only on broad stats. I do two quick things:
- Talk to 10 people in your target group (or interview in a short form). Ask: “What part of money do you avoid?”
- Run a mini poll with 6 questions: budgeting, debt payoff, credit score, saving, investing, taxes
What I noticed the first time I did this: people didn’t say “I want to learn investing.” They said, “I don’t know what to do first” and “every time I try, I get overwhelmed.” That told me the course needed a guided sequence, not just a list of topics.
If your feedback shows confusion or frustration around budgeting, saving, or investing, you’ve found a golden opportunity for a course that makes money management feel less like chaos and more like a system.
Outline Core Topics for Personal Finance Courses
Step three is building the outline. This is where you decide what “complete” really means—because personal finance can go in 100 directions.
Start with budgeting basics. Even though 84% of us admit overspending past our monthly budget, most people still don’t know how to budget in a way that survives real life.
Then include debt management and credit scores. Credit scores aren’t just numbers—they affect interest rates, insurance premiums, and even how easily people can get approved for apartments or loans.
After that, cover saving and emergency funds. If someone can’t afford a $1,000 unplanned expense, “learn investing” is usually too early. Emergency fund first (or at least alongside debt payoff).
Investing basics should be there, but keep it practical. I like lessons that explain retirement accounts, how stocks/bonds work at a high level, and simple strategies like “index funds vs picking random stocks” without turning it into a finance lecture.
Other topics that consistently come up in learner questions: taxes, insurance basics, and money psychology.
On the psychology side, don’t just say “emotions matter.” Show the mechanism. For instance: when people feel shame about overspending, they avoid checking their balance. That avoidance leads to surprise overdrafts and more stress. A course can address this with a quick “reset routine” exercise: check last week’s spending, label it without judgment, then adjust tomorrow’s plan by one small step.
Here’s a sample syllabus outline I’ve used for a beginner-friendly course (roughly 4–6 weeks):
- Module 1: Budgeting that actually works (budget framework, categories, tracking)
- Module 2: Debt payoff + credit score basics (APR, minimum payments, payoff methods)
- Module 3: Savings + emergency fund plan (automation, sinking funds, choosing targets)
- Module 4: Investing fundamentals (retirement accounts, risk basics, diversification)
- Module 5: Taxes + insurance essentials (what affects take-home pay, basic coverage types)
- Module 6: Money mindset + next steps (behavior change plan, habit tracking)
And yes—don’t overwhelm students with endless content. I aim for “teach the minimum that creates momentum,” then add depth through practice, quizzes, and examples.
Choose Effective Teaching Strategies and Course Design
Step four is where your course either gets completed… or quietly abandoned.
I design finance lessons in short blocks. In practice, most people tolerate:
- 5–12 minute videos
- one worksheet or exercise per lesson
- 5–10 question quizzes that test scenarios, not memorization
Here’s a lesson structure that works well for me:
- Hook (1 minute): a real scenario (“You overspent by $180 last month—what now?”)
- Teach (6–8 minutes): the concept with one example
- Practice (5–10 minutes): learner completes a worksheet or chooses an action
- Check (1–2 minutes): quick quiz or reflection question
Example mini-script (budget lesson):
“Let’s say your paycheck is $3,200. Rent is $1,000, groceries are $450, and you’re averaging $220 on eating out. If you don’t cap eating out, your budget won’t survive week 3. So today you’re going to pick a number you can actually stick to—and we’ll build it into your plan.”
Notice what I did there: I used a specific number, a specific failure point, and an action.
Interactive activities matter too. Instead of only multiple-choice, include:
- Scenario decisions: “Which option prevents overdraft risk?”
- Drag-and-drop labels: categorize expenses (needs vs wants)
- Short written reflection: “What’s one trigger that causes overspending for you?”
Quizzes should reduce confusion, not create it. One question format I like:
- Scenario: “Your credit card interest rate is 24% APR. You pay the minimum for 12 months. What’s the likely outcome?”
- Answer options include “you’ll reduce principal slowly” vs “your balance will drop quickly”
In one course I built, completion improved after I shortened Module 2. Learners were dropping right before the debt payoff math. The fix wasn’t “add more content.” It was: split the math into two parts and add a worked example right before the quiz. After that change, quiz scores went up and fewer people asked the same “how do I calculate this?” question in the comments.
Also, if you’re following a course syllabus, it helps to keep the sequence tight. That’s why I recommend mapping lesson order to skill order—budget → spending categories → budget adjustments, then debt → credit → payoff plan, etc.
If you want a deeper walkthrough on syllabus flow, you can also use this guide on how to make a course syllabus: Udemy course creation tips.
Select Suitable Tools and Platforms for Course Delivery
Step five is picking where your course lives. This choice affects everything: how easy it is for learners to pay, how quizzes get graded, and whether you can update content without chaos.
If you want a platform with minimal setup, Udemy can be a practical starting point. Udemy is often best for evergreen courses where you’re leaning on their marketplace traffic. You’ll also find it useful if you don’t want to manage every piece of the learning experience yourself.
If you want more control over branding and course experience, platforms like Teachable or Thinkific tend to be better fits. In my experience, these platforms shine when you plan to:
- create a repeatable cohort experience (live sessions + deadlines)
- customize the learner journey (progress tracking, page flow)
- use quizzes and assignments in a way that feels more “course-like” than “video library”
Here’s how I compare platforms quickly (so you don’t get stuck in feature lists):
- Course type: evergreen (self-paced) vs cohort (scheduled)
- Assessment needs: automated quizzes vs instructor-graded assignments
- Payment + payouts: how payouts work and how taxes/fees are handled
- Marketing support: built-in promotions vs you doing external traffic
- Update workflow: how easy it is to revise lessons without breaking links
Also, don’t underestimate integration. If quizzes, surveys, and worksheets aren’t easy to add, you’ll end up skipping practice—which is the part learners need most in personal finance.
And if video is a big part of your course, make sure you know how to create educational videos that keep attention (short segments, clear visuals, and frequent “what to do next” moments).
Bottom line: choose the platform that supports your course design. Don’t pick based on hype—pick based on how your learners will actually move through the content.
Measure Success and Plan for Continuous Improvement
Once your course is live, measuring success is where you stop guessing. And with personal finance, you want proof that learners are actually improving—not just watching videos.
Here are the metrics I track (and what I do when I see problems):
- Completion rate: for a beginner course, aim for roughly 40–65% completion depending on marketing and time commitment. If you’re below that, check where the drop-off starts.
- Lesson-level drop-off: if people stop right after a specific video, that lesson is probably too long or confusing.
- Quiz item analysis: which questions are most missed? That tells you exactly what learners didn’t understand.
- Assignment submission rate: if worksheets aren’t being turned in, learners may not understand the instructions or the activity feels too heavy.
- Feedback: comments and surveys highlight confusion fast.
One thing I learned the hard way: “high ratings” can still hide confusion. I’ve seen courses where learners liked the instructor but still struggled on the debt payoff math. The fix came from quiz data, not reviews.
When you get feedback, don’t just rewrite. Diagnose. For example:
- If learners miss APR vs interest vs minimum payment, add a worked example and a simpler explanation before the quiz.
- If learners miss budget category mapping, add a visual decision tree (“If it’s required for living, it’s likely a need…”).
- If learners drop off mid-module, split the lesson into two segments and add a quick practice checkpoint.
Plan updates on a schedule. I like a “light update” every month (fix quiz questions, clarify instructions) and a bigger revision after you’ve collected enough data (usually after 50–200 learners, depending on your audience).
Over time, you’ll refine your personal finance course into something people finish—and actually recommend—because it helps them make decisions they can stick with.
FAQs
Personal finance education gives people practical skills to manage money, make better financial choices, avoid getting trapped in excessive debt, prepare for major life events, and build long-term stability. It’s not just “learn terms”—it’s learning how to make decisions that hold up in real life.
A practical personal finance course usually covers budgeting, saving strategies, managing debt and credit scores, retirement planning, investing basics, taxes, insurance basics, and emergency fund planning. The goal is to cover the fundamentals learners need most—then reinforce them with exercises and scenarios.
Start with how you’ll teach: self-paced vs cohort, and how much you’ll rely on quizzes and assignments. Then check student experience (mobile access, ease of navigation), pricing/payouts, quiz and multimedia support, privacy features, and how scalable the platform is if your course grows.
Track progress and learning outcomes with completion rates, quiz/assignment performance, and learner feedback. If you can, measure whether learners are taking action (like submitting a budget worksheet or using a debt payoff plan). Reviews also help you spot confusing content quickly.