
How to Capture Screen Tutorials with Picture-in-Picture in 7 Easy Steps
Making screen tutorials that look clean is harder than it sounds—especially when you want your face in the video too. Picture-in-picture (PiP) is the easiest way to do that, because you’re basically showing two things at once: what you’re doing on-screen and how you’re thinking through it.
In my experience, the whole process comes down to three things: pick the right recorder, set up the PiP layout so it doesn’t cover your content, and do one quick test so you don’t waste a recording with bad audio. Once you’ve got that routine, PiP tutorials become pretty repeatable.
Here’s exactly how to capture screen tutorials with picture-in-picture in a way that stays clear, professional, and easy for viewers to follow.
Key Takeaways
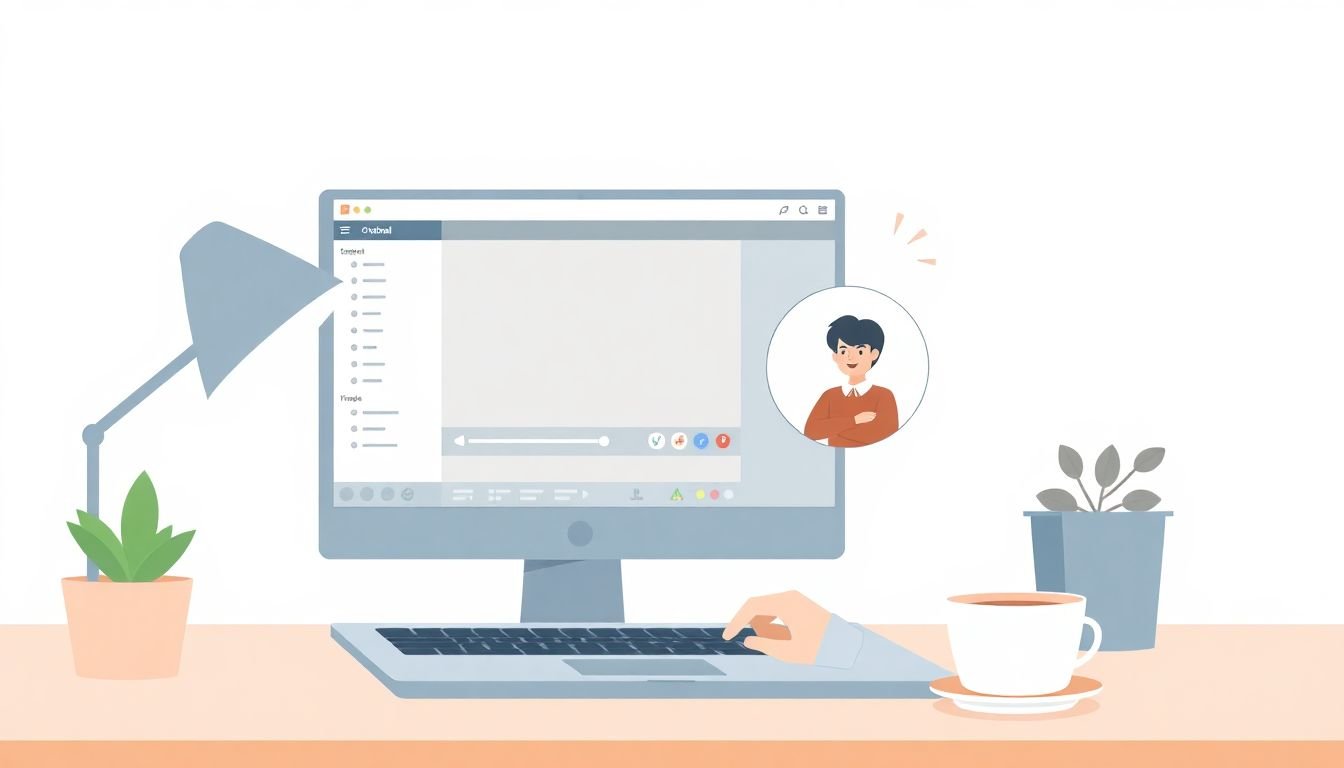
- Use a tool that records screen + webcam at the same time (I recommend Snagit for this). Resize the webcam PiP window and park it in a corner that won’t cover buttons, text, or key UI elements.
- Do a 30–60 second test before you record: check microphone levels, confirm your face is bright enough, and make sure the webcam frame doesn’t clip your head.
- Plan for editing: trim the dead time, then add quick callouts/arrows to point at the exact thing you want people to notice.
- Keep your PiP consistent across tutorials (same camera position, same lighting, same corner). Viewers trust what looks familiar.
- Export to widely supported formats (MP4 or MOV) and organize your files right away so you don’t lose track as your library grows.
How to Capture Screen Tutorials with Picture-in-Picture
If you want your audience to see what you’re doing and see you explaining it, PiP is the way to go. The workflow is simple: record your screen and webcam simultaneously, then position the webcam overlay so it supports the tutorial instead of fighting with it.
Here’s the exact setup I use as a baseline (Windows or macOS works similarly): I start with Snagit, choose a recording mode that includes webcam, and then resize the PiP window before I hit record. Why first? Because once you’re recording, you’ll inevitably want to move the overlay, and that’s when you accidentally cover the most important button.
Before the real take, I do a quick 30–60 second test. I check three things only:
- Audio: speak at your normal volume and make sure the mic isn’t peaking or sounding distant.
- Face visibility: your forehead and eyes should be fully visible—no awkward cropping.
- Screen coverage: the PiP corner shouldn’t cover toolbars, code lines, or key form fields.
When I’m recording, I stay close enough to be clear, but I don’t lean in so much that my head blocks the screen. After recording, I trim the “uh” moments, then add a couple of callouts so viewers don’t miss the exact click they need to make.
Essential Features of Screen Recording Software for Picture-in-Picture
PiP tutorials live or die on the recorder’s ability to handle multiple sources cleanly. If the software makes it annoying to place the webcam overlay, you’ll end up fighting it instead of teaching.
When I’m picking screen recording software for picture-in-picture, I look for these features:
- True simultaneous capture: screen + webcam recorded together (not a “merge later” workflow that can cause sync issues).
- PiP overlay controls: resize and move the webcam window while setting up the recording area.
- Audio options: mic, system audio, or both. For tutorials, I usually want both—especially for software walkthroughs where you need to hear notifications or sounds.
- Basic editing: trim, cut, crop, and add callouts/arrows. You don’t need pro video editing, but you do need fast cleanup.
- Export compatibility: MP4 is the safest default. MOV is also common, especially for Apple-based workflows.
One thing that surprised me when I compared tools: some recorders let you “turn on webcam,” but they don’t let you place it in a way that won’t cover UI elements. For tutorial creators, that’s a deal-breaker.
Quick tool comparison (what I’d actually care about)
- Snagit: strong for quick tutorials, straightforward PiP capture, and easy annotation/callouts after recording.
- Loom: great for fast sharing and simple recording, but PiP placement options can feel more limited depending on your setup.
- OBS Studio: extremely flexible (great if you want full control), but it’s more work to get PiP looking polished and export settings dialed in.
Step-by-Step Guide to Recording Screen Tutorials with Picture-in-Picture
Let’s make this practical. Below is the workflow I follow for a typical “screen walkthrough + talking head” tutorial.
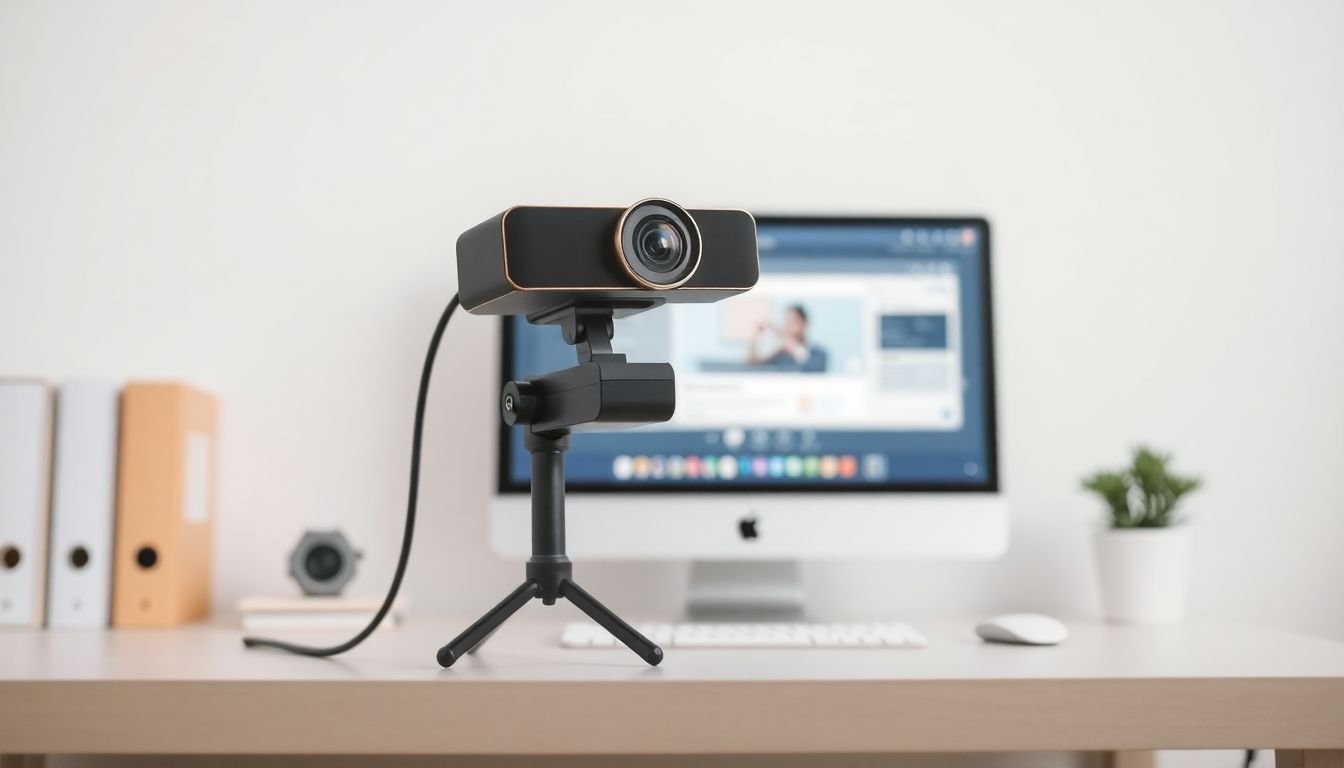
Step 1: Choose your PiP-capable recorder
I start with Snagit because the PiP setup is quick. If you’re using a different tool, the names of the menus might differ, but the goal is the same: screen source + webcam source in one capture.
Step 2: Open the right recording mode
Look for a capture option that includes webcam. In Snagit, it’s typically grouped under the capture/recording settings where you can enable webcam as part of the recording.
Step 3: Select the webcam and place the PiP window
Before you record, set your PiP window position. In my setup, I usually start in the top-right or bottom-right corner—then I double-check the screen content in that corner. If your tutorial includes buttons or menus on the right side, switch corners.
If your software offers a preview, use it. It’s the fastest way to avoid “why is the PiP covering the thing?” later.
Step 4: Set up audio (this is where tutorials often fail)
I do this every time: pick the correct microphone and test levels. If your tool has separate toggles for mic vs system audio, enable both when the tutorial depends on sounds or app notifications.
Quick rule of thumb: if your mic sounds harsh or clipping during the test, lower the mic input by a few steps before recording.
Step 5: Do a 30–60 second rehearsal
Not a full run-through—just enough to confirm:
- Your face is fully visible inside the PiP frame.
- Your voice is clear and not too quiet.
- Your screen capture area includes everything important (toolbar, side panels, etc.).
What I noticed after doing this for a while: most “bad tutorials” aren’t because of the recorder—they’re because someone skipped the test and then exported a video with missing UI or muffled audio.
Step 6: Record with a simple structure
Start speaking right away. Don’t wait for the “perfect” moment. While recording, keep your webcam steady and your head movement minimal. If you’re demonstrating something on-screen, point with your cursor and narrate the click (“I’m clicking Settings, then Display”).
If you make a mistake, don’t panic. Pause, fix it, and continue. You can trim the dead time afterward.
Step 7: Trim, annotate, and export
After recording, I trim obvious pauses (the first 3–5 seconds and any “thinking” moments). Then I add 3–6 callouts—just enough to guide attention without turning the video into a slideshow.
Finally, export to MP4 or MOV so it plays nicely everywhere.
Best Practices for Recording High-Quality Picture-in-Picture Tutorials
If you want your PiP tutorials to look “finished” instead of DIY, focus on the boring stuff: lighting, framing, and clarity.
- Use bright, even lighting: face shadows look unprofessional fast. If you’re using a desk lamp, place it so it lights your face—not your screen.
- Stabilize the camera: a shaky webcam is distracting. I rest mine on a stack of books or use a small tripod when I’m recording longer videos.
- Keep the PiP corner consistent: if you use bottom-right in video 1, don’t switch corners every time.
- Do one test pass: check face brightness, mic level, and whether the PiP window covers any important UI.
- Pause and trim: don’t try to “power through” mistakes. Quick pause + later trim usually saves more time than re-recording everything.
- Skip fancy effects: clarity beats effects. If your viewer has to work to understand the video, you’ve already lost.
Common Challenges & How to Overcome Them When Using Picture-in-Picture
PiP recording is usually smooth—until it isn’t. Here are the issues I see most often, plus fixes that actually work.
1) Webcam overlay blocks important content
Fix: reposition the PiP window before you record. If your tool lets you choose corners, start with the corner that has the least UI activity.
If you already recorded: trim and re-export with a different PiP placement only if your recorder supports it. Otherwise, re-record with the overlay moved.
2) Audio sounds muffled or drops out
Fix: use an external microphone if possible, and confirm the correct mic is selected in your recording tool (not just in your OS settings).
My troubleshooting order: restart the recorder, then restart the browser/app you’re capturing, then restart your computer only if needed.
3) Jittery or shaky webcam footage
Fix: stabilize the camera and reduce movement. If your webcam is on a laptop screen, that small vibration matters.
Extra tip: avoid recording on a surface that vibrates (like a desk with a fan or heavy keyboard typing).
4) Recording glitches or crashes
Fix: close background apps, especially anything that hooks into audio/video (extra meeting tools, screen recorders, overlays).
Also: keep your recorder and webcam drivers updated. I’ve seen “random” crashes disappear after an update.
5) Video file is huge and hard to edit
Fix: trim right after recording and export with sensible settings (more on that below). If your tutorial is mostly static UI, you don’t need extremely high bitrate.
6) Framing looks off (face too small or too cropped)
Fix: enable grid lines/guides if your recorder supports it, or use the PiP preview to adjust your camera distance so your eyes sit around the top third of the PiP frame.
7) Lag or stutter during recording
Fix: lower the capture resolution or frame rate. Also close unnecessary background tabs and apps.
Advanced Tips for Enhancing Your Picture-in-Picture Tutorials
Once the basics are working, these are the upgrades that make a noticeable difference.
- Add callouts that match what you say: if you say “click Settings,” add a quick arrow to Settings at that exact moment.
- Keep your background simple: solid, neutral colors work best. Busy backgrounds pull attention away from the screen.
- Use consistent camera settings: same angle, same lighting, same distance. Viewers shouldn’t have to “recalibrate” every video.
- Break longer recordings into segments: it’s easier to edit and it helps retention. A 20-minute tutorial feels like a chore; 5-minute chunks feel doable.
- Consider higher frame rates for motion: if you’re showing scrolling, live UI interactions, or animations, a higher FPS can make movement smoother.
- Use editing for clarity, not decoration: a quick highlight or zoom-in often beats fancy transitions.
Choosing the Right Export Settings for Your Picture-in-Picture Videos
Export settings can make your tutorial crisp—or blurry and blocky. Here are the targets I stick to.
- Format: MP4 is the safest choice for most platforms. MOV also works well, especially in Apple workflows.
- Resolution: 720p for quick tutorials, 1080p for detailed steps (especially when text matters).
- Codec: use H.264 if available. It’s widely supported.
- Bitrate guidance: for 1080p screen tutorials, aim roughly 8–12 Mbps if your recorder allows it. If you’re getting big files, drop a bit—don’t just export at the highest setting every time.
- Test playback: export, then watch the file at full size. If text looks fuzzy, bump bitrate or re-export at a higher resolution.
If you’re uploading to a course platform, match its expectations (MP4/H.264 and common resolutions). You don’t want to waste time re-encoding later.
How to Manage Your Video Files and Organize Your Tutorial Library
Organization sounds boring, but it’s what saves you when someone asks for “the updated version” of a tutorial you made months ago.
- Create a folder structure: organize by topic, project, or course name. I usually do “Course Name / Module / Video.”
- Use descriptive file names: something like Billing-Settings-Payment-Methods_v2.mp4 beats final2.mp4 every time.
- Version updates: if you revise steps, keep the old version. It helps when you need to explain what changed.
- Back up: cloud storage or an external drive. Hard drives fail. It’s not a question of if.
- Create a simple index: a spreadsheet or doc with video title, purpose, and key topics. Future-you will thank you.
- Embed consistently: if you host videos on your site, keep the player layout and title style uniform.
- Link related tutorials: playlists and internal links help viewers move through the learning path without hunting.
FAQs
Use a screen recorder that supports PiP. Enable both your screen capture and your webcam overlay, position the webcam window where it won’t cover key UI, then record and export the combined video.
Look for simultaneous screen + webcam capture, easy PiP overlay placement (resize/move), reliable audio options (mic and/or system audio), basic editing (trim + annotations), and export formats like MP4/MOV.
Yes—some free tools offer PiP recording—but paid options usually make it easier to control webcam placement, improve export quality, and speed up editing/annotations.