
Building Virtual Sets With Green Screens in 8 Simple Steps
Green screens and virtual sets can feel intimidating at first—especially the first time you see your footage and realize your “perfect” green turns into a messy edge. But I’ve been there. What I learned pretty quickly is that the results mostly come down to a few repeatable choices: spacing, lighting, camera settings, and how you key (and clean up) the edges.
In my experience, if you get those parts right, you can go from “that looks fake” to “wait… that looks real” with surprisingly little post work. I’m going to walk you through the full process in a practical way, including a mini workflow I use for talking-head shots in a small room (roughly 8x10 ft), plus the exact checks I do before I start editing.
By the end, you’ll know how to set up your green screen, record clean footage, and turn it into a polished virtual environment using tools you can actually find and afford. No magic. Just a solid process.
Here’s what we’ll cover: green screen setup, recording strategy, software selection, shot planning, keying workflow, edge cleanup + spill control, compositing, and then how LED volume and cloud tools fit in when you want to level up.
Key Takeaways
- Set up for even green: smooth fabric, no wrinkles, and enough subject-to-screen distance (I aim for 3–5 feet) to reduce spill and shadow edges.
- Record with control: manual focus, consistent exposure/white balance, and stable movement so keying doesn’t fight motion blur.
- Use software that matches your workflow: Premiere/Resolve for editing + keying, After Effects for deeper edge work, OBS for live.
- For realism, lighting matters more than you think: match the direction and “feel” of the virtual background with your subject lighting and add subtle shadows.
- LED volume can look amazing, but it’s not automatically easier—your capture and lighting calibration still need to be intentional.
- Cloud tools are great for collaboration and asset management; just verify your preview/latency and export settings before you rely on them.
- Practice with a repeatable test shot: do a 20–30 second take, check key quality, then scale up to your real scene.
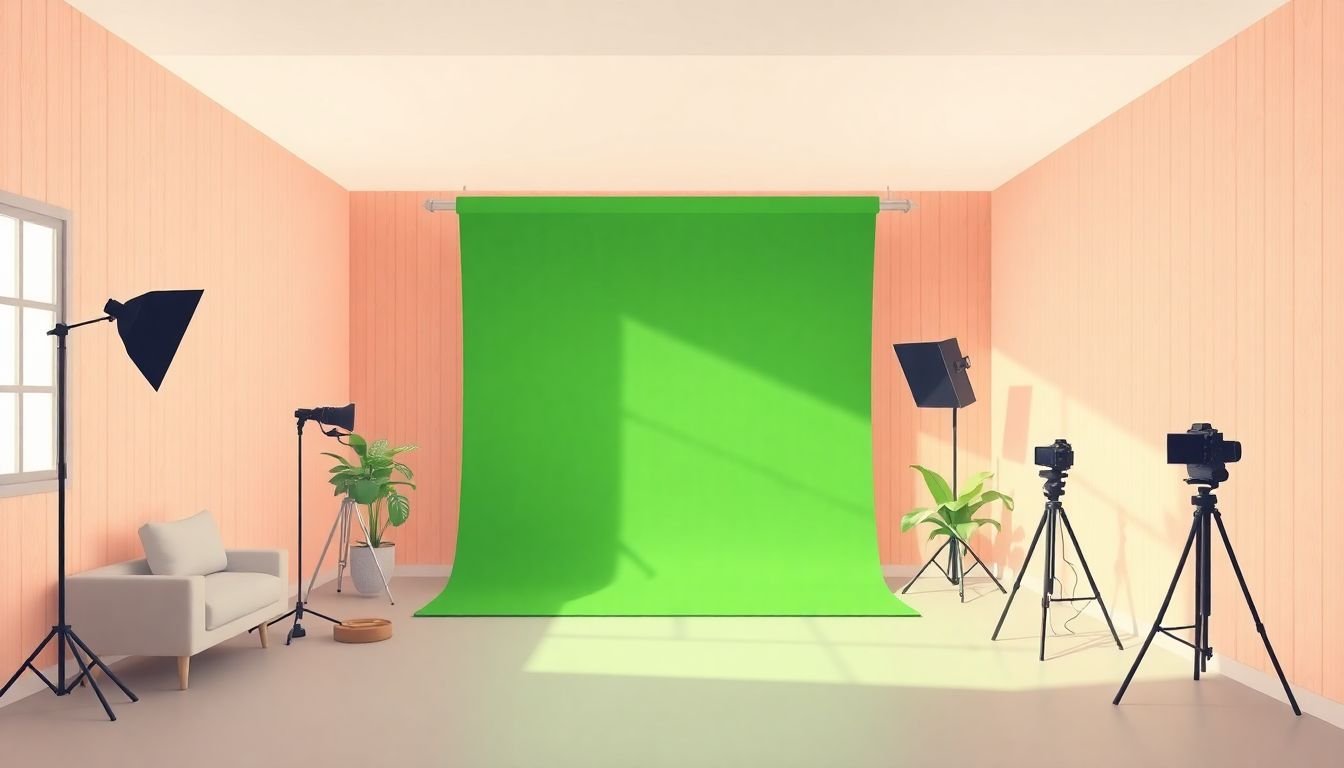
Step 1: Set Up Your Green Screen Properly
Getting your green screen right is where most of the “wow” comes from. If the green is uneven, your software has to guess—and it usually guesses badly around hair, shoulders, and hands. So start with the backdrop.
Choose a screen that’s smooth and truly green. I avoid anything fluorescent or weirdly textured because it can cause color spill and messy edges. If you can, use a fabric/paint that’s designed for chroma keying.
Distance matters. I try to keep 3–5 feet between the subject and the screen. Why? It reduces green bounce and helps keep your clothing from picking up that green tint.
Light the screen separately from the subject. Use soft, diffused lights aimed at the green screen. LED panel lights with diffusers are a solid budget-friendly option, and they’re easy to position. The goal is even coverage—no hotspots, no shadows, no weird gradients.
Do a quick “key test” before you record. If your camera or monitor lets you preview levels, check for blown highlights or crushed shadows. Overexposure can make the green look washed out; underexposure makes it noisy. Either one can hurt edge quality.
Set your subject lighting to stay consistent. Place your key light on the subject so you get nice skin tones and a believable shadow direction. Then add a separate fill if needed—just don’t blast the screen again and ruin your green.
Camera white balance + exposure: set them manually. Auto white balance will drift shot-to-shot and make the key harder. Same with exposure—if it pumps, your green won’t stay consistent.
One setup tweak that helped me a lot: use a dedicated light on your subject that’s not bouncing off the green screen. In one test, I had my subject light too close and it created a faint shadow gradient behind me. Moving it a bit farther and adding a flag (even a simple foam board) fixed most of it.
Step 2: Record Your Green Screen Footage
Now that your screen looks good, recording is about keeping everything stable. Chroma keying hates surprises—focus shifts, exposure changes, and motion blur.
Use manual focus. Lock it. If you’re on a camera that supports it, set focus once on your face (or your eyes) and don’t touch it again. Autofocus “breathing” will show up as jittery edges after keying.
Keep exposure consistent. Manual exposure (or at least manual iris/shutter/ISO where possible) makes a huge difference. If you’re using a DSLR/mirrorless, I’d rather slightly underexpose than let highlights clip.
Record at 1080p or higher. I usually shoot 4K if the camera supports it, then downscale later. More detail = cleaner edge work and easier cropping.
Do short test clips first. Record 10–20 seconds of your typical movement. Then check: do you see green halos around hair? Is there a shadow on the screen? Are hands clean? If something’s off, fix it now—not after you’ve recorded 20 minutes.
Give yourself “extra” frames. Capture a few seconds before and after the main take. It’s not just for editing convenience—you can stabilize, reframe, and avoid awkward starts/ends.
Mind what you wear. Avoid green clothing (obviously) and also avoid patterns that strongly reflect light. In one shoot, a shiny watch face caught a green reflection and it looked like a floating green blob in the composite.
Audio still matters. A great virtual background won’t save a video with muffled sound. Use a decent mic and monitor levels—your audience will forgive a simple set, not bad audio.
Step 3: Select Your Software for Virtual Set Creation
Here’s the honest take: the “best” software is the one that matches how you’re producing. Are you editing a pre-recorded video, or doing live virtual sets while you talk? That changes everything.
For editing + keying (pre-recorded):
- Adobe Premiere Pro / Final Cut Pro: great for straightforward chroma keying, timeline editing, and quick composites.
- DaVinci Resolve: strong color tools, and you can often get better results when you need to fine-tune skin tones and match lighting.
- After Effects (if you want the cleanest edges): more control over keying, edge refinement, and spill cleanup.
For live virtual sets:
- OBS Studio: popular for streaming, easy scene switching, and good plugin support.
- ManyCam: handy if you want fast virtual backgrounds and simpler setup for live talking-head content.
- vMix / Wirecast: strong for broadcast-style workflows when you need more control and reliability.
For real-time advanced virtual production:
- Unreal Engine: powerful for building and controlling scenes in real time, especially if you’re moving toward LED volume or more complex environments.
Quick evaluation checklist (before you commit):
- Does it support spill suppression and edge refinement (not just basic keying)?
- Can you preview the key in real time (or at least quickly re-render)?
- Is your footage import painless (codec + resolution support)?
- Can you export in the format you need for YouTube/social or broadcast?
One thing I always do: run a 30-second test clip through the exact workflow I plan to use. If the interface is slow or the key looks worse than expected, I switch tools early.

Step 4: Plan Your Shot and Lighting Match
This is the step most people skip. They focus on the green screen (fair), then they throw the background in without thinking about how the scene should “feel.” That’s where composites fall apart.
Pick a background that matches your camera angle and lens feel. If your virtual background has a strong light direction from the left, but your subject light is from the right, your brain will notice. Even if the key looks perfect.
Decide on camera movement early. If you’re doing a locked-off talking head, great. If you’re panning or zooming, plan for it—some keying workflows handle motion better than others.
Plan for realistic shadows. Don’t overdo them, but you need something. In my first few attempts, I didn’t add any shadow at all, and the subject looked like a cutout sticker.
Make a simple shot list:
- Shot size (waist-up? full body?)
- Background choice (bright studio? darker office?)
- Light direction (left/right/up)
- Whether you’ll animate the background or keep it static
- Any hand/edge-critical moments (gestures near hair/shoulders)
Small planning = fewer re-shoots.
Step 5: Key Your Green Screen and Refine Edges
Keying is where “green screen” becomes “virtual set.” But here’s the truth: most of the time, the default key looks okay, then your edges get weird when someone moves.
My go-to keying workflow (works across most editors):
- 1) Start with a basic key. Use the green channel / chroma key tool to remove the background.
- 2) Adjust threshold/clip. Move slowly. If you remove too aggressively, you’ll eat into hair and eyebrows.
- 3) Refine edges. Look for “sparkle” (tiny holes) on motion and “halos” (green outline) around shoulders.
- 4) Add a tiny bit of smoothing or defringing. This helps kill jagged edges, but too much will blur details.
- 5) Stabilize if needed. If your camera or subject drifts, tracking can prevent edge breakup.
After Effects-style edge cleanup (if you use it):
- Apply your key (Keylight or similar).
- Use edge settings to tighten the matte around hair.
- Use spill suppression tools to reduce green tint.
- Export the matte or combine it with your background once you’re happy.
What I look for in a “good key”:
- Hairline looks solid (no green fuzz).
- No green fringe on dark clothing.
- Hands don’t turn transparent when you move.
- Edges don’t “shimmer” frame-to-frame.
Step 6: Control Spill and Color Match
Even with a great key, green spill can haunt you—especially on dark shirts, skin near the edges, and reflective objects. This is where realism is won or lost.
Spill suppression basics:
- Reduce green tint along the edges without removing the subject.
- Use a despill or chroma suppression control if your editor has it.
- If your software supports it, try a matte-based approach (despill on the subject edges only).
Color match checklist (this makes it look “real”):
- Match the background’s overall contrast (do you need more/less blacks?).
- Match white balance (skin should look natural, not too cool/warm).
- Match saturation (backgrounds are often more saturated than your subject).
- Add subtle grain or blur to unify the footage (especially if your background is a still image).
Quick before/after example from my own tests: I once had a slight green outline on a dark hoodie. After I adjusted the despill amount (not the key threshold) and then darkened the midtones slightly to match the background contrast, the hoodie edges stopped looking “cut out.” The key was already “mostly fine”—the spill control was the missing piece.
Step 7: Composite, Add Shadows, and Finalize
Compositing is more than stacking layers. It’s about making your subject obey the physics of the scene.
Do these in order:
- Place the subject. Scale and position so it matches the background perspective.
- Match focus. If your background is slightly out of focus, blur your subject edges (or vice versa) to reduce the “cutout” feeling.
- Add a shadow. Even a simple shadow layer helps. Use soft blur and adjust opacity until it looks like it belongs in the scene.
- Add contact shadows. If the background has a floor, add a subtle darkening under the subject.
- Color grade together. Don’t grade the subject separately at the end—do a combined grade so everything looks like one camera capture.
One realism trick I like: if the background is brighter behind you, lift your subject’s exposure slightly and add a gentle highlight. It’s small, but it sells the illusion.
Step 8: Test, Troubleshoot, and Export
Before you call it done, do a quality pass. Not “looks good on my screen” — actual checks.
My quick troubleshooting loop:
- Halo/green fringe? Reduce spill/despill first, then slightly adjust key threshold if needed.
- Fuzzy edges? Improve edge refinement and consider a bit more sharpening after compositing.
- Holes in motion? Lower key aggressiveness or adjust smoothing—sparkle is usually too-tight thresholds.
- Subject looks too bright/dull? Match contrast and saturation to the background.
- Lighting feels wrong? Re-check light direction and add a shadow layer that matches it.
Export settings that won’t sabotage you:
- Export at the resolution you need (I’d rather export 4K and downscale than export too small).
- Test playback on a different device (phone + desktop). If the key looks fine there, it’s usually solid.
- If you’re streaming, do a short “private” stream test to check compression artifacts around edges.
One last thing: if you can, save your keying settings as a preset. Next shoot will be faster, and your look will stay consistent.
Step 9: Incorporate LED Volume Stages for More Immersive Virtual Sets
If you’re aiming for ultra-realistic, dynamic backgrounds, LED volume stages can be a big upgrade. But let’s be real—they’re not just “better green screens.” They change the whole capture workflow.
Compared to a traditional green screen, an LED wall can provide more natural reflections and lighting cues because the environment is literally lighting your subject. That’s the main advantage. You also often reduce the amount of “fake lighting” you need to add in post.
What I’d watch for if you’re considering LEDs:
- Calibration: make sure the content on the wall matches your camera exposure and color response.
- Camera setup: you still need consistent settings (white balance, exposure) so the composite doesn’t fight you.
- Lighting continuity: if the LED content changes, your subject lighting needs to feel consistent too.
Budget reality check: LED stages are usually more expensive upfront, but they can reduce post-production time. For smaller productions, you might rent or collaborate rather than buy. If you’re looking for vendor options, explore companies like Roalto or Metastage for scalable solutions.
Software side: if you want to design and control scenes, tools like Unreal Engine are commonly used for real-time scene control. The payoff is faster iteration when you’re adjusting the environment during production.
Step 10: Embrace Cloud-Based Virtual Production Tools
Cloud tools are genuinely useful once your workflow involves multiple people, lots of assets, or you’re editing from different locations. They also make it easier to keep your project organized—nobody wants to hunt for missing textures at 11:30 PM.
Using cloud services like AWS ThinkBox or ShadowHands, you can store and process assets without building everything on one machine. That’s especially helpful if you’re doing renders or need collaboration across time zones.
Before you rely on cloud tools, check these:
- Preview quality: does the preview look like the final export?
- Latency (for live work): can you adjust backgrounds in time?
- Export formats: do they support the codecs/resolutions you need?
- Asset versioning: can you roll back changes easily?
Some cloud workflows also include automated background removal or AI-assisted editing. That can speed things up, but I still recommend doing a quick key quality check—automation can miss edge cases like hair strands.
If you’re trying to compare services, use a framework (not vibes): list your must-haves (preview, collaboration, export formats, cost), then test with a small sample project. If you want a starting point for comparisons, resources like Compare Online Course Platforms can help you think through workflow fit—even if you’re not building a course, the evaluation approach is similar.
Step 11: Practice, Experiment, and Keep Up with Industry Trends
Virtual production keeps evolving. New keying tools, better edge algorithms, more real-time options—there’s always something worth trying.
Here’s what actually helps: practice with a repeatable test. Do the same shot every time (same distance, same lighting setup, same camera settings), then swap one variable—like your background, edge refinement method, or spill suppression amount. You’ll learn faster than by randomly changing everything.
Also, keep an eye on communities and events. Forums like Virtual Production Society and webinars can help you avoid dead ends and learn what’s working right now.
If you want to go deeper, experiment with multi-layer compositing and real-time color correction. Those features can make a huge difference when you’re trying to match your subject to a dynamic environment.
And if you prefer structured learning, tutorials and courses can speed things up. For example, you can explore Create AI Course to find learning resources that fit your style.
No matter what, keep iterating. Even seasoned pros still test new setups constantly—that’s how they develop a look that feels consistent and believable.
FAQs
Focus on even lighting and a smooth, wrinkle-free green surface. Keep distance between you and the screen (around 3–5 feet), light the screen separately from the subject, and set camera white balance + exposure manually so the green stays consistent.
For common workflows, people use OBS Studio (live), Adobe Premiere Pro or Final Cut Pro (editing + keying), After Effects (advanced edge refinement), and DaVinci Resolve (color + compositing). Pick based on whether you’re doing live or pre-recorded editing.
Match lighting direction, contrast, and color between the subject and the background. Add subtle shadows (and contact shadows if there’s a floor), and use spill suppression so edges don’t glow green.
Export at the resolution you planned (and avoid unnecessary downscaling), choose a reliable codec, and do a short playback test on multiple devices. If you’re streaming, test a short segment first to catch compression artifacts around edges.