How to Build Drag-and-Drop Interactions in Authoring Tools Step-by-Step
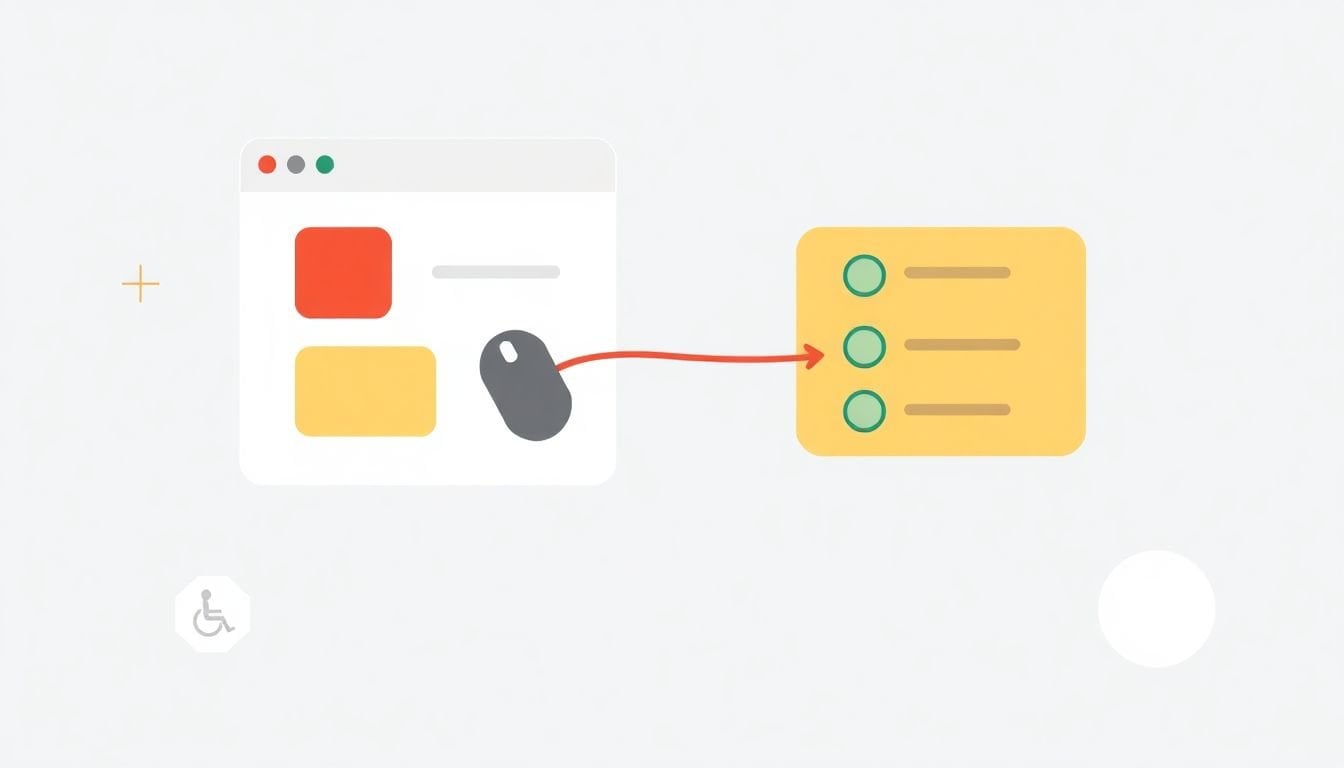
Building drag-and-drop interactions in an authoring tool sounds harder than it usually is. When I first tried it, I thought I’d be juggling a dozen event types and weird edge cases forever. Turns out the core is pretty straightforward—you just have to do it in a way that’s predictable for users and maintainable for you.
In my experience, the “magic” isn’t the drag-and-drop itself. It’s the combination of (1) clear draggable items, (2) obvious drop zones, (3) a data model that updates correctly, and (4) accessibility fallbacks so keyboard and screen reader users aren’t left out. If you get those right, the rest is detail work.
Key Takeaways
- Start with the user goal (reorder blocks, assemble content, place components), then define your draggable item shape and your drop zone rules.
- Use HTML5 drag events—
dragstart,dragover,drop—and remember the critical detail:dragoverneedsevent.preventDefault()or drops won’t fire. - Implement visual cues by toggling CSS classes on
dragenter/dragover/dragleave, and consider a custom “ghost” image withdataTransfer.setDragImage(). - Update your underlying state/data model on drop (like an array of block IDs), not just the DOM, so re-rendering and persistence stay sane.
- Test on multiple browsers and devices early—HTML5 drag-and-drop has spotty mobile support, so you may need a keyboard/mouse alternative.
- For accessibility, don’t rely on mouse-only DnD: add a keyboard move mode, roving tabindex, and ARIA roles/announcements so screen readers understand what changed.
- Libraries can save time (for example, SortableJS or React DnD), but you still need to wire up state, cues, and fallbacks.

Build Drag-and-Drop Interactions for Authoring Tools
Creating drag-and-drop interactions in an authoring tool isn’t just about making things look nice. It’s about helping people accomplish a task—fast. Start by being brutally clear about the user goal. Are they reordering blocks, placing components into a layout, or building a page from modules? Each one changes what your “drop zone” means.
For the HTML5 route, draggable items and drop targets are the core pieces. The events you’ll use most are dragstart, dragover, and drop. The “gotcha” I see people trip over constantly? You must call event.preventDefault() inside dragover or the browser won’t allow the drop.
In my own builds, I also learned that users need feedback at every step. When they hover a valid target, highlight it. When they leave, remove the highlight. And when the drop succeeds, announce it (more on accessibility later). Without cues, drag-and-drop feels broken even when the code is technically working.
One more practical note: HTML5 drag-and-drop support on mobile browsers is inconsistent. So even if you implement mouse-based drag events, plan a keyboard and/or click-to-move alternative so the feature doesn’t fall apart on touch devices.
Define Core Components for Drag-and-Drop
Before you write code, map out the parts of your system. Typically you’ll have:
- Draggable items: blocks, modules, templates, quiz questions, etc.
- Drop zones: containers or positions where items can land.
- A state model: something like an array of block IDs, plus metadata (type, content, order).
- Feedback UI: highlight zones, ghost preview, and “drop succeeded” messaging.
- Fallback interaction: keyboard alternative (and sometimes touch alternative).
I like a modular approach here. If you’re using React, Vue, Svelte—fine. But even with plain HTML/JS you can still keep it clean by separating “draggable item behavior” from “drop zone behavior.” Think: one component emits “I’m being dragged with ID X,” and another component decides what to do when it receives that ID.
Also, decide early how you handle these common actions:
- Move vs copy (dragging a chart from the palette into the canvas could copy, but reordering inside the canvas should move).
- Reorder rules (drop “before” or “after” a target? snap to grid? allow gaps?).
- Nested draggables (if a draggable contains buttons or links, you have to prevent accidental drags).
- Validation (some zones only accept certain block types).
Create a Step-by-Step Guide for Implementation
Alright—here’s the part you actually need. Below is a minimal, working example (HTML + CSS + JS) that supports:
- Drag-and-drop reordering (move)
- Drop zone highlighting
- State updates using a simple array
- Basic accessibility announcements (ARIA live region)
Minimal example: drag-and-drop reordering with HTML5
HTML
<div id="builder" role="list" aria-label="Blocks">

  <div class="block" draggable="true" role="listitem" tabindex="0" data-id="block-1">Block 1</div>

  <div class="block" draggable="true" role="listitem" tabindex="0" data-id="block-2">Block 2</div>

  <div class="block" draggable="true" role="listitem" tabindex="0" data-id="block-3">Block 3</div>

</div>

<div id="aria-live" aria-live="polite" class="sr-only"></div>
CSS
.block {

 border: 1px solid #ddd; padding: 10px 12px; margin: 8px 0; border-radius: 8px;

 background: #fff; cursor: grab;

}

.block:active { cursor: grabbing; }

.drop-target { outline: 3px solid #0b74ff; background: #eaf3ff; }

.sr-only {

 position: absolute; width: 1px; height: 1px; padding: 0; margin: -1px; overflow: hidden; clip: rect(0,0,0,0); white-space: nowrap; border: 0;

}
JS
const builder = document.getElementById('builder');

const live = document.getElementById('aria-live');

let order = ['block-1', 'block-2', 'block-3'];

let draggedId = null;


builder.querySelectorAll('.block').forEach(el => {

 el.addEventListener('dragstart', (e) => {

  draggedId = el.dataset.id;

  e.dataTransfer.effectAllowed = 'move';

  e.dataTransfer.setData('text/plain', draggedId);

  // Optional: use a custom drag image so it looks less “weird”

  // e.dataTransfer.setDragImage(el, 10, 10);

  el.classList.add('dragging');

 });


 el.addEventListener('dragend', () => {

  draggedId = null;

  el.classList.remove('dragging');

  builder.querySelectorAll('.drop-target').forEach(z => z.classList.remove('drop-target'));

 });

});


function announce(message) {

 live.textContent = message;

}


builder.querySelectorAll('.block').forEach(target => {

 target.addEventListener('dragenter', (e) => {

  e.preventDefault();

  target.classList.add('drop-target');

 });


 target.addEventListener('dragover', (e) => {

  // Critical: without preventDefault(), drop won't work

  e.preventDefault();

  e.dataTransfer.dropEffect = 'move';

 });


 target.addEventListener('dragleave', () => {

  target.classList.remove('drop-target');

 });


 target.addEventListener('drop', (e) => {

  e.preventDefault();

  const droppedOnId = target.dataset.id;

  const movingId = e.dataTransfer.getData('text/plain');

  if (!movingId || movingId === droppedOnId) return;


  const fromIndex = order.indexOf(movingId);

  const toIndex = order.indexOf(droppedOnId);

  // Move the item in the array

  order.splice(fromIndex, 1);

  order.splice(toIndex, 0, movingId);


  // Re-render based on state

  const elsById = Object.fromEntries([...builder.children].map(ch => [ch.dataset.id, ch]));

  order.forEach(id => builder.appendChild(elsById[id]));


  builder.querySelectorAll('.drop-target').forEach(z => z.classList.remove('drop-target'));

  announce(`Moved ${movingId.replace('block-','Block ')} to position ${toIndex + 1}.`);

 });

});
That’s the skeleton. Now, here are the pitfalls that will waste you hours if you ignore them.
- Pitfall #1: forgetting
preventDefault()ondragover
If you don’t call it,dropnever fires. I’ve seen this “bug” look like a logic issue when it’s really just one missing line. - Pitfall #2: “nested draggable” elements
If your draggable block contains a button, link, or editable input, the browser may start dragging when the user intended to click. A common fix is to stop drag initiation from inner controls (for example, ignore drag events originating from elements withcontenteditableorbuttontags) and/or only setdraggable="true"on a dedicated handle. - Pitfall #3: drop zone detection
Yourdrophandler might fire on the “wrong” element if you rely onevent.targetinstead of the intended drop container. PrefercurrentTargetor attach listeners directly to known drop zone elements. - Pitfall #4: drag image looks off
By default, browsers generate a drag preview that sometimes overlaps poorly or looks blurry. You can trydataTransfer.setDragImage(element, x, y), but note that browser behavior varies—test in Chrome, Firefox, and Safari.
If you want this to scale (lots of items, smooth animations, better mobile support), libraries are often worth it. But even with libraries, the same fundamentals still apply: state updates, cues, and accessibility fallbacks.
How AI-Powered Drag-and-Drop Report Builders Are Democratizing Data Analysis
I’m going to keep this grounded in the drag-and-drop experience, not the hype.
When AI is used in drag-and-drop report builders, it’s usually doing one of two things:
- Suggesting the next block/component while the user drags (for example, “this chart fits here” or “you might want a summary table”).
- Auto-configuring dropped components (mapping fields to axes, picking defaults, generating a “reasonable” layout).
Here’s what matters from an interaction standpoint: suggestions shouldn’t interrupt the user’s flow. If the UI is actively changing what the drop means while someone is dragging, it feels unpredictable. In my experience, the best pattern is to show lightweight previews (like a small hint near the drop zone) and then apply changes only after the user drops.
If you’re evaluating tools that offer AI-assisted drag-and-drop, compare how they handle:
- Whether suggestions appear before or after drop
- How the user can undo/revert an AI change
- Whether the AI respects the author’s existing layout rules
- Performance—does the UI lag when you drag?
If you want a place to start comparing options, check out compare online course platforms for reviews on AI features that support report creation and analysis (even if you’re not building reports today, the evaluation criteria carry over).
Real-Time Collaboration in Drag-and-Drop Reporting Tools Enhances Teamwork
Collaboration is where drag-and-drop gets tricky fast—not because dragging is hard, but because state conflicts are.
If two people reorder the same list of blocks at the same time, you need a clear strategy. In practice, I’ve seen teams implement one of these:
- Last-write-wins: simple, but users can feel like their changes “disappeared.”
- Operational transforms / CRDTs: more complex, but great for real-time editing.
- Locking at the item level: when someone drags a block, that block is “owned” temporarily.
From a UX perspective, collaboration also needs visible cues. If you’re using drag-and-drop in a shared report builder, show who’s editing what. It reduces confusion and prevents the “why did my drop do nothing?” moment.
And please—log actions. Even a simple activity log (“Alex moved Block 3 before Block 1”) goes a long way for debugging and user trust.
If you’re looking for broader collaboration patterns that you can adapt to your authoring tool, learning about effective collaboration strategies can help with workflow thinking. The technical details still need to be yours, though.
The Rise of Mobile Accessibility for Drag-and-Drop Report Building
Let’s be honest: mobile drag-and-drop using native HTML5 events is inconsistent. Touch devices don’t always trigger the same dragstart/drop behavior you get on desktop.
So if your authoring tool is mobile-friendly, aim for a design where drag-and-drop is one input method, not the only one.
What I’ve found works best:
- Provide a keyboard/click alternative (tap “Move,” then choose a destination)
- Keep targets large (small drop zones are frustrating on fingers)
- Use responsive layout so the “drop meaning” is always clear
- Test on real devices (not just browser emulation)
If you want to understand compatibility considerations while planning your roadmap, learning about platform compatibility is useful for thinking about constraints and user expectations.
How to Cost-Effectively Use Drag-and-Drop Authoring Tools for Learning
Cost matters, but the bigger question is usually: “How much time will this save me?”
When teams use drag-and-drop authoring tools for learning content, they’re typically cutting down production time by reusing templates and building components faster. In other words, it’s not just about cost—it’s about speed and iteration.
If you’re starting small, look for:
- Templates for common layouts (lesson pages, quizzes, module blocks)
- Basic drag-and-drop editing that doesn’t require heavy customization
- Export/publish options that fit your workflow
For pricing benchmarks and planning, pricing tips for online courses can help you think through value and sustainability—even if your focus is authoring interactions, not course marketing.
And if you’re evaluating tools, start with a free trial or basic plan so you can test drag-and-drop UX in your real content. That’s the only test that matters.
FAQs
Start by defining your draggable item IDs and your drop zone rules (what can go where). Then wire up dragstart to store the dragged ID, dragover with preventDefault() so drops are allowed, and drop to update your state/data model (like an order array). After that, add visual cues and test in at least Chrome + Firefox before you go bigger.
Don’t make drag-and-drop mouse-only. In practice, I recommend:
- Keyboard alternative: support “pick up” and “place” using Enter/Space and arrow keys (move up/down in a list, or choose a target zone).
- Roving tabindex: only one item in the list should be tabbable at a time to keep keyboard flow predictable.
- ARIA semantics: use
role="list"/role="listitem"(or grid/listbox patterns if you’re doing a more complex layout). - Announcements: use an
aria-liveregion to announce what moved and where it landed. - Visible focus: make focus rings obvious, and don’t remove outlines.
HTML5 drag events alone typically won’t satisfy keyboard-only users, so the fallback is non-negotiable.
If you want quicker results, libraries can help a lot. A few common options:
- SortableJS (great for reordering lists)
- React DnD (React-first drag-and-drop)
- interact.js (interaction-focused, useful for custom gestures)
Even with a library, you still need to handle state updates, visual cues, and accessibility fallbacks.
The big ones are usually:
- Browser inconsistencies: test early and don’t assume Safari mobile will behave like desktop Chrome.
- Drops not firing: confirm you call
preventDefault()indragover. - Wrong target: use known drop zone elements and avoid relying on
event.targetwhen you meantcurrentTarget. - Nested controls causing drags: use a drag handle or stop drag initiation from interactive children.
If you tackle those systematically, your drag-and-drop feature will feel “solid” instead of flaky.