Watercolor Painting Course: Best Online Classes for Beginners
⚡ TL;DR – Key Takeaways
- ✓Pick a watercolor painting course that teaches paint application, brush techniques, and color formation—not just pretty examples
- ✓For online classes, prioritize structured progression (wet-on-dry → gradients → controlled washes → layered composition)
- ✓Use assignments with critique loops (peer, instructor, or AI-assisted feedback) to avoid repeating common beginner mistakes
- ✓Choose resources that match your subject taste (florals, seascapes, portraits, abstracts) while still covering fundamentals
- ✓Starter kits + supply lists matter: brush type/size and paper quality change results more than most beginners expect
- ✓The best “course” is usually a bundle (15–200 lessons) with downloadable worksheets and repeatable practice plans
- ✓Use free watercolor classes strategically: practice the same skill across multiple tutorials, not random styles
The Best Online Watercolor Classes for beginners: are you actually learning the technique?
Your first watercolor should feel magical, not like you’re fighting your own paper. But most “watercolor painting course” listings hide the real work: paint application order, brushwork control, and why your washes bloom. If you don’t learn those, you’ll just collect pretty failures.
I care about courses that teach the mechanics clearly. Not vibes. Not “watch me paint.” You should finish lessons able to repeat a skill tomorrow.
What “best” means in 2026: curriculum + feedback loops
Best means measurable progress. I look for modular progression where each module has explicit technique goals and a practice outcome. If the course is 80% inspiration and 20% drills, you’ll stall hard.
You also want assignments with critique, because blind practice is the fastest way to lock in bad habits. In the 2026 edtech benchmarks, online art course completion rose to 65% with AI personalization, up from 45% pre-AI (per aggregated platform data). The tool isn’t magic—the feedback loop is.
- Modular technique progression (wet-on-dry → gradients → controlled washes → layered compositions).
- Critique loop (instructor, peer, or AI-assisted analysis from uploaded work).
- Downloadables for transparency: swatch libraries, mixing tests, and paint application drills.
Here’s another reason I’m picky. Top-tier digital courses often advertise 200+ lessons totaling 100+ hours. That scale matters only if it’s structured and skill-based, not endless “scene painting.”
My testing checklist (what I look for before recommending a course)
I don’t recommend blindly. I test the curriculum like a customer who has to actually paint, not like a reviewer who reads blurbs. If the course can’t show me brushwork clearly, it’s out.
- Video clarity on brushwork: close-ups plus repeatable demos.
- Core fundamentals: composition, volume & light, pigment/water mixing, and layering order.
- Time-to-progress: beginner-friendly pacing with milestones you can hit in days, not weeks.
I also check for what I call “practice density.” A beginner course should include short loops (10–20 minutes) before long projects. If you jump straight to finished paintings, you’ll guess too much and learn too little.
When I first built my practice routine, I kept bouncing between random watercolor tutorials. My paintings didn’t improve—my mistakes got more confident. The only thing that fixed it was a drill-first structure with feedback and swatch tracking.

First, find a teacher or watercolor artist who resonates with you
You can’t outsource taste and still learn fast. Different instructors push different results: expressive loose styles, realism, or crisp minimalism. Resonance is the “schedule engine” because you’ll actually show up and do the reps.
Technique matters—always. But the fastest learners don’t force themselves into styles that make them doubt their own eye. So pick an instructor whose output feels like “yes, that’s what I want.”
Match style first, technique second (then use structured practice)
Match your style appetite first, then build technique consistency on top. If you love florals, don’t pick a realism teacher who bores you to death. You’ll stop at week two.
That said, fundamentals must stay consistent. Even if the final look changes, you still need the same wash logic: wet-on-dry for precision edges, wet-on-wet for gradients, and deliberate layering order. Your drills can stay the same while your subjects change.
- Expressiveness teaches letting pigment flow without losing shape.
- Realism forces value control and edge hierarchy.
- Loose abstracts build rhythm and contrast without over-detailing too early.
Once you pick the teacher you’ll stick with, you can translate their style into a repeatable practice plan. That’s where growth actually happens.
Teachers I reference when building my recommendations
I’m careful about “instructor credibility”. I reference educators and artists who show transparency in decision-making—paper choice, timing, and how they handle controlled washes. That’s what beginners need to stop guessing.
When I build recommendations, I commonly cross-check materials against artists and educators like Linda Wehrli, Jenna Rainey, Anna Bucciarelli, Liron Yanconsky, Jessica Karp, Paul Clark, Nitin Singh, Sarah Burns, Lou Davis, Debbie Walker, and Liz Chaderton.
- Why they make the list: strong demos of transparency, controlled washes, and composition planning.
- How to use them safely: stick to one “home base” instructor for technique.
- When to branch: only after you can replicate a swatch library or edge study without help.
That approach prevents your learning from becoming a collage of conflicting methods. You want one system to repeat, not a dozen ideas you can’t execute.
Online watercolor classes: what you should expect
If you’re not learning paint behavior, it’s not a real class. Online learning can be great, but it has to teach how watercolor actually moves on paper. That means video-based instruction that includes paint application order, drying timing, and edge control rules.
And yes—color and color formation matter. Beginners rarely fail because they “picked the wrong subject.” They fail because their pigment density and water load are random.
Video-based learning that actually teaches brush techniques
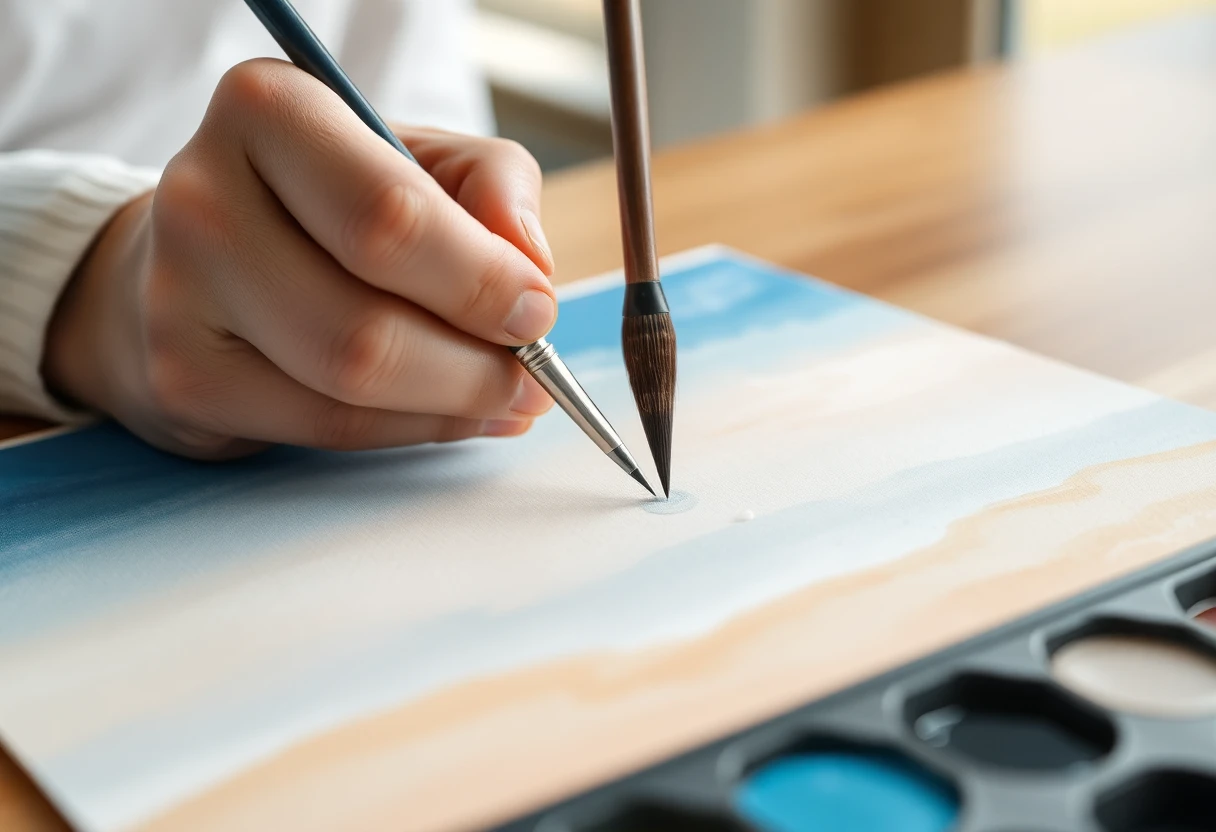
Expect step-by-step paint application: wet-on-dry, wet-on-wet, gradient management, lifting, and re-wetting rules. The best courses teach the “micro-decisions”—how you load pigment, where you place water, and what you do when paper starts to drive the wash.
Watch for close-up instruction on edge control and pigment density. I love courses that include short practice loops before long projects, because you learn faster when you repeat a skill immediately.
- Wet-on-dry for precision edges and controlled shapes.
- Wet-on-wet for smooth gradients and soft transitions.
- Lifting for fixing blooms while protecting values.
One practical marker: if the course teaches you what to do at 30% wetness vs 70% wetness, it’s a strong curriculum. If it just says “wash over it,” you’ll get unpredictable results.
Assignments, critiques, and AI-assisted feedback in 2026
Remote learners need feedback. Otherwise you’re practicing blind and reinforcing your worst habits. In 2026/2026 platforms, the “good” pattern is submission-based critique with templates for self-review.
If a course lets you upload work, great. If it doesn’t, then you should still get structured self-critique tools (value range checks, bloom control checklists, composition planning grids). AI personalization is increasingly common too: practice prompts, color-mixing simulations, and technique analysis from uploaded brushstroke footage.
In the edtech reporting I’ve seen, AI personalization supports higher completion rates—again, not because it paints for you, but because it makes correction loops tighter. Your job is to respond to feedback and repeat the same drill until you can do it consistently.
The Best Online Watercolor Classes for beginners: drills beat pretty examples
If you want control, start with paint application, not finished paintings. Beginner courses should build a foundation through swatches, edge studies, and repeatable paint behavior drills. Then (and only then) do you move into scenes that require layering decisions.
I’m also a fan of courses that treat composition like a system. Value thumbnails, layering order planning, and simple structure work faster than copying styles.
Beginner track structure: drills before masterpieces
Good beginner tracks start with supplies + paper behavior + brush selection. You learn what each paper does to pigment flow. Then you move into color formation and control: pigment/water mixing ratios, swatch libraries, and predictable outcomes.
The best structure also builds composition through layering order: first, second, and third layers. You plan a value skeleton before adding detail, so your final painting doesn’t collapse into mud.
- Supply-first: brush type/size and paper quality explained, not assumed.
- Color formation drills: mixing ratios and repeatable swatch testing.
- Layer planning: transparency decisions tied to a value plan.
Many beginner online programs fit the pattern of 15 lessons and 15 projects in the 2024/2026 cohort data. That’s enough to build a habit without drowning you in content you never finish.
My bias: you should be able to repeat at least three core drills after your first week. If not, the course isn’t teaching technique—it’s teaching watching.
Watercolor Classes Los Angeles: when in-person matters
Online can teach technique, but live does something online can’t: it calibrates your touch. Paper response is immediate, and you learn how pressure, angle, and wash consistency change blending in real time.
If you’re in LA and can attend workshops, you can compress months of trial-and-error into a weekend. That’s not hype—that’s tactile feedback.
What Los Angeles workshops teach faster than online
Hands-on tuning beats guesswork. Live sessions help you feel how much pressure changes pigment flow, how brush angle affects edge sharpness, and how wash consistency shifts as it dries. Especially for wet blending, your body learns faster than your eyes.
You also get immediate paper and pigment response checks. You learn what “too wet” looks like before you ruin a full sheet at home. For confidence, that matters a lot—absolute beginners need wins quickly.
- Pressure and angle calibration for repeatable edges.
- Immediate feedback on over-wetting and bloom prevention.
- Community accountability that keeps you practicing after the workshop.
Many LA workshops also run like a mini coaching lab. That means fewer wasted weeks polishing the wrong habit.
How to blend LA learning with online watercolor classes
Don’t choose one forever. Use one in-person fundamentals block, then return to online modules for repetition. Online is where you build frequency and track progress over time.
Bring worksheets from your online course and practice between studio sessions. And do one technique per week so you don’t regress when you switch environments.
- Week 0: Pick one fundamentals block (edges, wash control, or mixing).
- After the workshop: drill the same skill using your online course assignments.
- One technique per week so your practice stays coherent.
- Track outcomes with a simple swatch set and photo reference.
10 Free Online Watercolor Classes For improving Your Technique
Free doesn’t mean random. If you treat free watercolor tutorials like entertainment, you’ll bounce forever and improve slowly. The fix is a system: pick one skill focus per week and repeat it with multiple sources.
I’ve found that most beginners waste months because they follow different painters with different rules and never build a repeatable skill library.
How to use free tutorials without wasting months
Choose one skill focus per week. Example: transparency gradients, then lift tests, then edge control. You’re training a single mechanism, not shopping for styles.
Use a swatch-and-notes system so you track cause and effect. Write down pigment mix, water load, drying time, and a 1–5 result rating. This turns a video into a feedback loop.
- Skill focus: one drill weekly (not five).
- Repeat across instructors: same assignment, different technique choices.
- Swatch tracking: pigment mix, water load, drying time, rating.
One of my early “free course cycles” looked like this: I watched three different gradient videos, then tried each style on one sheet. Result? I couldn’t tell what caused the failure. When I started keeping mix notes and repeating the same gradient assignment weekly, my edges stabilized fast.
CHANNELS TO CHECK OUT: places beginners learn fast
YouTube and virtual classes can be excellent if the content includes brush technique close-ups and timing details. Look for demos that explain paper choice and drying behavior. Otherwise, it’s just pretty paint.
A library-style broadcast or archived session can be great too, because you can pause and replay. The key is how you watch: demo → swatch → mini exercise → short project.
- Close-up technique videos with edge and timing notes.
- Archived demos where paper behavior is explained.
- A viewing plan so you practice, not just watch.
Skillshare, Domestika, CourseHorse, Coursesity: platform choices
Platforms aren’t the product—curriculum is. Skillshare, Domestika, CourseHorse, and Coursesity can all host good watercolor content. But your job is to evaluate whether the class includes paint application order and repeatable exercises.
Beginners especially need structured lessons. “Endless inspiration” without drills is how people stay stuck.
How to evaluate course quality on major platforms
Check for drills, projects, and repeatable exercises. Look at the lesson list: do you see paint application sequences (wet-on-dry/wet-on-wet), color mixing modules, and layering order? Or is it mostly subject demonstrations?
Also evaluate lesson count relative to your goal. Foundations often need 15–20 beginner projects that scale difficulty. Specialization can be shorter, but it should still include exercises you can redo.
- Paint application order: do they teach first/second/third layering?
- Lesson count fit: foundations vs specialization.
- Projects you can finish: fewer “watch and admire” lessons.
My recommendations for beginners by learning style
Pick based on what keeps you consistent. If you want structure, choose a course with 15–20 beginner projects that scale difficulty. If you want variety, use platform browsing to supplement one core instructor.
If you want guided practice, select courses with templates, checklists, or feedback mechanisms. Guided practice is what reduces repetitive mistakes. It also makes your learning feel safer because you know what to do next.
| Learning goal | Pick this course pattern | Where it tends to show up |
|---|---|---|
| Structure and milestones | Core instructor + 15–20 beginner projects | Foundations tracks on Skillshare/Domestika |
| Variety across subjects | One core course + 3–5 optional subject modules | Courses you can mix within CourseHorse |
| Guided practice | Templates, checklists, uploads, critiques | Courses with project submission workflows |
If you want the fastest beginner improvement, don’t optimize for popularity. Optimize for feedback and repetition.

Beginner techniques that unlock transparency, composition, and light
Most “watercolor magic” is just technique discipline. Transparency comes from controlled pigment density and timing. Composition comes from value planning, not from copying someone else’s layout. Light comes from value range and layering order.
Once these three click, subjects feel easier—florals, seascapes, portraits, abstracts. You’re no longer trapped by the subject.
Core brush techniques to master early (the real foundation)
Master these early and everything gets simpler: wet-on-dry, wet-on-wet, and lifting/reworking strategies. You’re training edge quality, gradient smoothness, and correction without muddying values.
If you’re struggling with blooms, it’s almost always timing, water load, or re-wetting rules. Technique drills make those controllable.
- Wet-on-dry for precise edges and controlled shapes.
- Wet-on-wet for smooth gradients and soft transitions.
- Lifting and reworking to fix blooms while keeping values clean.
I used to think lifting was “for mistakes.” It’s actually a proactive tool. Once I practiced lift tests as a repeatable drill, my paintings got cleaner and my confidence went way up.
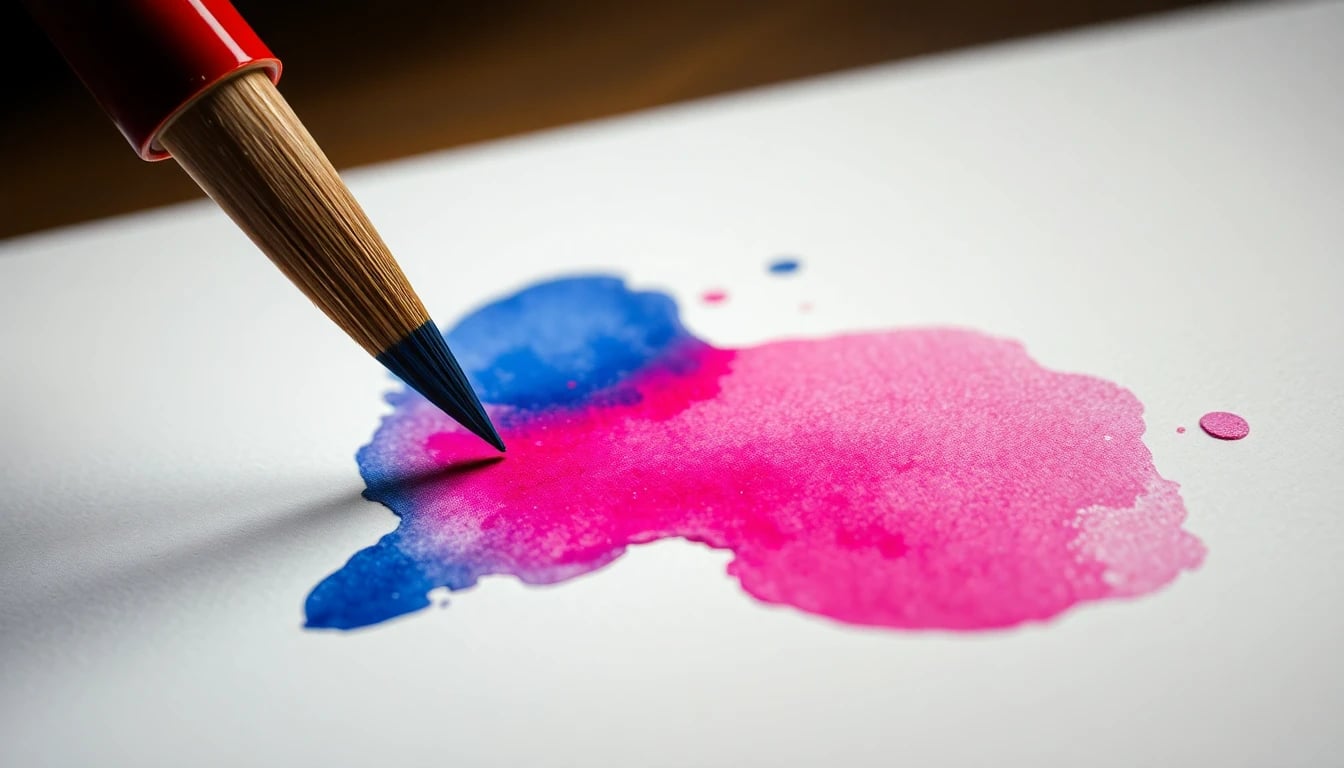
Pigment and water mixing for consistent color formation
Color formation is mixing workflow. I use a simple ratio workflow: pigment load first, then controlled water increments. That keeps your washes from going chalky or too watery.
Swatch by value, not just hue. Two mixes can share the same color family but have wildly different volume and light. Also document drying behavior—some mixes change fast as water evaporates.
- Pigment load → water increments workflow for consistent mixes.
- Swatch by value for stable volume and light.
- Drying behavior notes to predict final color formation.
Layering order: paint application from first to third layer
Layering order fixes half of beginner problems. Start with a value skeleton before detail. Then use transparency intentionally: let earlier layers influence saturation later instead of repainting blindly.
Keep edges consistent per layer type—soft edges for transitions, crisp edges for focal points. If every layer tries to be crisp, your painting loses depth.
- Plan value skeleton first, then paint in order.
- Use transparency intentionally for saturation and glow.
- Edge hierarchy per layer (soft vs crisp) to guide the eye.
If you want light to look intentional, your layering decisions need to be consistent across the painting. Random layers create random depth.
Choose a watercolor painting course bundle over random tutorials
A bundle beats random tutorials for completion. The best watercolor painting course bundles include downloadable aids, multiple projects, and repeated reinforcement of the same techniques. That’s what keeps you from restarting every week.
I built AiCoursify because I got tired of seeing beginners waste time bouncing between platforms without a repeatable practice system. You can love online classes, but you still need a structure for repetition and feedback.
Why comprehensive courses improve completion rates
Comprehensive courses reduce stalling. Bundles typically reinforce each technique with multiple projects, so you revisit the same mechanisms (edges, mixing, layering order) under different compositions. That repetition creates muscle memory.
Structured progression also matters. Many beginners watch a few videos, then hit a point where their skills can’t support the final projects. Bundles keep you moving through drills before that break point.
- Downloadable aids: swatch templates and mixing charts.
- Reinforcement projects across modules.
- AI personalization trends: adaptive practice paths based on submitted work.
In 2026 benchmarks, course completion rose 40% in edtech when AI-human feedback loops were included. Again: it’s not the AI itself—it’s what it enables, which is better correction cycles.
Suggested course format for beginners (hours, lessons, projects)
Aim for 15–200 lessons, depending on your time and confidence level. For most beginners, that translates to a core beginner track you can finish without burning out.
Confirm the course includes beginner paint application drills before full scenes. You should see explicit instruction on transparency, composition, and value control—not just subject-focused inspiration.
- Beginner track: about 15–200 lessons.
- At least a handful of application drills early on.
- Value and layering taught explicitly.
Wrapping Up: Your next 30 days of watercolor practice
Don’t start a new watercolor painting course and hope for the best. Use the next month to build a repeatable technique loop: one technique, one swatch set, one mini project weekly. That’s how you stop repeating the same mistakes.
Your brain learns faster when each week has a clear technical target. And you’ll see progress sooner—without needing fancy gear.
A simple plan: one technique, one swatch set, one mini project weekly
Week 1: brush selection + edges + swatch library. Focus on value and transparency tests. Make small edge studies (2–3 inches) instead of one giant sheet.
Week 2: gradients + timing control with wet-on-wet, then do lift tests. If gradients get muddy, your re-wetting rules or water load are off—fix that next session.
- Week 1 — brush selection, edges, swatch library (value + transparency).
- Week 2 — gradients + timing control (wet-on-wet), then lift tests.
- Week 3 — composition + value thumbnailing; apply with 1–2 layers.
- Week 4 — subject project you enjoy with deliberate lighting focus.
Where AiCoursify fits if you want guided, AI-supported practice
If you want a course-like experience without hunting, AiCoursify can help you structure practice prompts and keep feedback loops tighter. I built it because I got tired of watching beginners do “random practice” and call it learning.
Use it to generate subject ideas that match your current technique focus. For example, beginners-focused florals are great for transparency and edge discipline. Then turn videos and lessons into repeatable drills instead of one-time inspiration.
- Turn lessons into drills using consistent prompts and practice paths.
- Keep feedback loops tight so you correct and repeat.
- Pair any core course with a practice system for faster progress.
Frequently Asked Questions
What should a beginner learn first in a watercolor painting course?
Start with brush techniques and wash control. Learn paper behavior and basic wash management first, because without that, everything else becomes guesswork.
Then build pigment and water mixing for reliable color formation. Finish with layering order so you can create transparency and clean value ranges instead of muddy overlaps.
Are online watercolor classes as good as live workshops?
They can be, if the course includes assignments and feedback. Peer or instructor critique helps you avoid blind practice loops. AI-assisted review can also help when it’s specific and actionable.
Live workshops are still faster for tactile control—pressure, angle, and real-time blending. But online repetition builds long-term skill if you actually do the drills and submit work.
What are the best free online watercolor tutorials for improving technique?
Pick tutorials that teach the same fundamentals repeatedly. You want swatches, gradients, and edge control drills, not only finished subject videos.
If a tutorial is “pretty scenes only,” it’ll entertain you but won’t train your mechanism. Use a weekly skill focus and repeat the same assignment across multiple tutorials to spot consistent patterns in technique.
How long does it take to see progress in watercolor painting?
Many beginners see noticeable improvement in 2–4 weeks when practicing one technique weekly and tracking outcomes. That’s when your wash control and value decisions start stabilizing.
Progress accelerates when you track mixes, drying timing, and value accuracy. Even a simple photo log and swatch notes will help you spot what’s actually changing.
Do I need expensive supplies for a watercolor painting course?
You don’t need the most expensive gear to start. What matters most early is consistent basics: paper quality and brush behavior.
Upgrading paper often produces the biggest improvement for beginners. A cheap brush can still teach technique, but bad paper will fight you and mask your progress.