
Beginner-Friendly Audio Editing Tips for Educators: 9 Simple Steps
If you’re brand new to audio editing, I get it—it can feel a little overwhelming. You record one lesson and suddenly you notice the background hum, the random long pauses, and the “why does this sound so quiet?” moments. That’s not you failing. That’s just real life in a classroom or home studio.
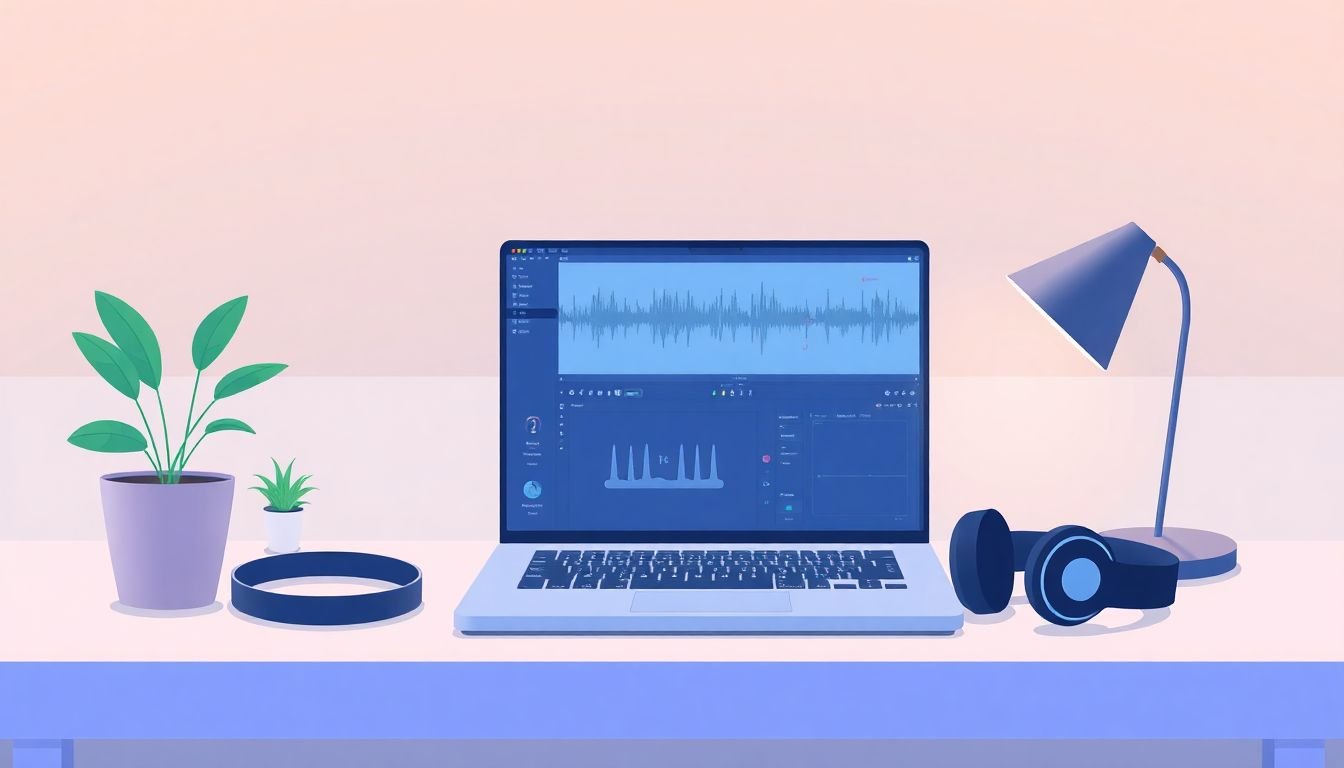
What I’ve found is that you don’t need fancy gear or a full-on production setup to make your audio feel clear, consistent, and way more listenable. With a few edits you can do in tools like Audacity or Ocenaudio, you can trim the dead air, clean up noise, smooth out volume, and even make your transitions sound intentional.
In this post, I’ll walk you through 9 beginner-friendly steps I actually use when I’m polishing voice recordings for teaching. No fluff. Just practical moves you can apply right away—plus a couple “watch out for this” notes so you don’t accidentally make things worse.
Key Takeaways
- Start with simple, beginner-friendly editors like Audacity or Ocenaudio. Learn the basics first: trimming, cutting, and adjusting gain/volume before you touch advanced effects.
- Cut long silences and reduce distracting background noise. In Audacity, capturing a good noise profile (a few seconds of “just noise”) makes a big difference.
- Keep volume consistent using normalization/leveling. In my experience, this helps students stop fiddling with the volume bar and stay focused on your words.
- Use short fade-ins and fade-outs so clips don’t start/stop abruptly. Small fades make your audio feel smoother without sounding “overproduced.”
- Remove filler words and reduce awkward pauses. A little editing goes a long way—especially when you’re recording whole lessons in one take.
- Prioritize clarity: speak steadily, enunciate, and record somewhere quiet. Even basic cleanup can’t fully fix muddy speech.
- Add background music or sound effects only when they support the lesson. Keep the level low and fade music in/out so it doesn’t fight your voice.
- Export in the right format for your platform. MP3 is great for sharing; WAV is ideal if you need archiving or future editing.
- Get feedback from colleagues or a small group of students. I like to ask one specific question: “Where did you get lost?”—it reveals more than “sounds good.”
1. Start with Easy Audio Editing Tools for Educators
If you’re just getting started, pick a tool that won’t waste your time. Audacity and Ocenaudio are solid choices because they’re free (or free-ish), and the interface makes sense once you try it for 10 minutes.
Here’s what I recommend you actually learn first:
- Cut/Trim (so you can remove mistakes fast)
- Gain/Volume adjustment (so you can fix quiet or loud sections)
- Fade in/out (so your audio doesn’t sound like it “snaps”)
For Mac users, iMovie can be surprisingly handy for quick edits, especially when your “audio” is attached to video. Headliner is also great when you want simple captions/waveform visuals for sharing. But honestly? Don’t overthink the software. The best tool is the one you’ll keep using.
One quick habit that saves me time: I record a short test clip first—like 30 seconds of my intro—then I edit that before I touch the full lesson. That way I’m not discovering problems halfway through.
2. Trim Out Unwanted Silence and Background Noise
This is usually the biggest “wow, that sounds better” step. When you trim silence and remove distracting noise, students can focus on your teaching instead of the audio quirks.
Start by listening all the way through once. Look for:
- Long pauses (especially after questions)
- Breathing gaps that are fine in real life but distracting in recordings
- Background hum/fan noise that’s loud enough to notice
Most editors have a Trim or Cut function—use it aggressively at first. You can always add back a tiny pause later if it feels too choppy.
Noise reduction tip (Audacity): If you use Audacity’s Noise Reduction, you’ll get better results when you capture a clean noise sample. Don’t grab a random piece where you’re talking. Instead, record (or find) 3–5 seconds of “just noise” (like the room tone) and select only that section for the noise profile.
Then apply noise reduction lightly. Here’s a real problem I’ve run into: if you push noise reduction too hard, speech can start sounding watery or “underwater.” If you notice artifacts, back off and try again with a lower setting.
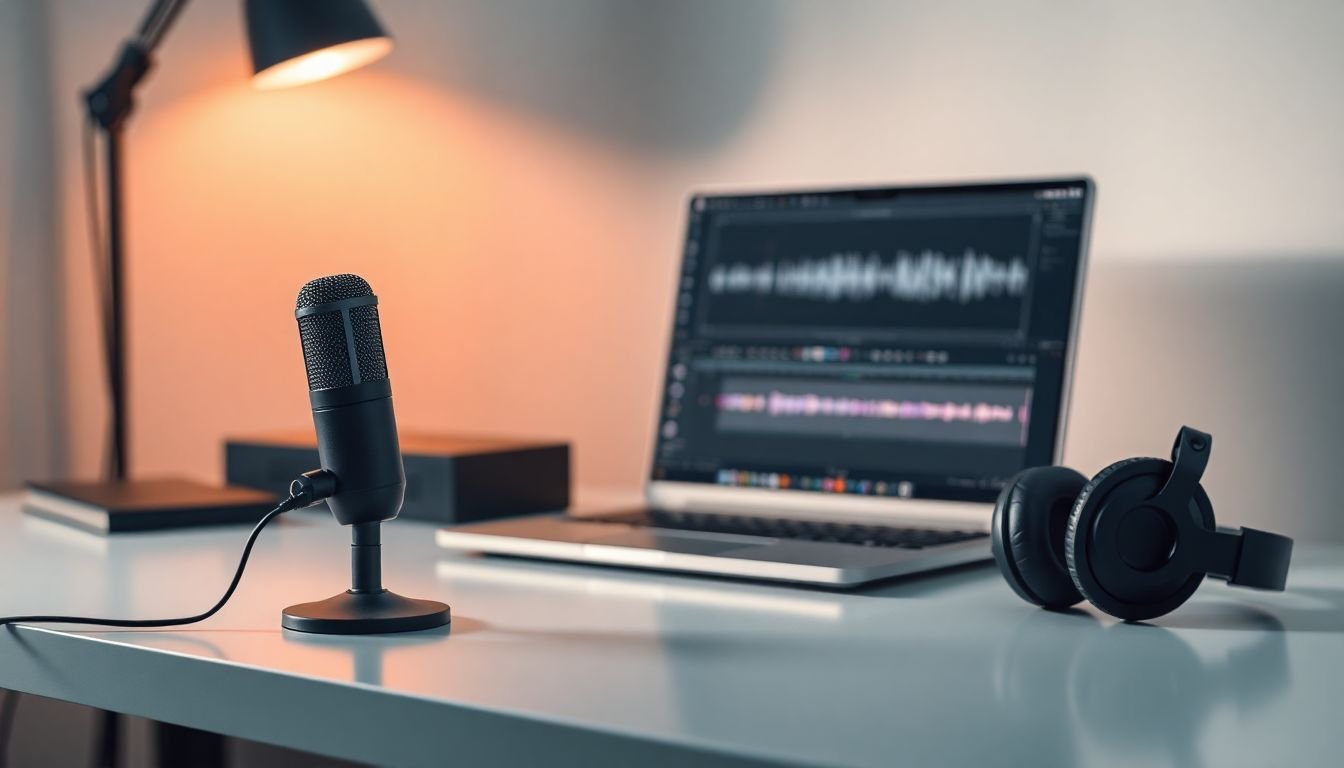
If your room is noisy, a lapel mic or a mic closer to your mouth helps more than any software. And after every round of editing, listen back—does the audio flow naturally, or do you hear sudden jumps? Fixing flow beats chasing perfect “studio” sound.
Optional shortcut: if you’re using an automatic tool like Auphonic, run it once for a baseline improvement, then do manual trimming for the parts that still feel awkward.
3. Consistent Volume Levels for Clear Audio
In teaching, volume swings are distracting. One second you’re practically whispering, the next you’re yelling. Students don’t want to adjust their device volume every 20 seconds.
The fix is simple: use normalization/leveling so your whole recording sits at a consistent loudness.
Audacity example: Select the entire track and use Normalize. A common target is around -1 dB peak. That’s a decent “safe” peak for voice so you don’t clip when you export.
But here’s the part people skip: normalization doesn’t fix clarity problems—it only adjusts overall level. If some sections are too quiet because you moved away from the mic, you may need to adjust those sections individually (gain) before normalizing.
What I usually do:
- Trim obvious silence first
- Roughly balance quiet/loud sections with gain
- Normalize the whole track for consistency
- Listen again for harsh peaks
If you’re combining multiple recordings (like “Part 1” and “Part 2”), consistent volume is even more important. A quick leveling pass makes the transition feel seamless.
Also, if speech starts sounding compressed or “squeezed,” you likely overdid dynamic processing. Keep it subtle. Your goal is natural voice, not a podcast poster.
4. Use Fades for Smooth Audio Transitions
Fades aren’t “fancy.” They’re just a small edit that makes your audio feel intentional.
Here’s what to do:
- Fade-in: Add a short fade at the beginning of a clip so it doesn’t hit at full volume instantly.
- Fade-out: Add a short fade at the end so it doesn’t stop abruptly.
In tools like Audacity or Ocenaudio, fades are usually easy to apply. I typically start with a quick fade-in/out (think fractions of a second to a couple seconds). Then I listen.
A practical scenario: you might cut out a mistake in the middle of a lesson. Without a fade, students can hear a tiny “click” or sudden jump. A fade smooths that out.
If you’re using background music, fades matter even more. I like to fade music in and out gradually (so it doesn’t pop) and make sure it never competes with your voice.
5. Remove Filler Words and Lengthy Pauses
Every teacher has filler words. “Um.” “Like.” “You know.” It’s normal—until you turn it into a recording and suddenly it feels louder than the lesson.
What I do is listen for the “stumble points,” not every single “um.” If you cut every tiny breath and pause, you can accidentally make your speech sound unnatural. A better approach is to remove the moments that stretch too long or where you clearly got stuck.
Quick workflow:
- Play through and mark the big pauses/filler sections
- Cut the filler (or shorten it)
- Do a second listen to make sure the pacing still sounds human
If you’re recording directly into a device, try to pause naturally instead of filling the space. It’s almost always easier to edit out a clean pause than to edit out a rambling sentence you didn’t mean to say.
The result is simple: your audio sounds more confident, and students stay locked in on the explanation instead of waiting for you to find the next sentence.
6. Keep Narration Clear and Focused
Editing can fix a lot, but it can’t fully rescue unclear narration. So I treat clarity as step zero.
While recording:
- Speak a bit slower than you think you need to
- Enunciate key terms (especially vocabulary)
- Keep sentences shorter for complex topics
While editing, remove tangents. If a story doesn’t directly support the learning objective, cut it. Students don’t mind if you’re concise—they mind if they’re confused.
Also, microphone placement matters more than people expect. If you’re using a basic mic, keeping it consistent distance from your mouth helps your levels stay steady.
Small audio tweaks that make a noticeable difference:
- Pop filter or foam windscreen to reduce plosive sounds like “p” and “b”
- Recording in a quieter space (even a slightly quieter room beats heavy noise reduction)
- Keeping pacing even between segments so the lesson doesn’t feel jumpy
One honest truth: if the room is echoey, your voice will sound “far away” even after editing. In that case, focus on getting better recording conditions next time instead of trying to brute-force it with effects.
7. Add Background Music or Sound Effects Sparingly
Background music can be great—when it supports the lesson. But it’s also the fastest way to make a recording feel messy.
Here’s my rule: if a student would have trouble hearing your explanation, the music is too loud (or it’s the wrong track).
If you use music or sound effects, do it like this:
- Choose subtle instrumental or soft ambient sounds
- Keep the music volume low under your voice
- Lower the music further during key explanations
- Use fades so music doesn’t “startle” people
Tools like Auphonic can help balance voice and background audio, which is useful when you’re not sure where to set levels.
Sound effects? Use them for specific moments—like a chime when switching topics. Avoid stacking effects constantly. If everything is a “highlight,” nothing is.
If you’re unsure, skip it. Straight narration is still effective education.
8. Export in High-Quality Formats for Your Needs
Export is where a lot of people accidentally undo their hard work. So before you hit export, check what your platform expects.
About sample rate and bit depth: you’ll often see 48 kHz and 24-bit used in editing workflows because they provide plenty of detail for editing and processing. But “standard” doesn’t mean every platform needs it.
Here’s a simple decision rule I use:
- If your LMS/platform accepts MP3 easily: export MP3 for sharing (usually at a decent bitrate like 192 kbps or 256 kbps for voice).
- If you’re archiving or planning future edits: export WAV (often 24-bit) as your master file.
- If you’re uploading somewhere picky: check their recommended settings first so you don’t get playback issues.
Also, name files like a human who will need them later: lesson-topic + date. “Unit3-Lesson2-2026-04-13” beats “audio_final_FINAL2.mp3” every time.
Take an extra minute here. It saves you from re-exports and “why does it sound worse now?” headaches.
9. Seek Feedback and Make Improvements
Once you’ve edited and exported, don’t just send it and forget it. That’s how mistakes repeat.
I like to ask for feedback in a way that gets useful answers. Instead of “Do you like it?” I ask:
- “Where did you get lost?”
- “Was there anywhere the audio felt too quiet or too loud?”
- “Did any edits feel distracting?”
Colleagues are great because they catch pacing issues fast. If you can, ask a small group of students too—students notice clarity problems immediately, especially on phones or earbuds.
One practical way to keep track: create a simple folder in Dropbox or Google Drive and add a “Feedback” doc with timestamps. Then you can match comments to specific parts of the audio.
And yes, you can use AI tools for support. I’ve used prompts to help refine scripts or generate lesson outlines, but I still do the final recording and edits myself. Tools like ChatGPT can help with brainstorming, but your voice and your classroom context are what make it work.
Continuous improvement is real—your second recording session is always better than your first. You’ll learn what your room sounds like, what your mic picks up, and what kinds of edits you actually need.
FAQs
If you want something easy and reliable, Audacity is a classic for trimming, normalization, and basic noise cleanup. GarageBand is great for Mac users who want a simpler “record and edit” flow. For quick web-based edits, Kapwing can be useful when you don’t want to install anything. If you’re doing lessons regularly, pick one tool and stick with it for a few weeks—your edits will get faster.
Start with the basics: record in the quietest place you can and get your mic closer to your mouth. Then, in Audacity, use Noise Reduction by first selecting a few seconds of room tone (just the noise—no talking), click to get the noise profile, and then apply reduction. If the voice starts sounding “robotic” or smeared, reduce the strength and try again—over-aggressive noise reduction is a common issue.
It’s huge. When volume is inconsistent, students keep adjusting their earbuds or phone volume, and that pulls them out of the lesson. Leveling (normalization or gentle gain adjustments) helps your voice stay intelligible from start to finish—especially when you have different takes, different distances from the mic, or multiple speakers.
Use background music only when it supports engagement without competing with your narration. A good starting point is to keep it low enough that your voice is clearly dominant. Sound effects work best for transitions or emphasis—like a subtle chime when you switch topics. If you notice students focusing on the audio instead of the content, it’s time to turn it down or remove it.